
Intro #
One of my earliest qualifications was an AMA (Advanced Modern Apprenticeship) in brickwork. My father used to tell me that computers were just a fad, and I was subsequently banned from having anything to do with them. In my family, coding was considered hacking, and anything involving accounts was supposed to be done on paper in my “books”.
Despite that, I loved computers. I just had to hide that passion from my family.
Sometimes I wonder whether things would have been different if I had been encouraged to pursue computing earlier. Would I have always thought of myself as a Linux professional? Would I have discovered open source sooner? Perhaps I’d have considered myself an open-source technologist years before other people started describing me that way.
But being pushed towards the trades gave me something else: a rather useful set of skills. Brickwork taught me how to understand materials, structure, geometry and, perhaps most importantly, an income.
Curved brickwork is a particularly good example of my other passion: 3D design.
Setting Out #
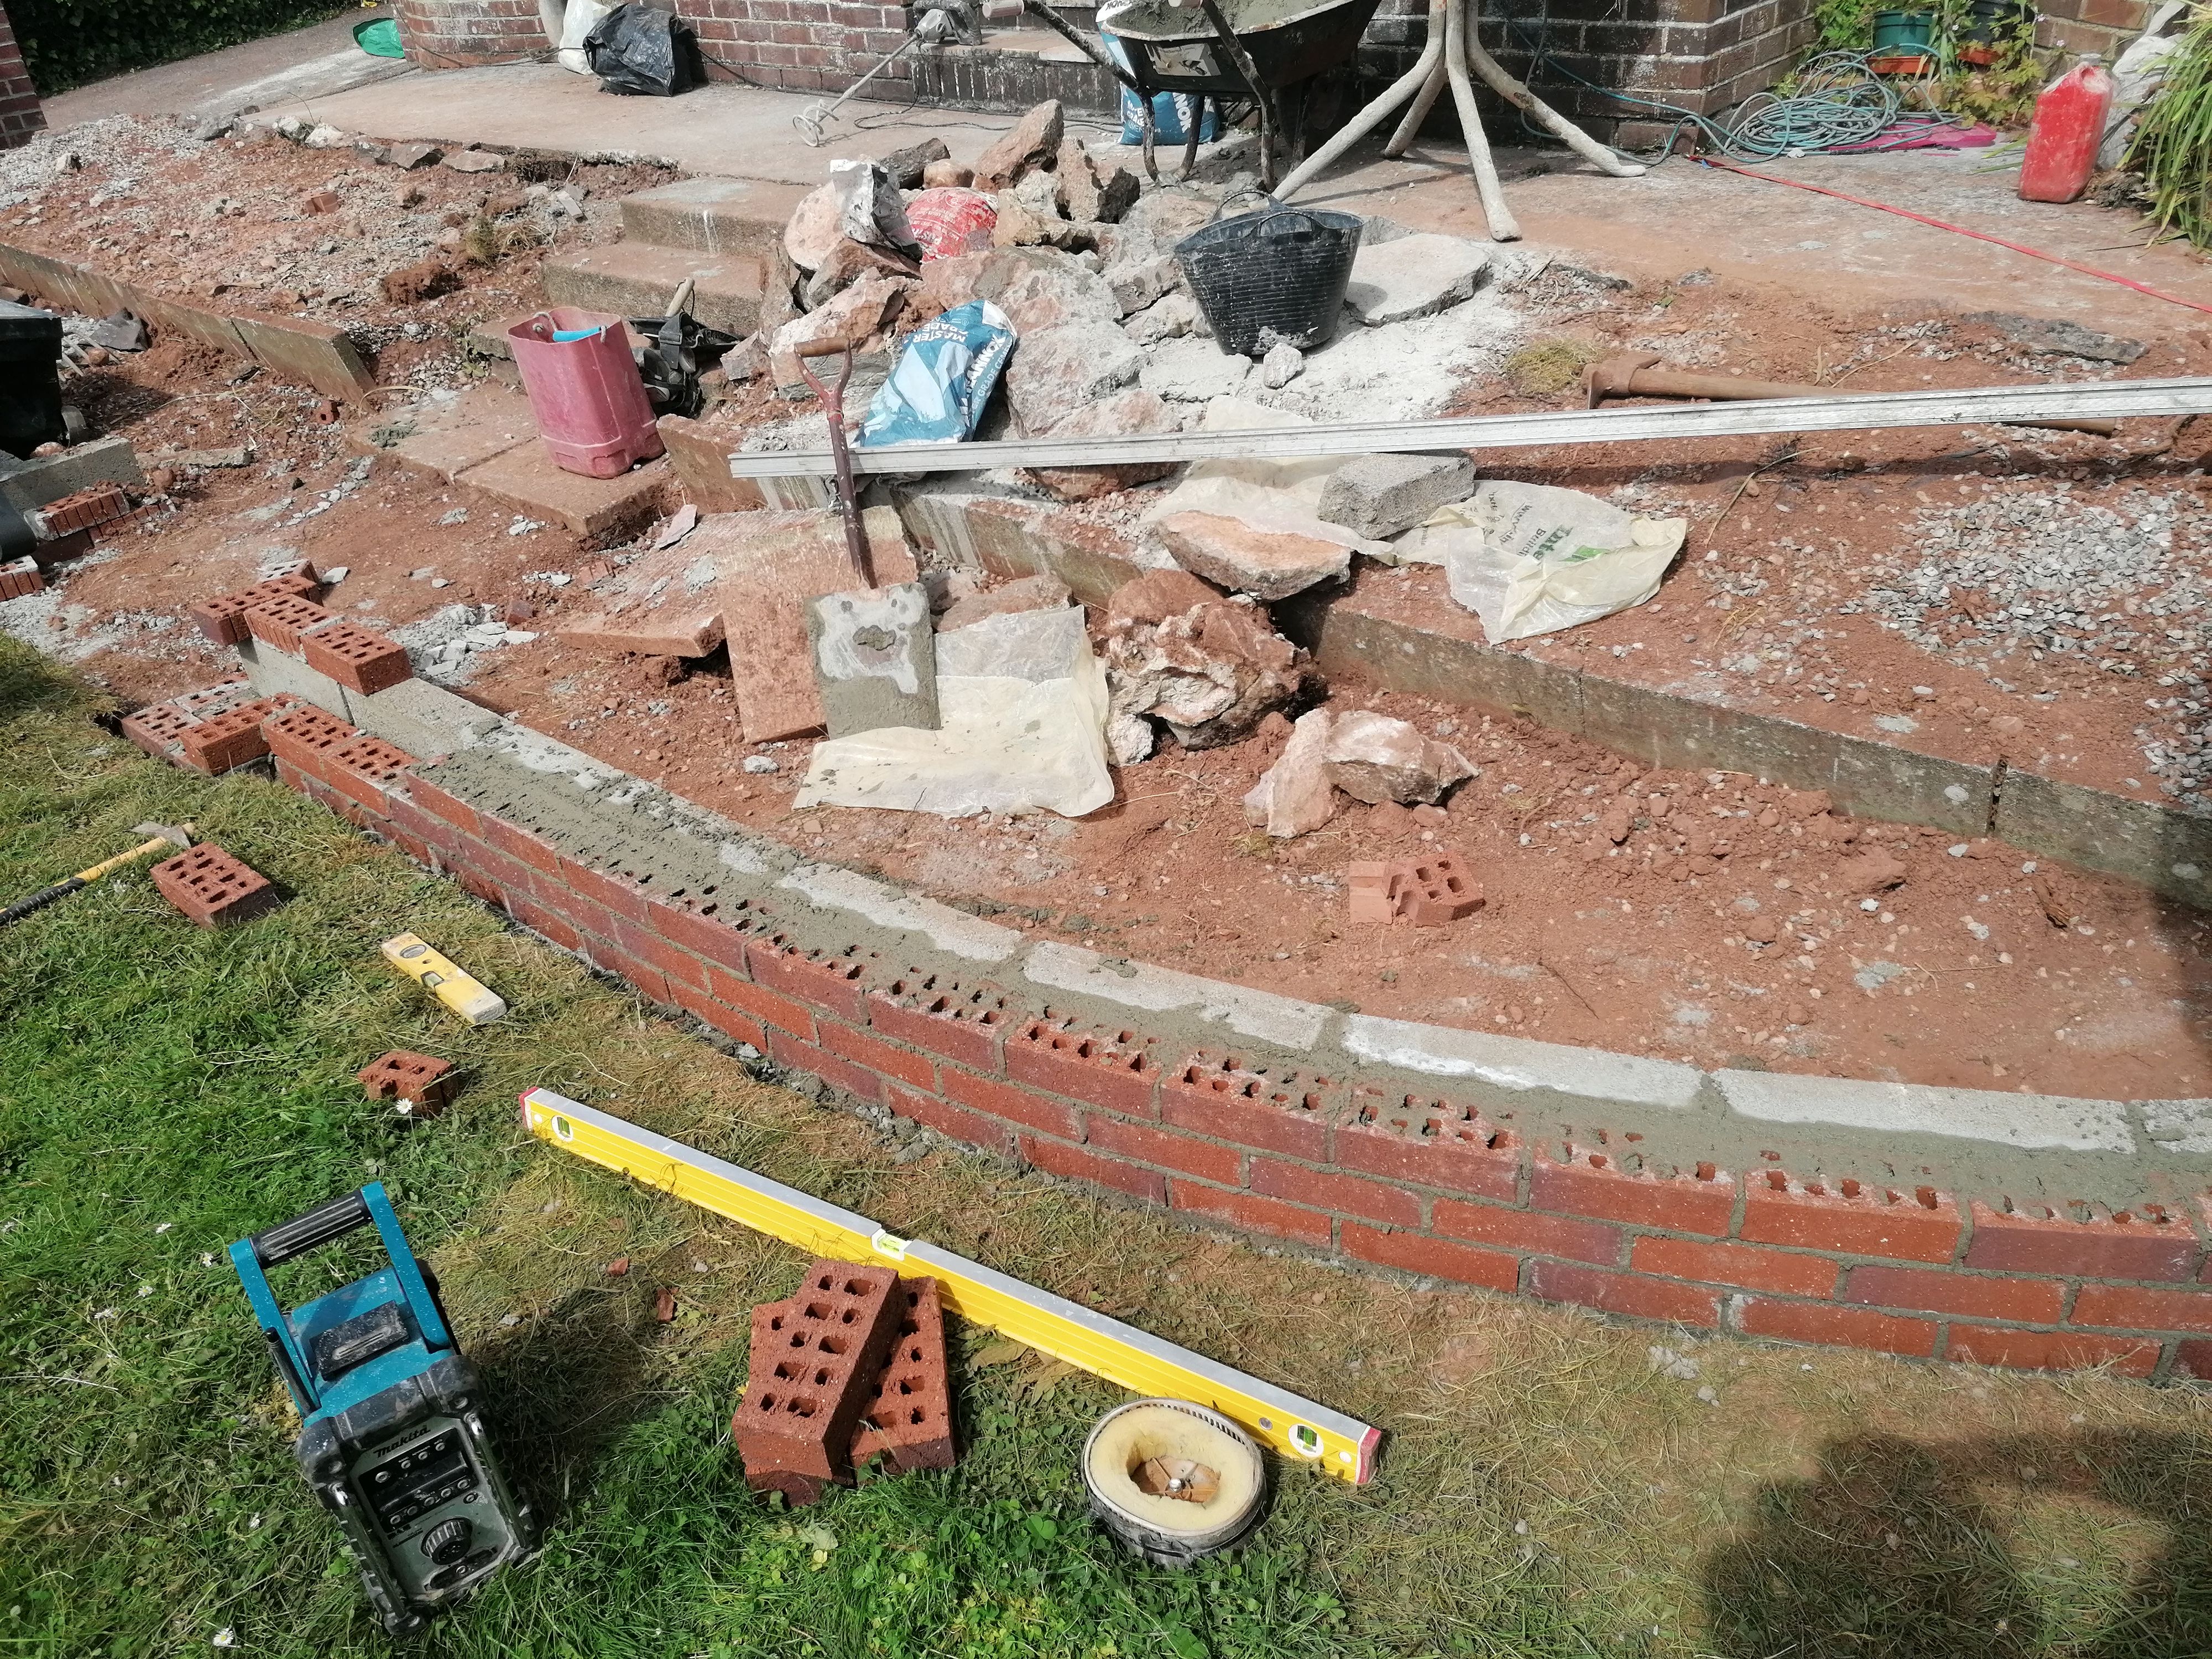
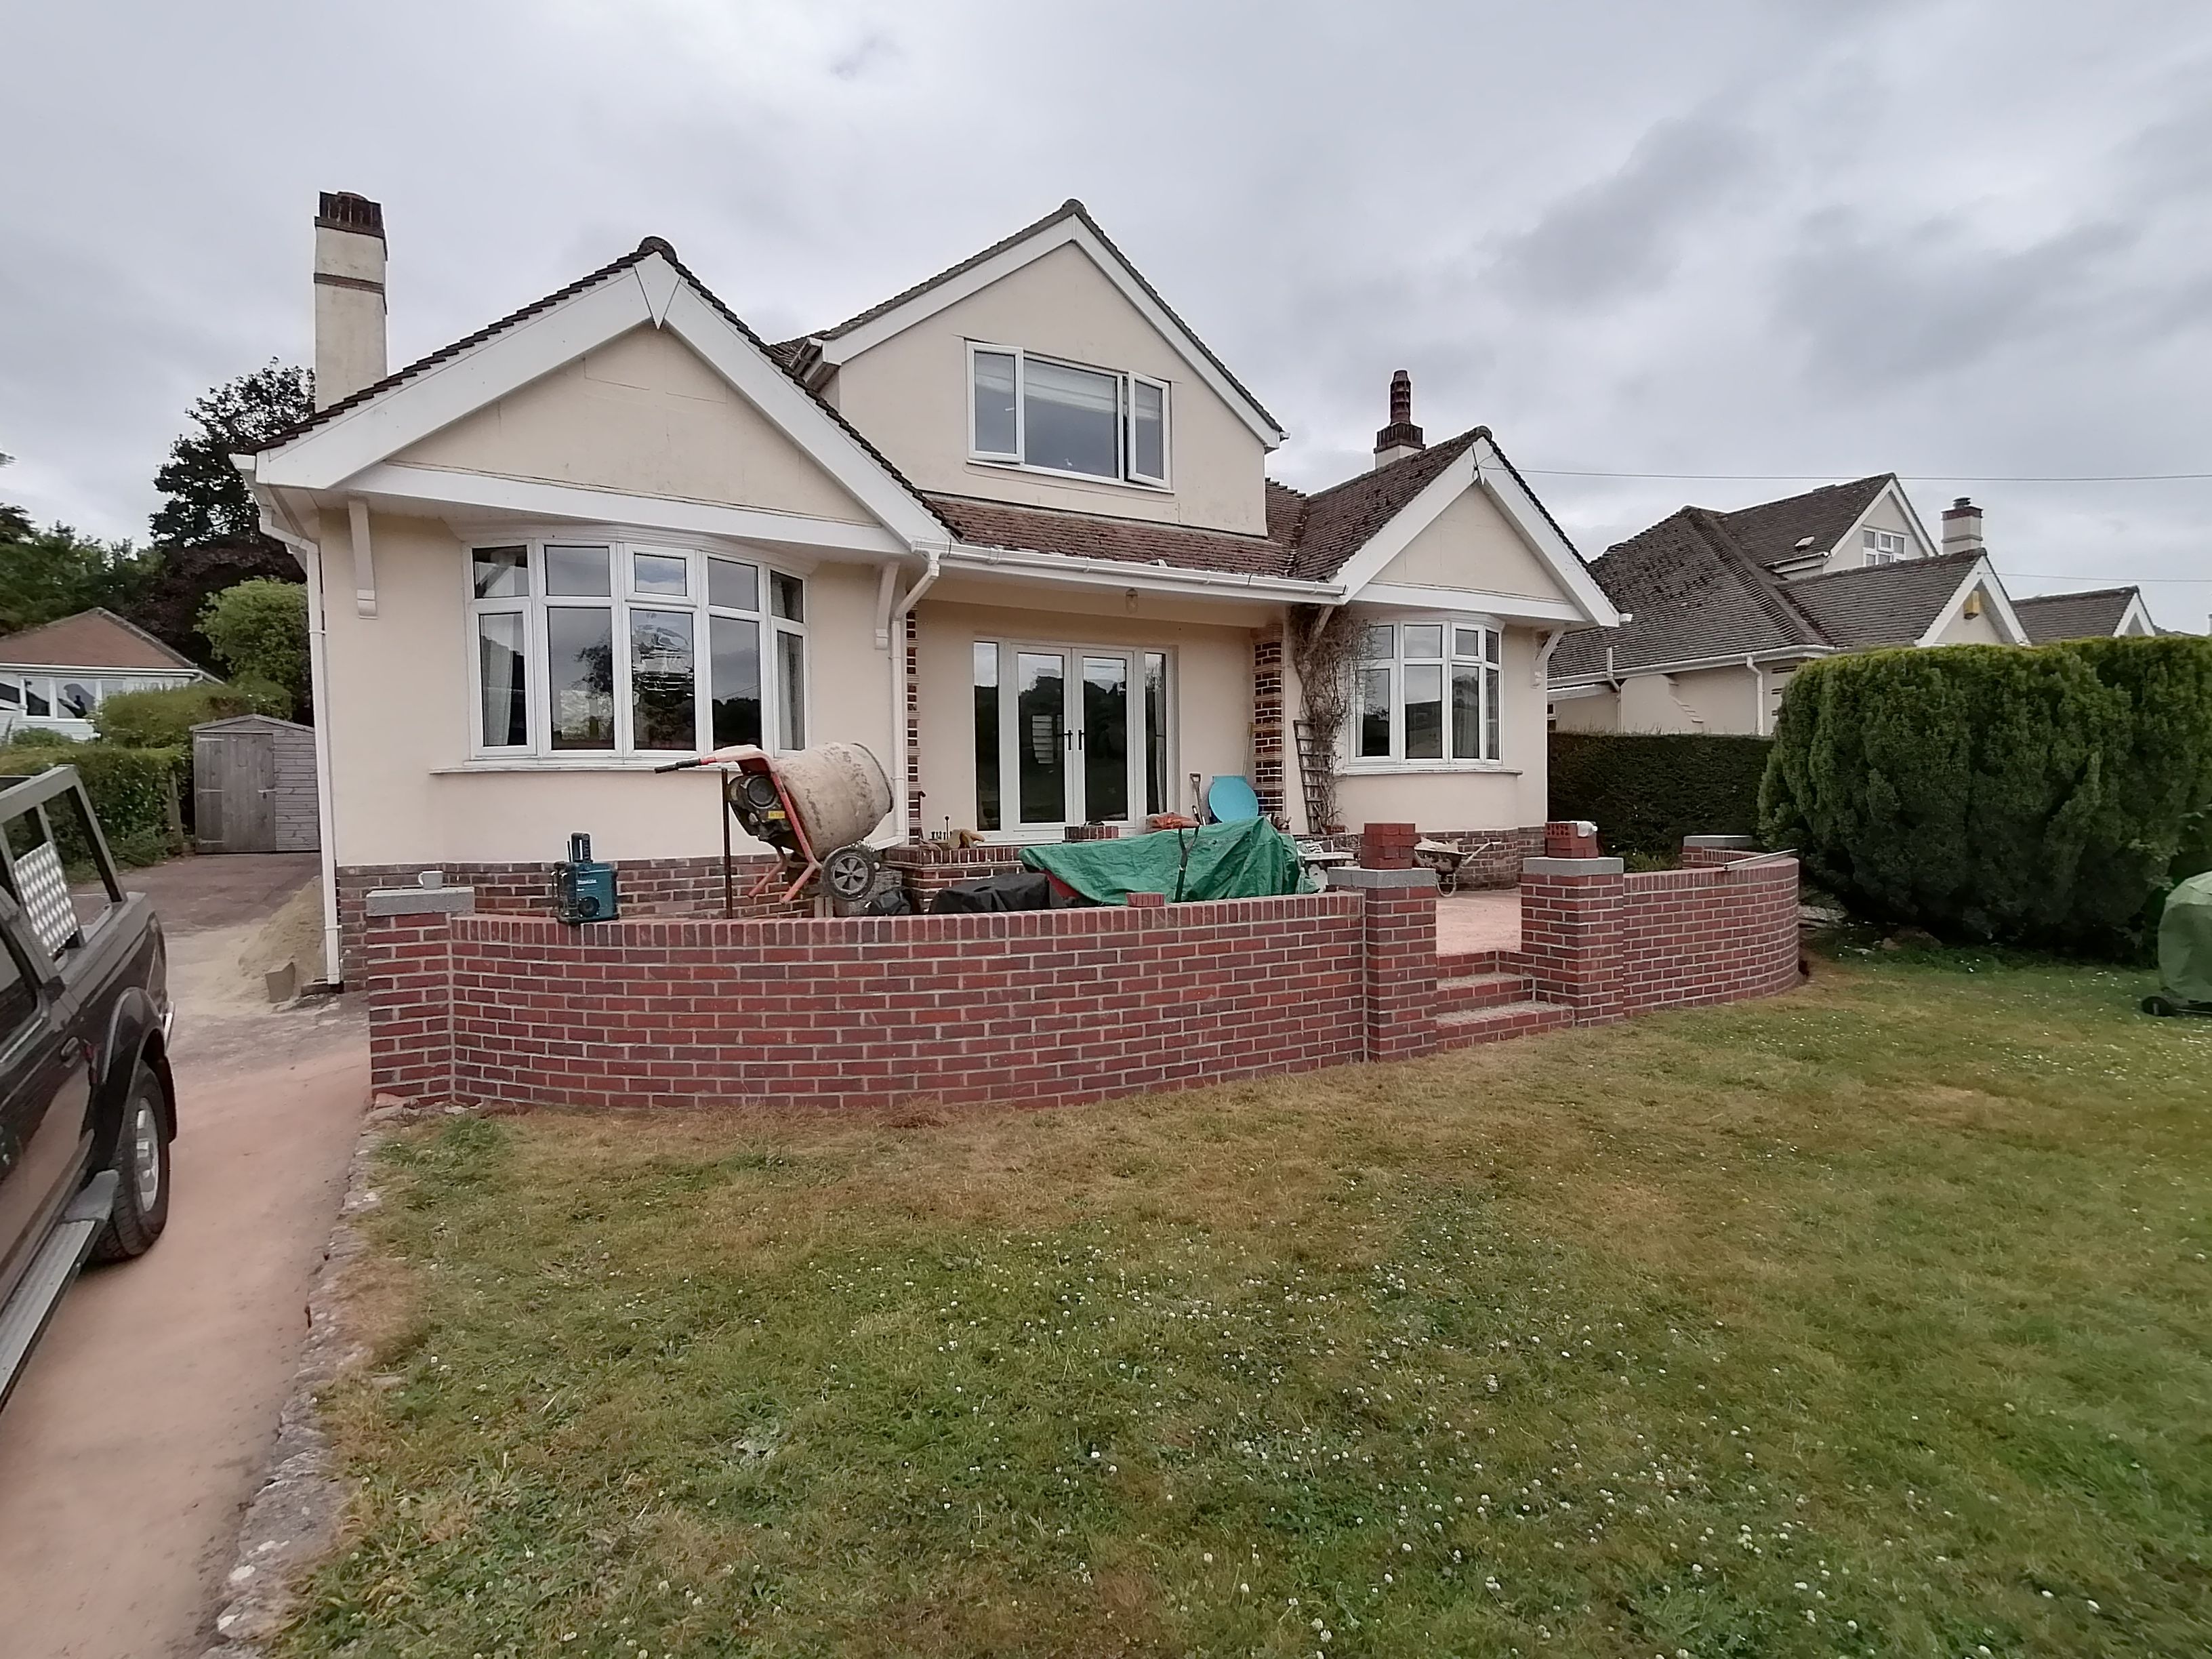
Setting out semi-circular brickwork is rather straightforward but time-consuming. First, you have to decide on the centre point of the curve. In this case, it was the corner of the building behind. To that, I drilled and inserted a screw. To the screw, I attached a cord that doesn’t stretch. That way, I can pull the rope out level and plumb down to the brickwork.
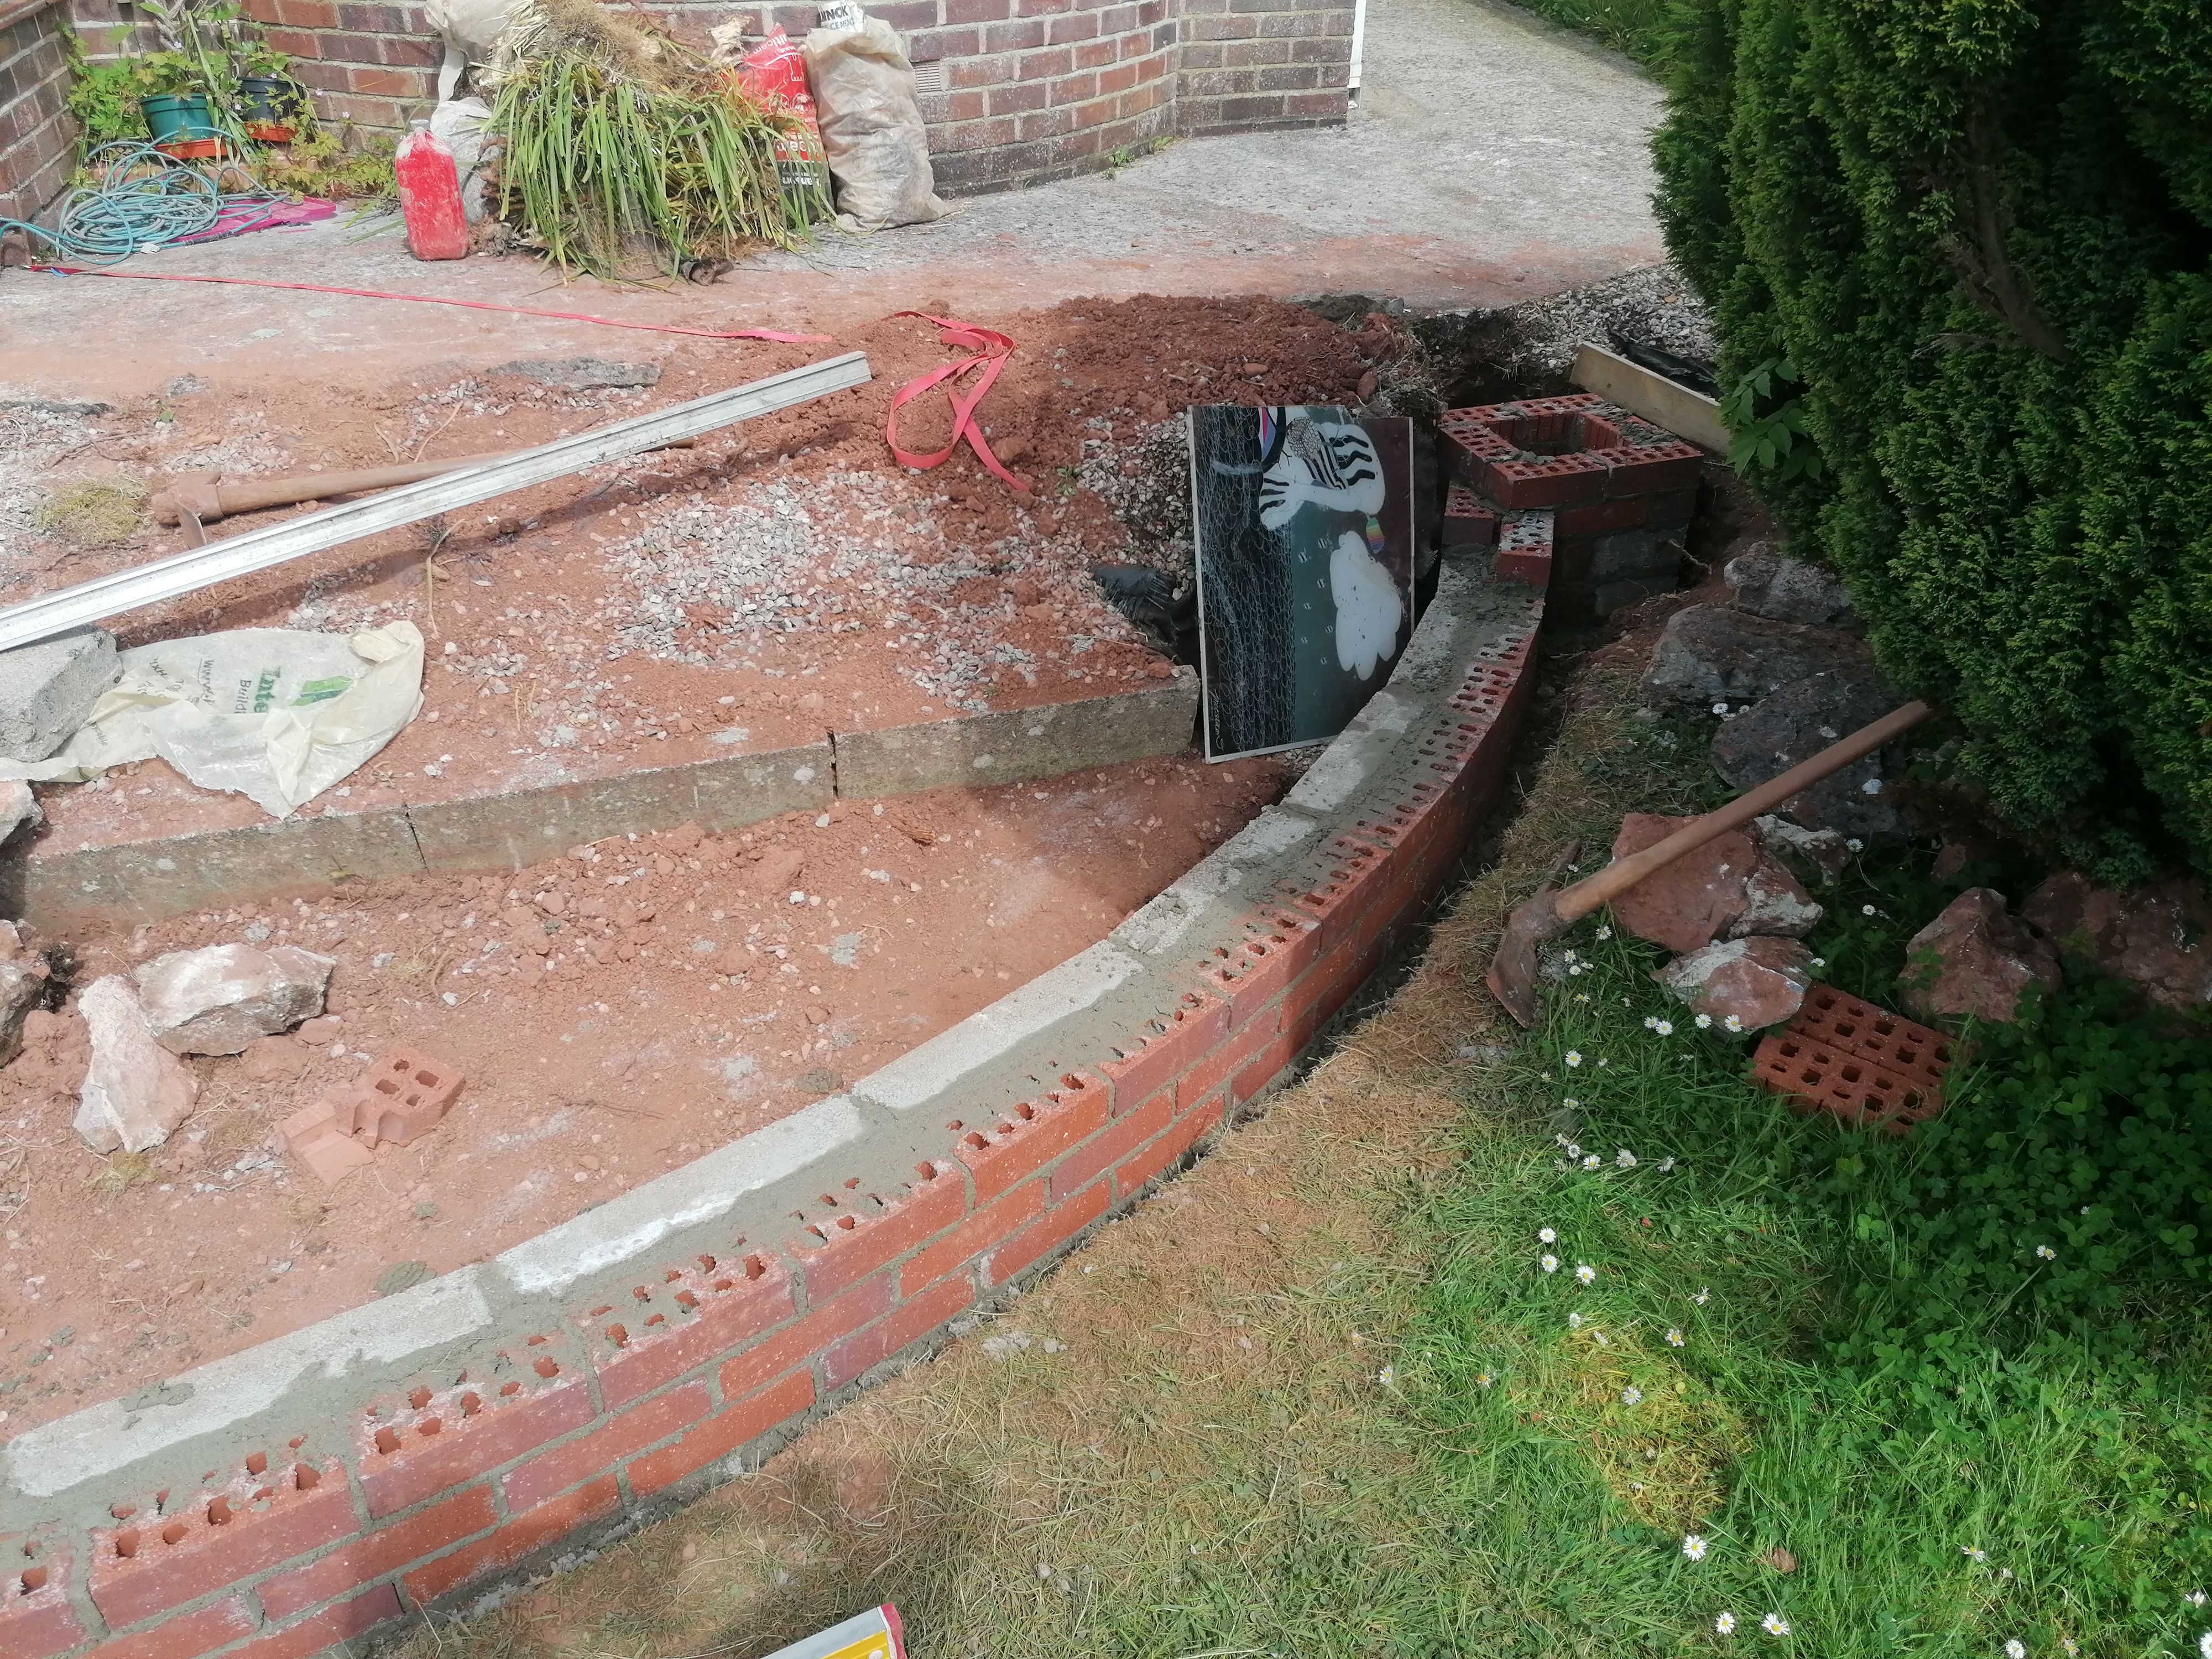
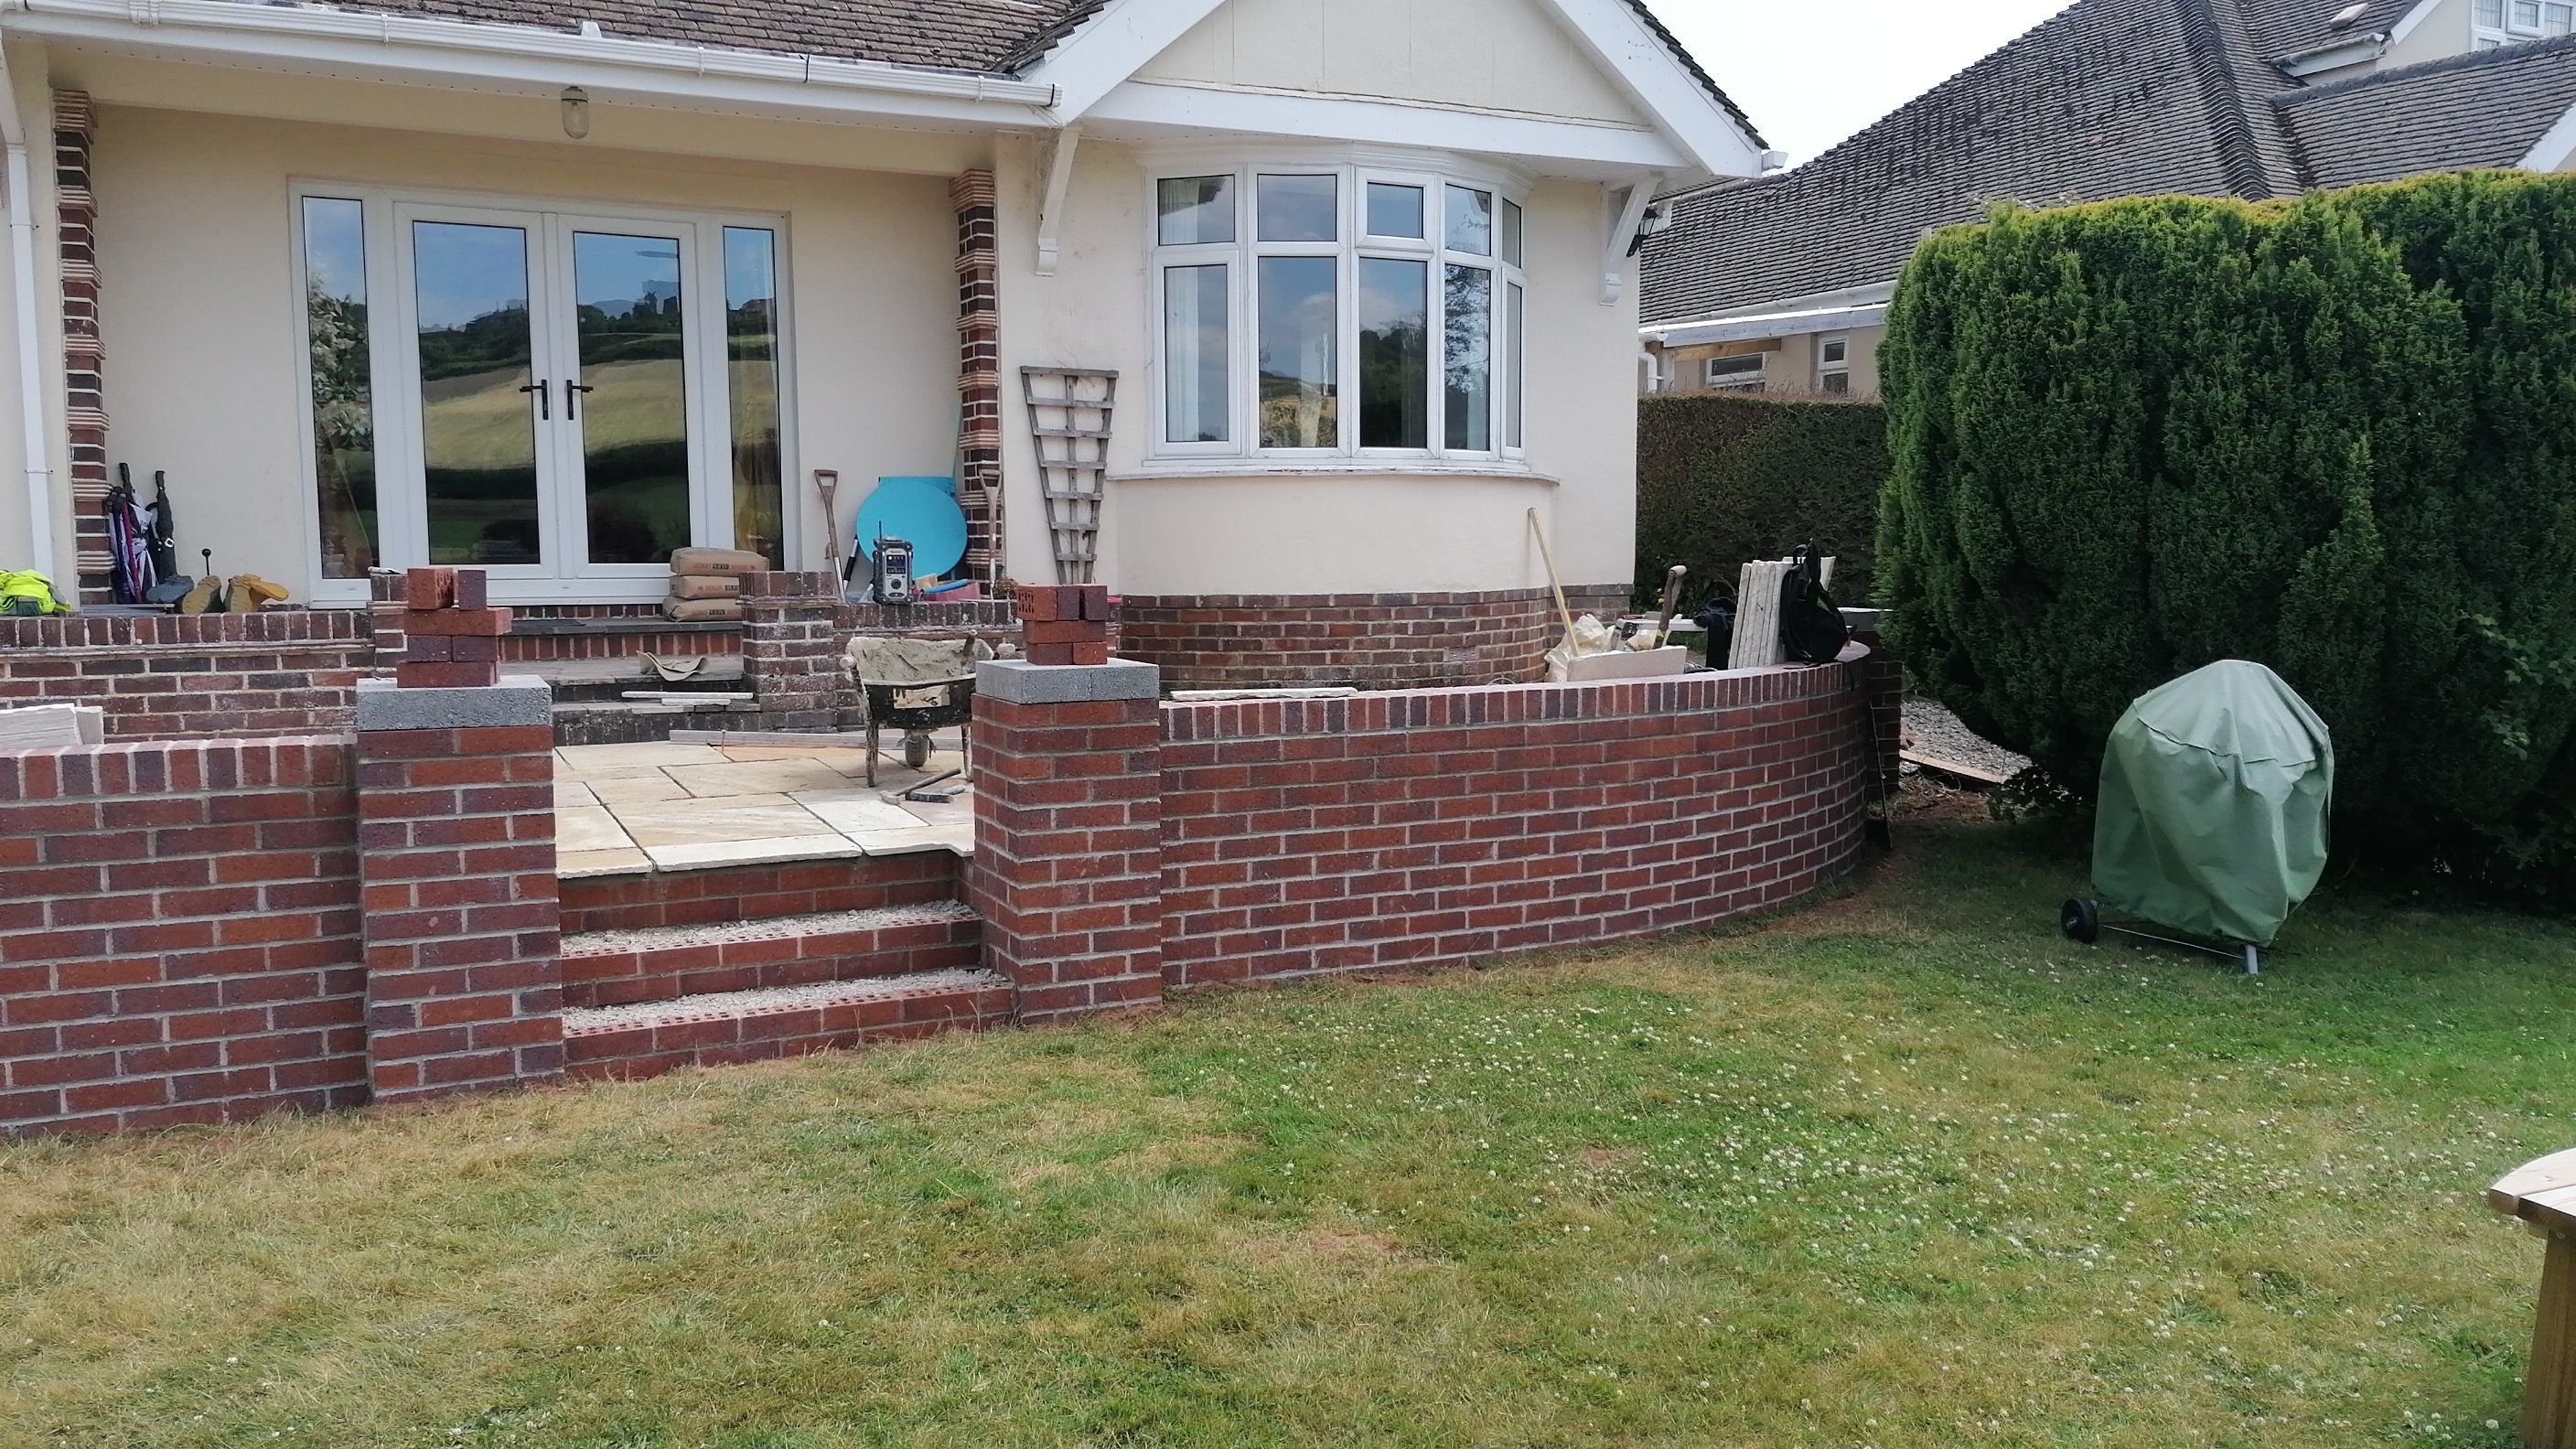
To finish the curved brickwork, I projected out from the building two brickwork piers. These piers were bonded into the ‘circular’ work to create a nice transition from one to the other. After the first three courses are laid, I back up the brickwork with blocks to give me the finished thickness, making it easy to finish building up the wall.
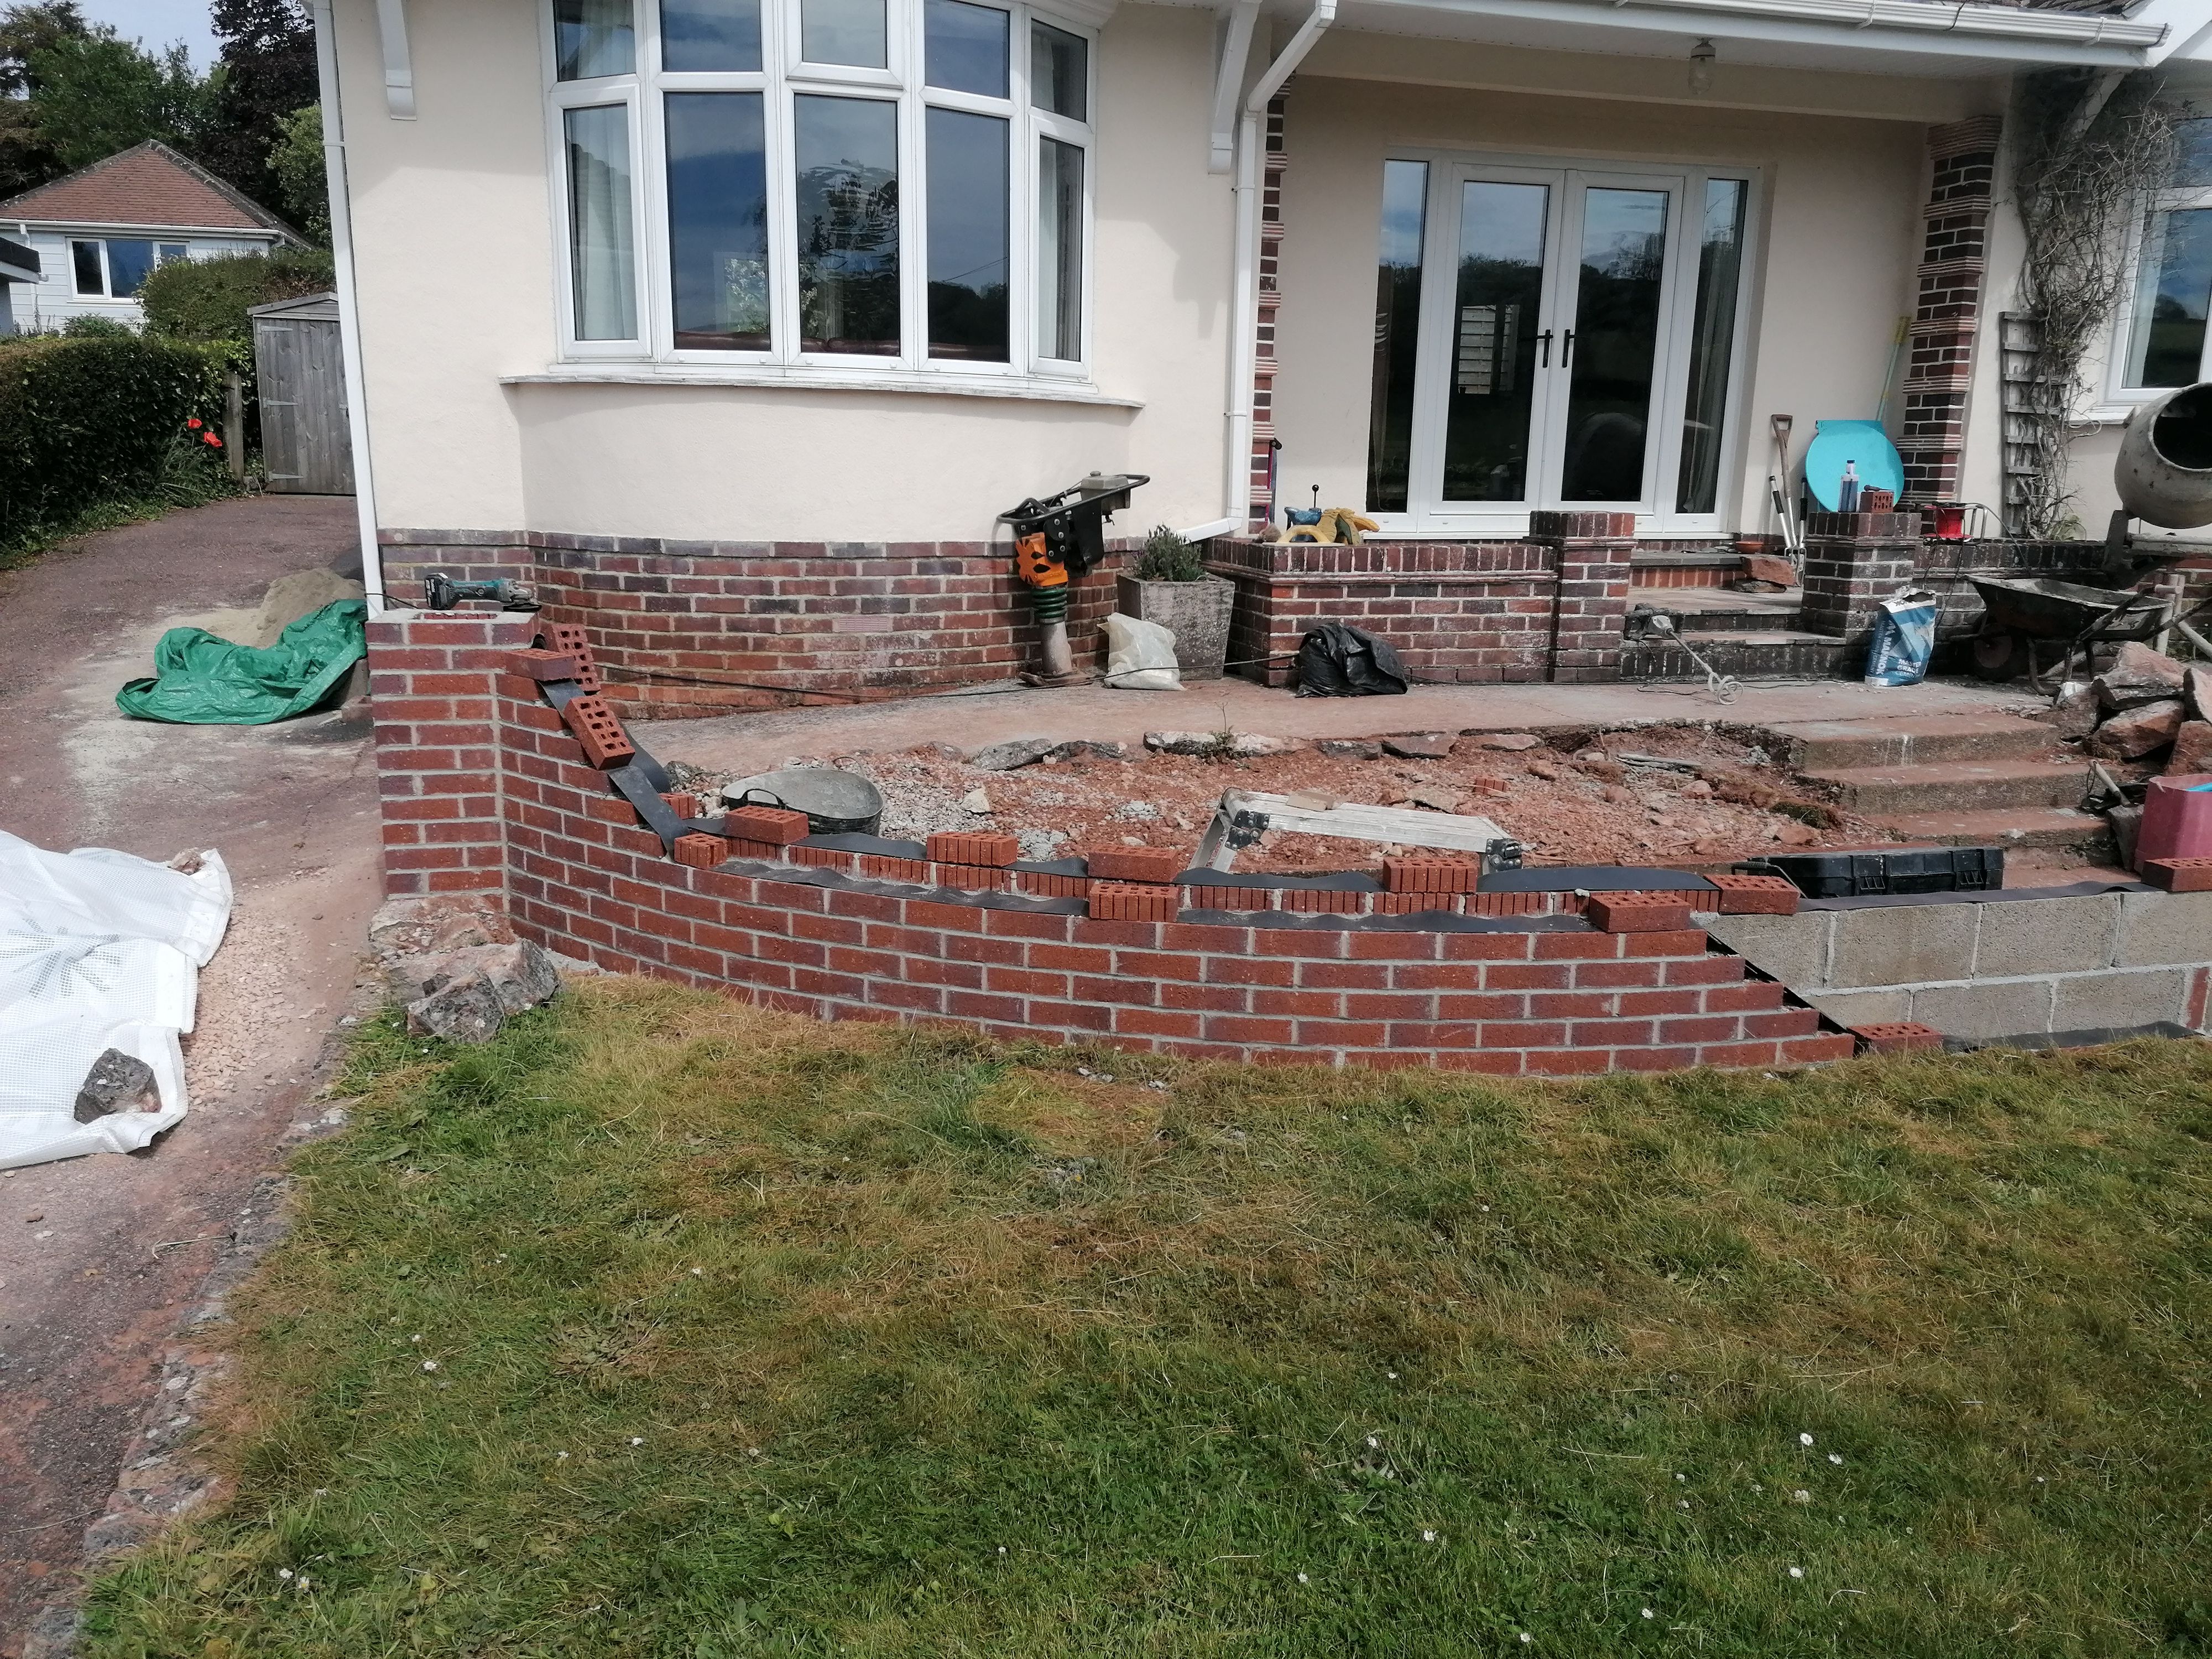
Here is a picture of the other side of the wall. Note that I will always cover the wall if rain is expected.
Building Up Plumb #
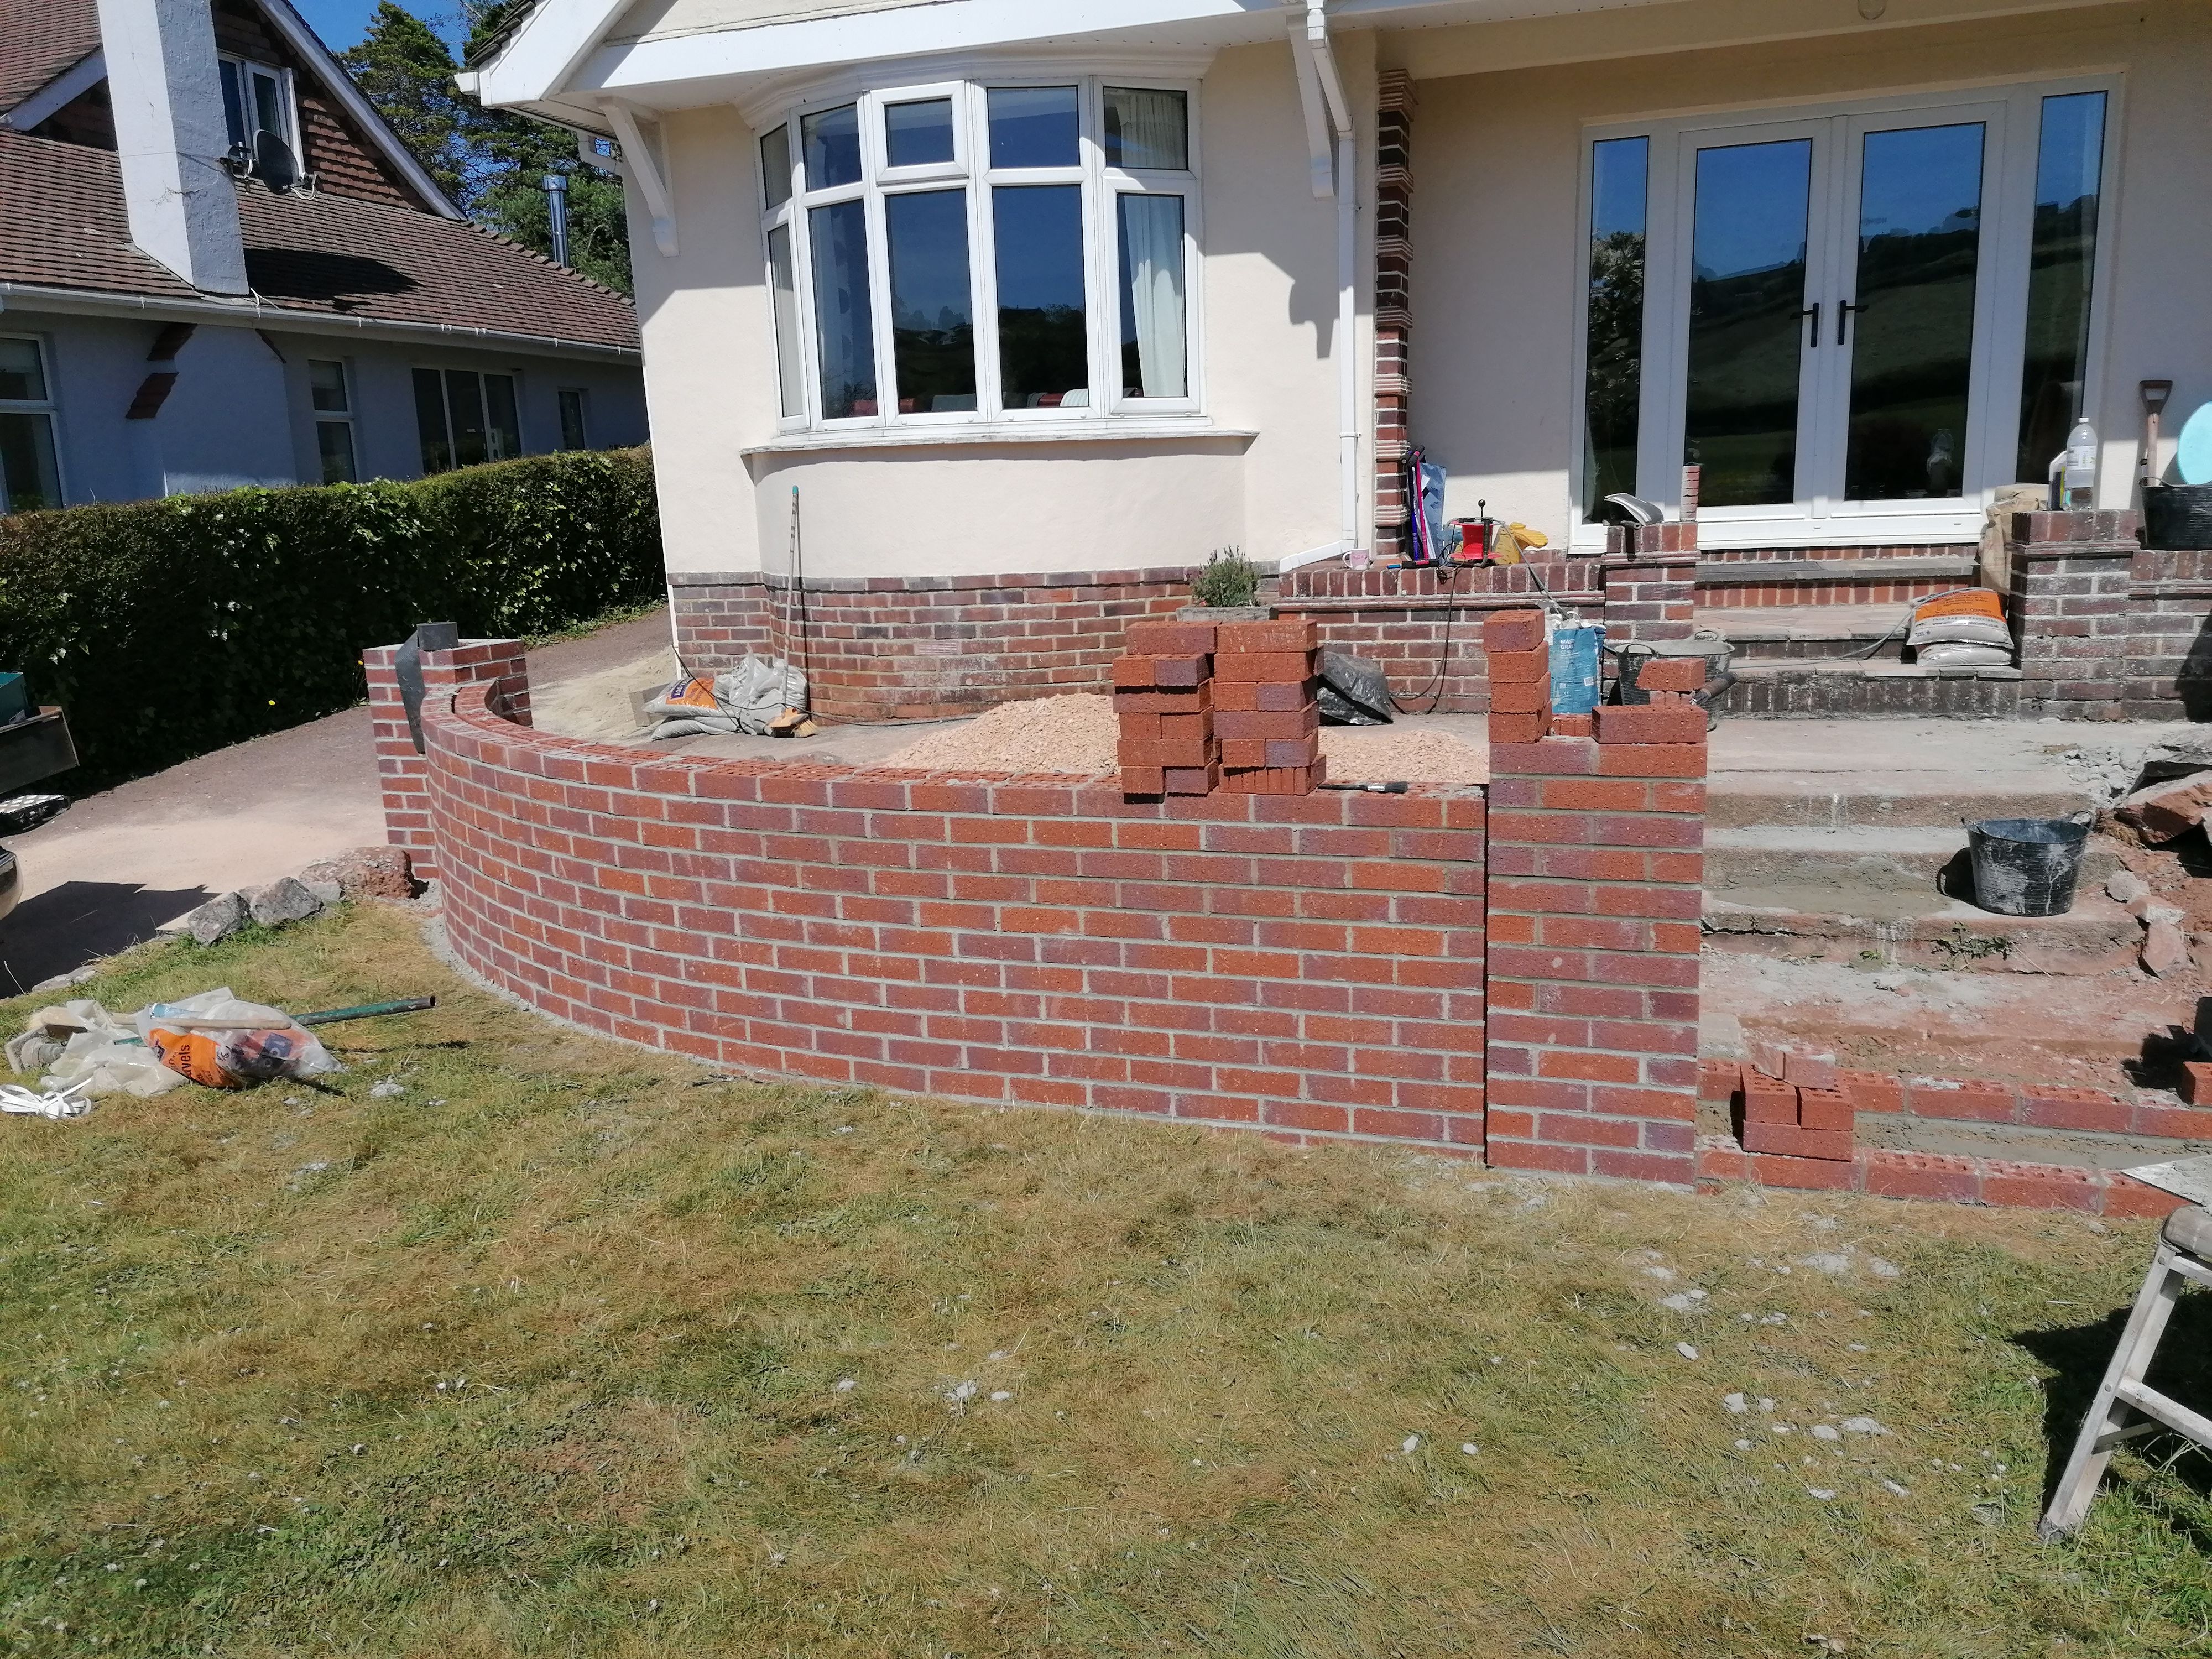
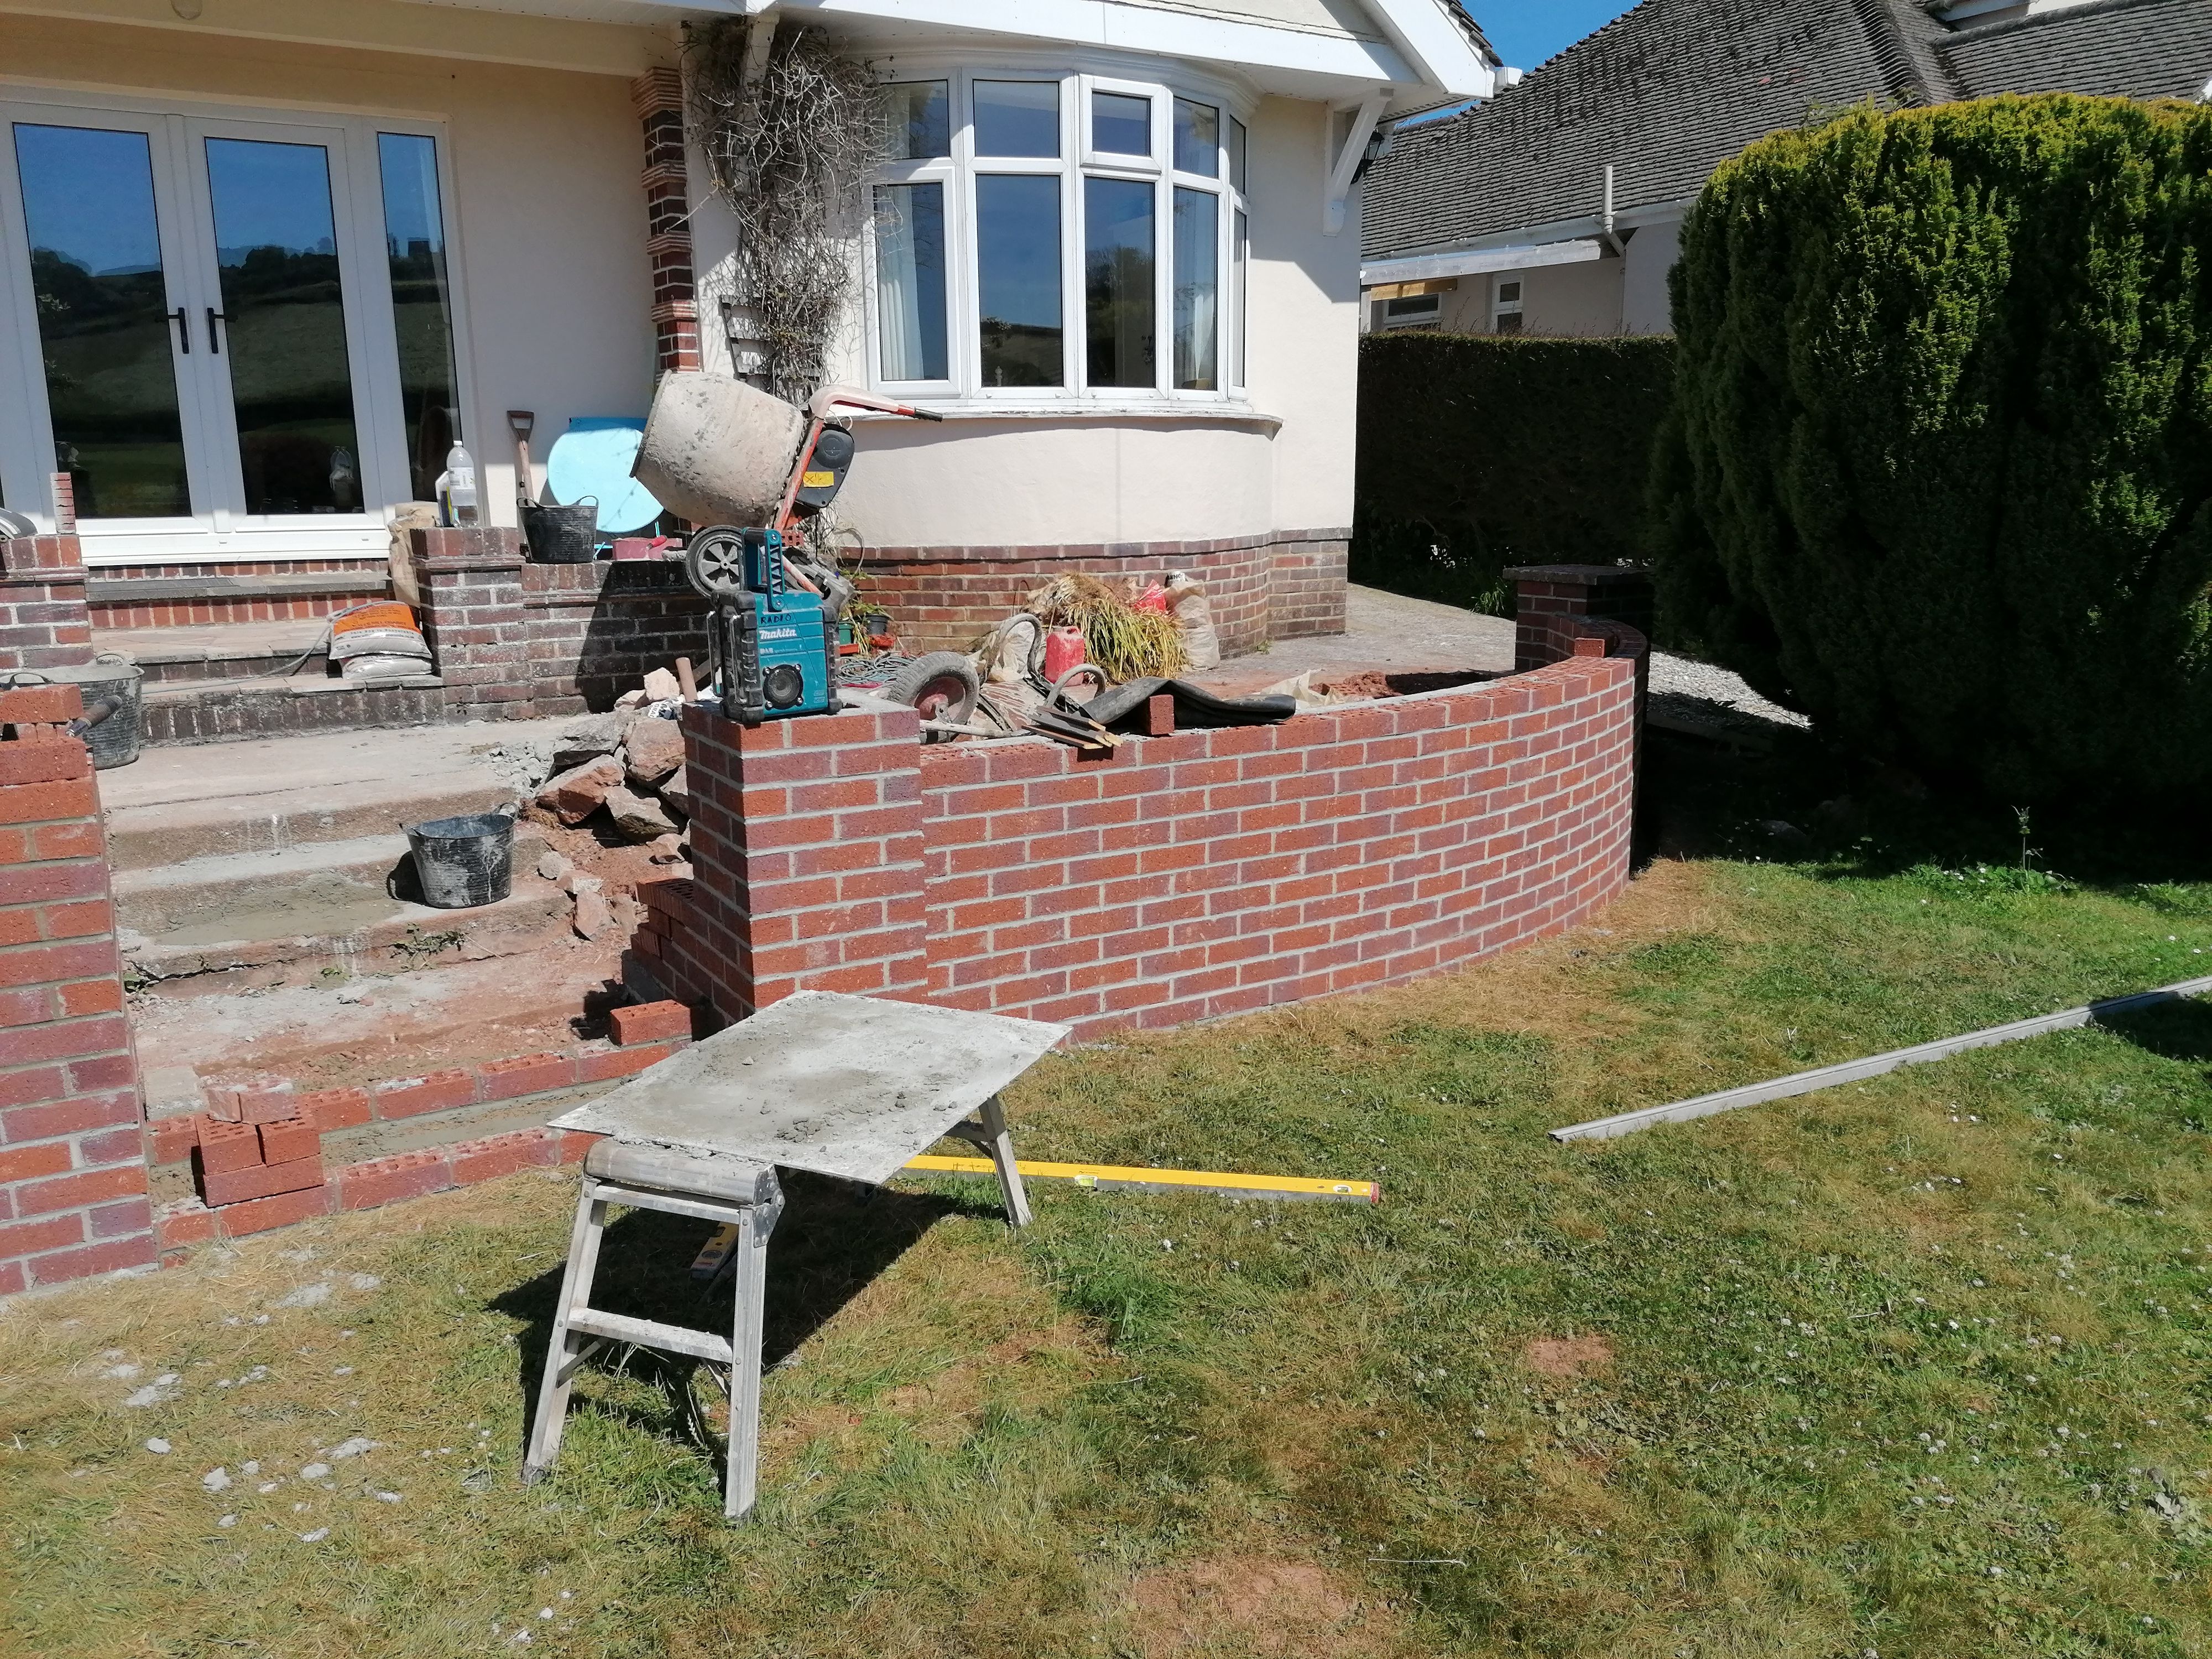
After the wall is set out, it’s built up plumb using a tape measure to make sure the blockwork behind doesn’t drift out. Just below ground level, the blockwork is replaced with brickwork. This makes sure the wall looks pretty on both sides, whilst saving money on blocks.
Wall Capping #
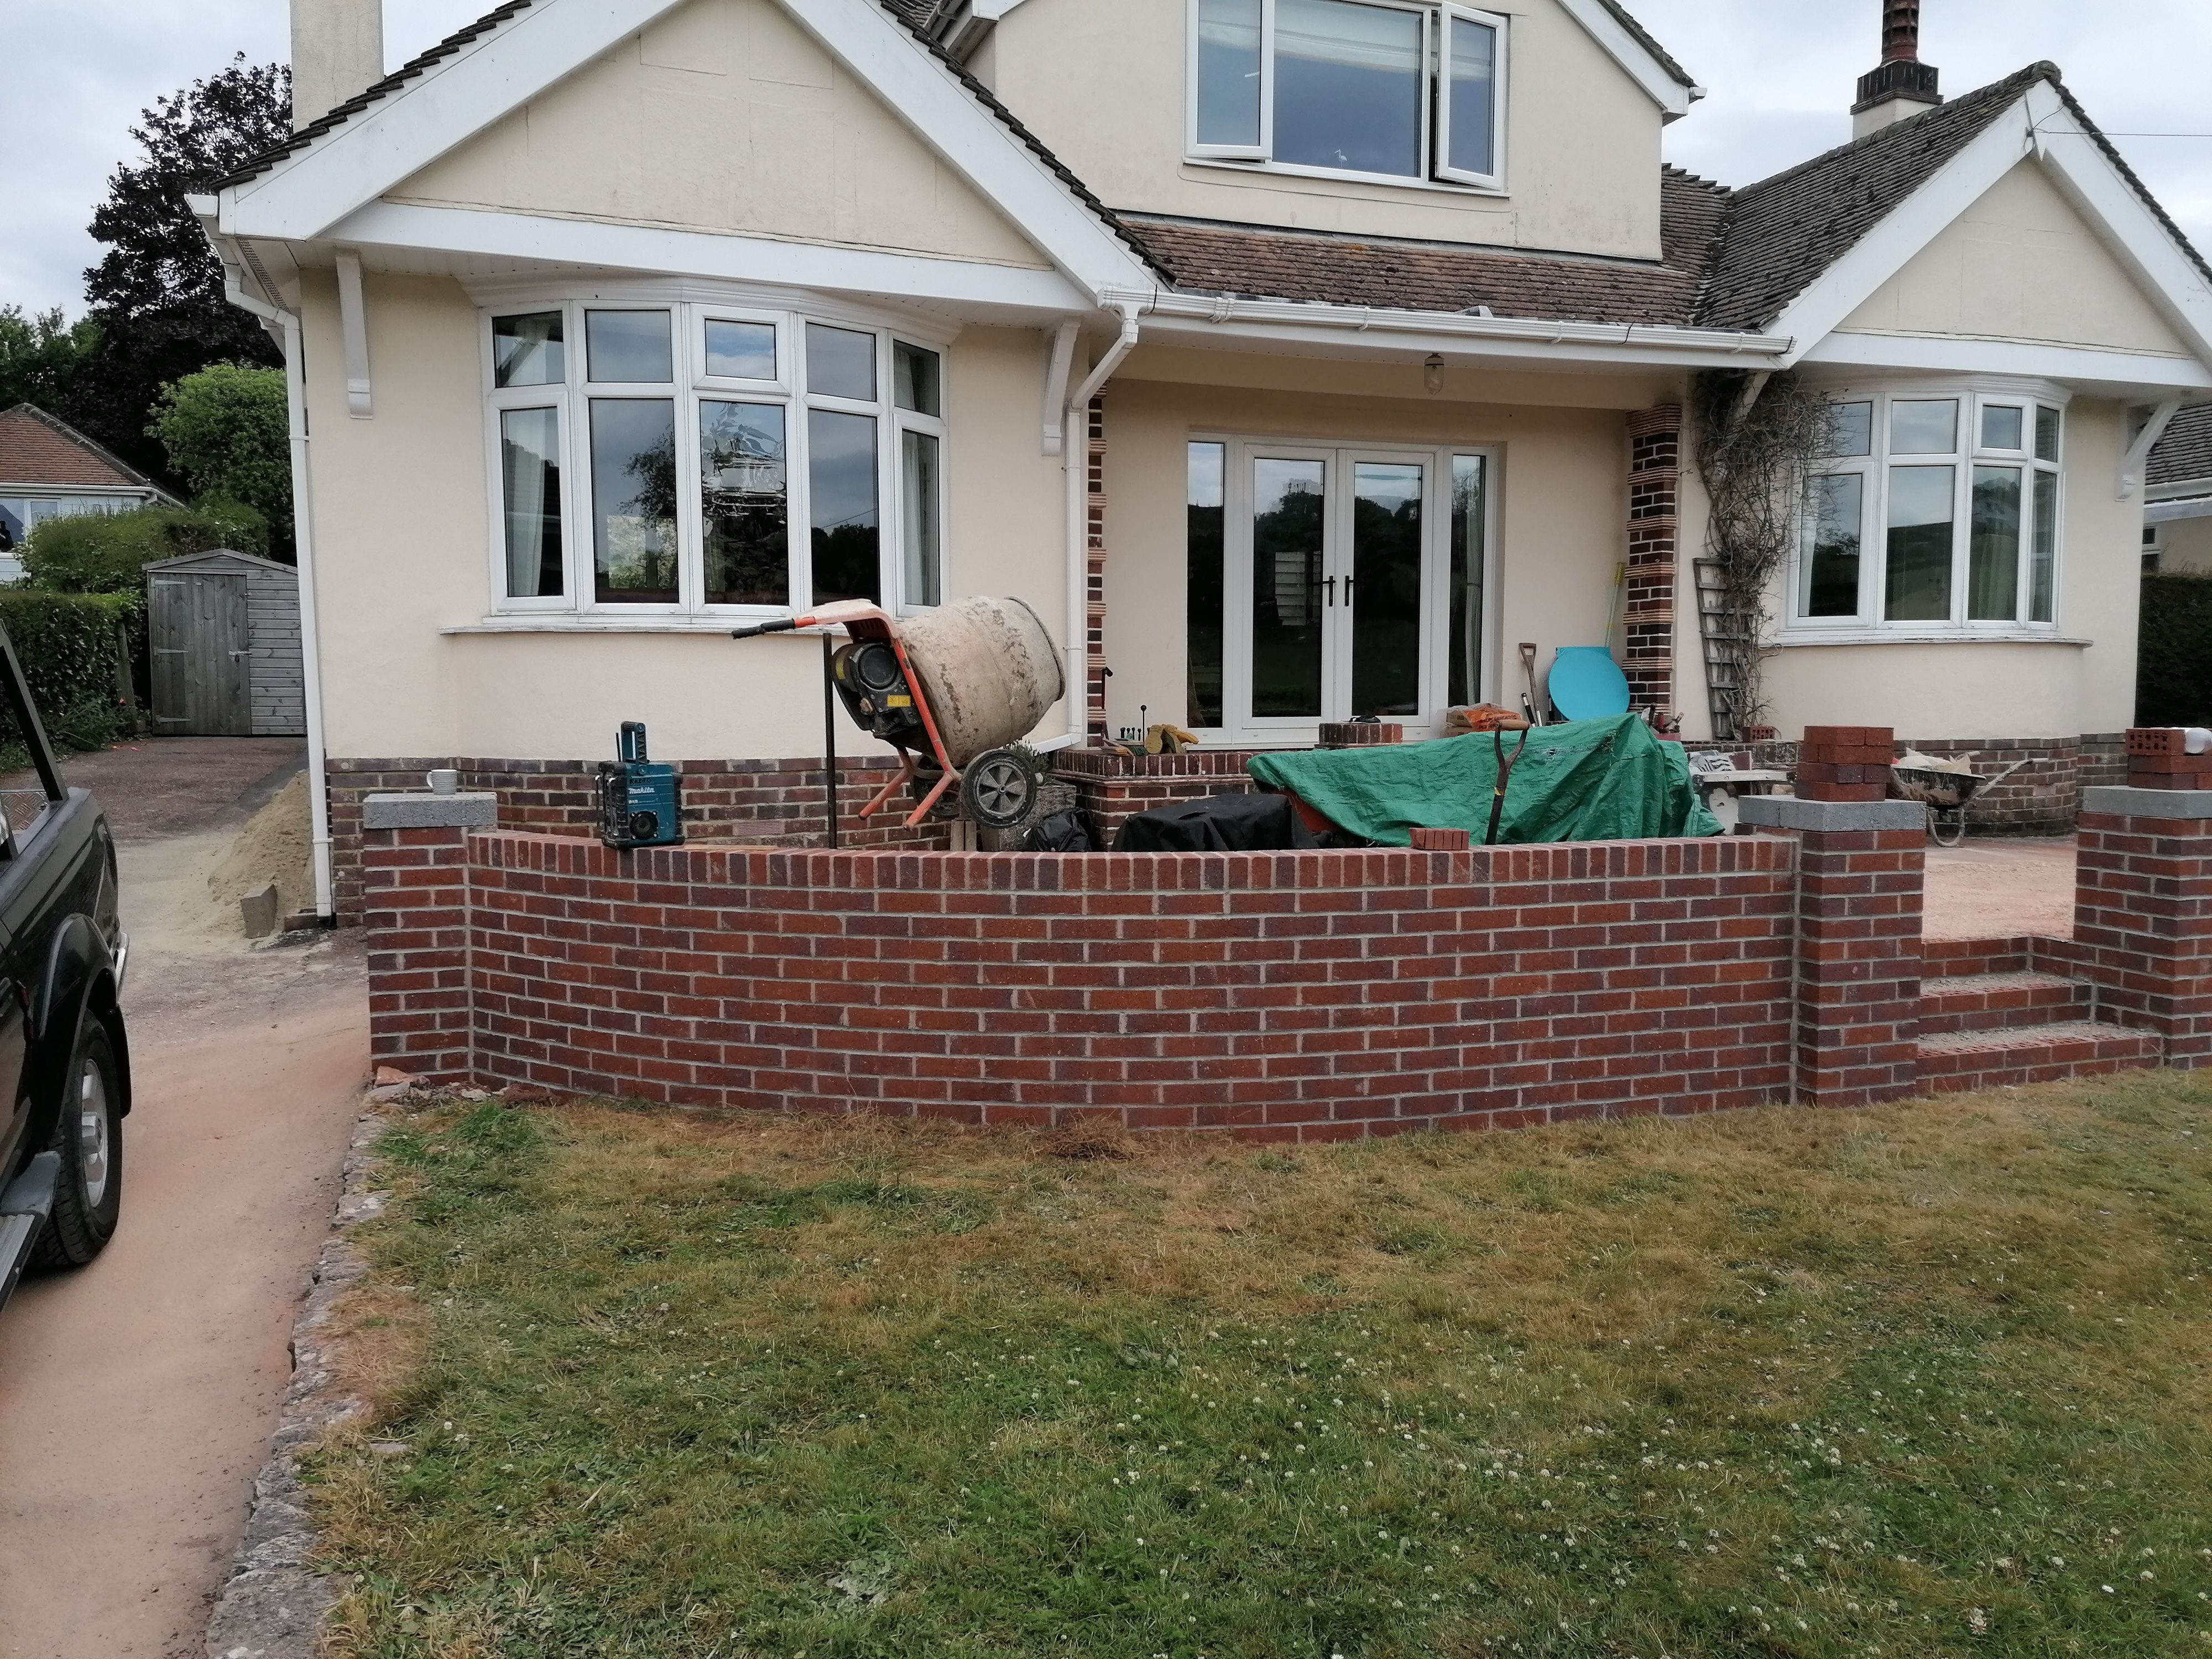
After the wall is up to just below the height where it’s needed, you can continue by adding the capping using the same rope trick as before to gauge where the centre is.
Starting the Patio #
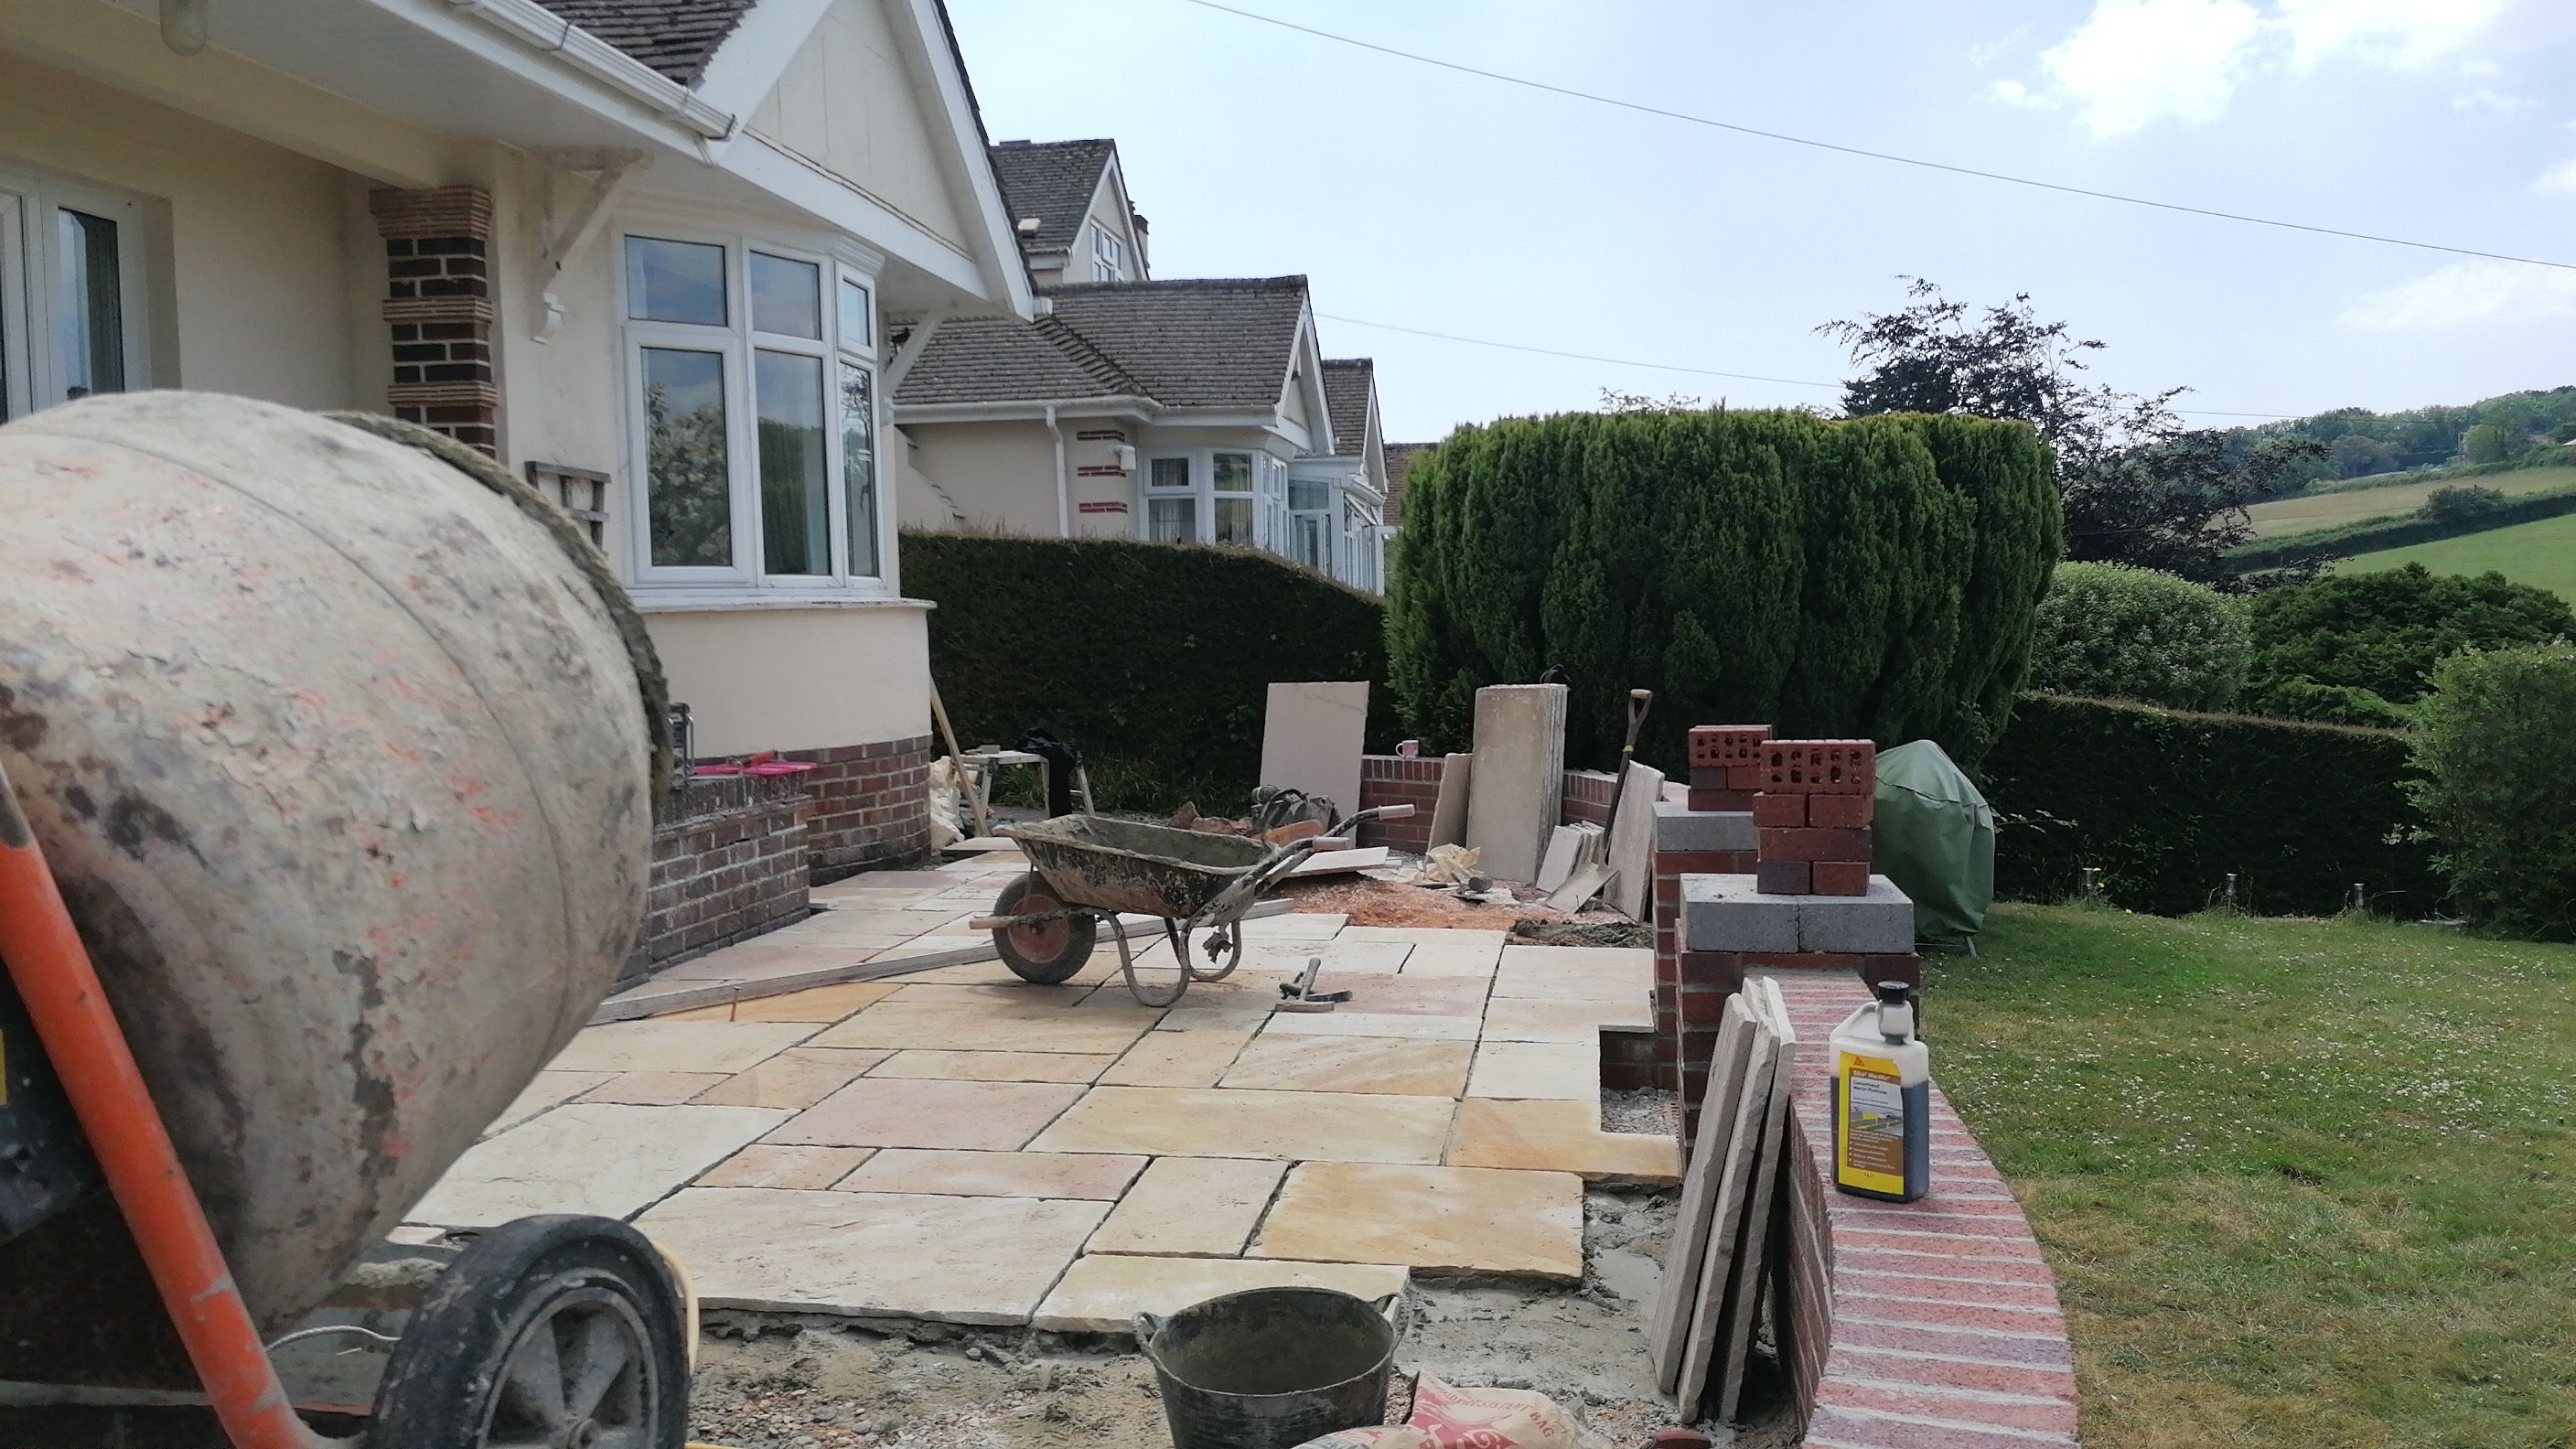
Once the wall is built, the patio can be laid. First, you have to backfill the wall and use a wacker to compress the infill. I use the Wacker Neuson BS45Y. I chose to work from the edge of the house as my starting point to keep the joints square.
Cappings #
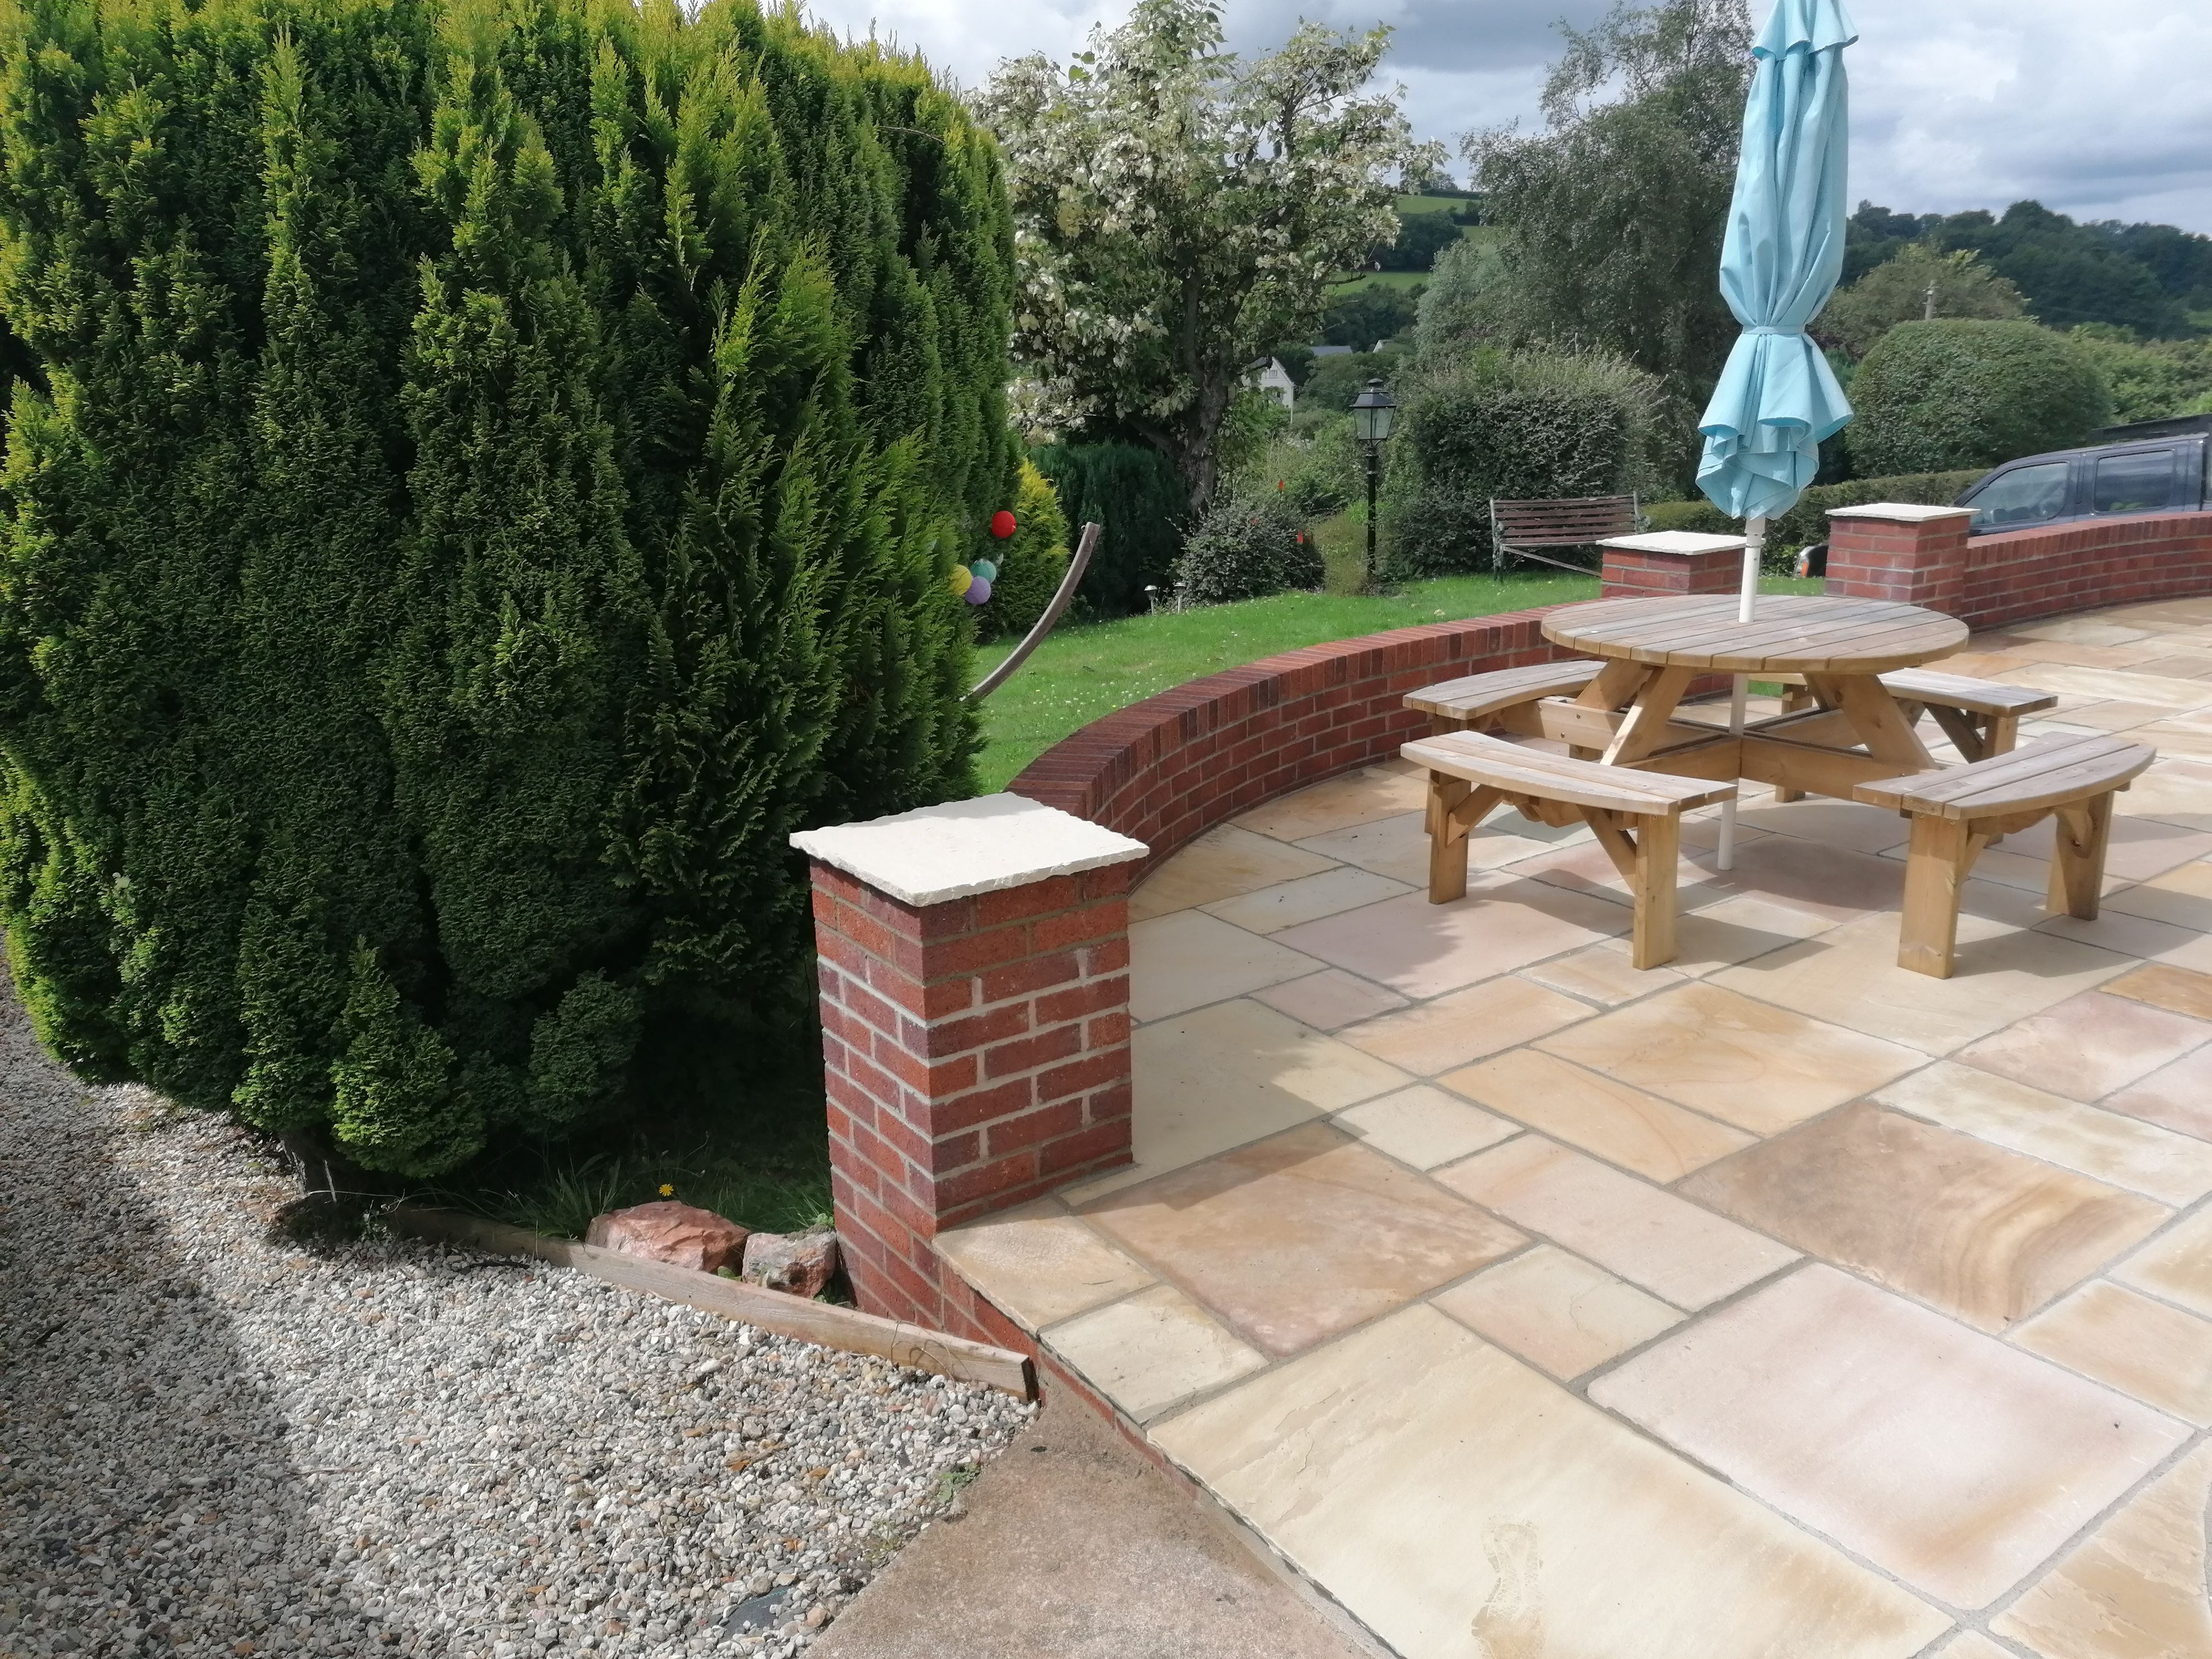
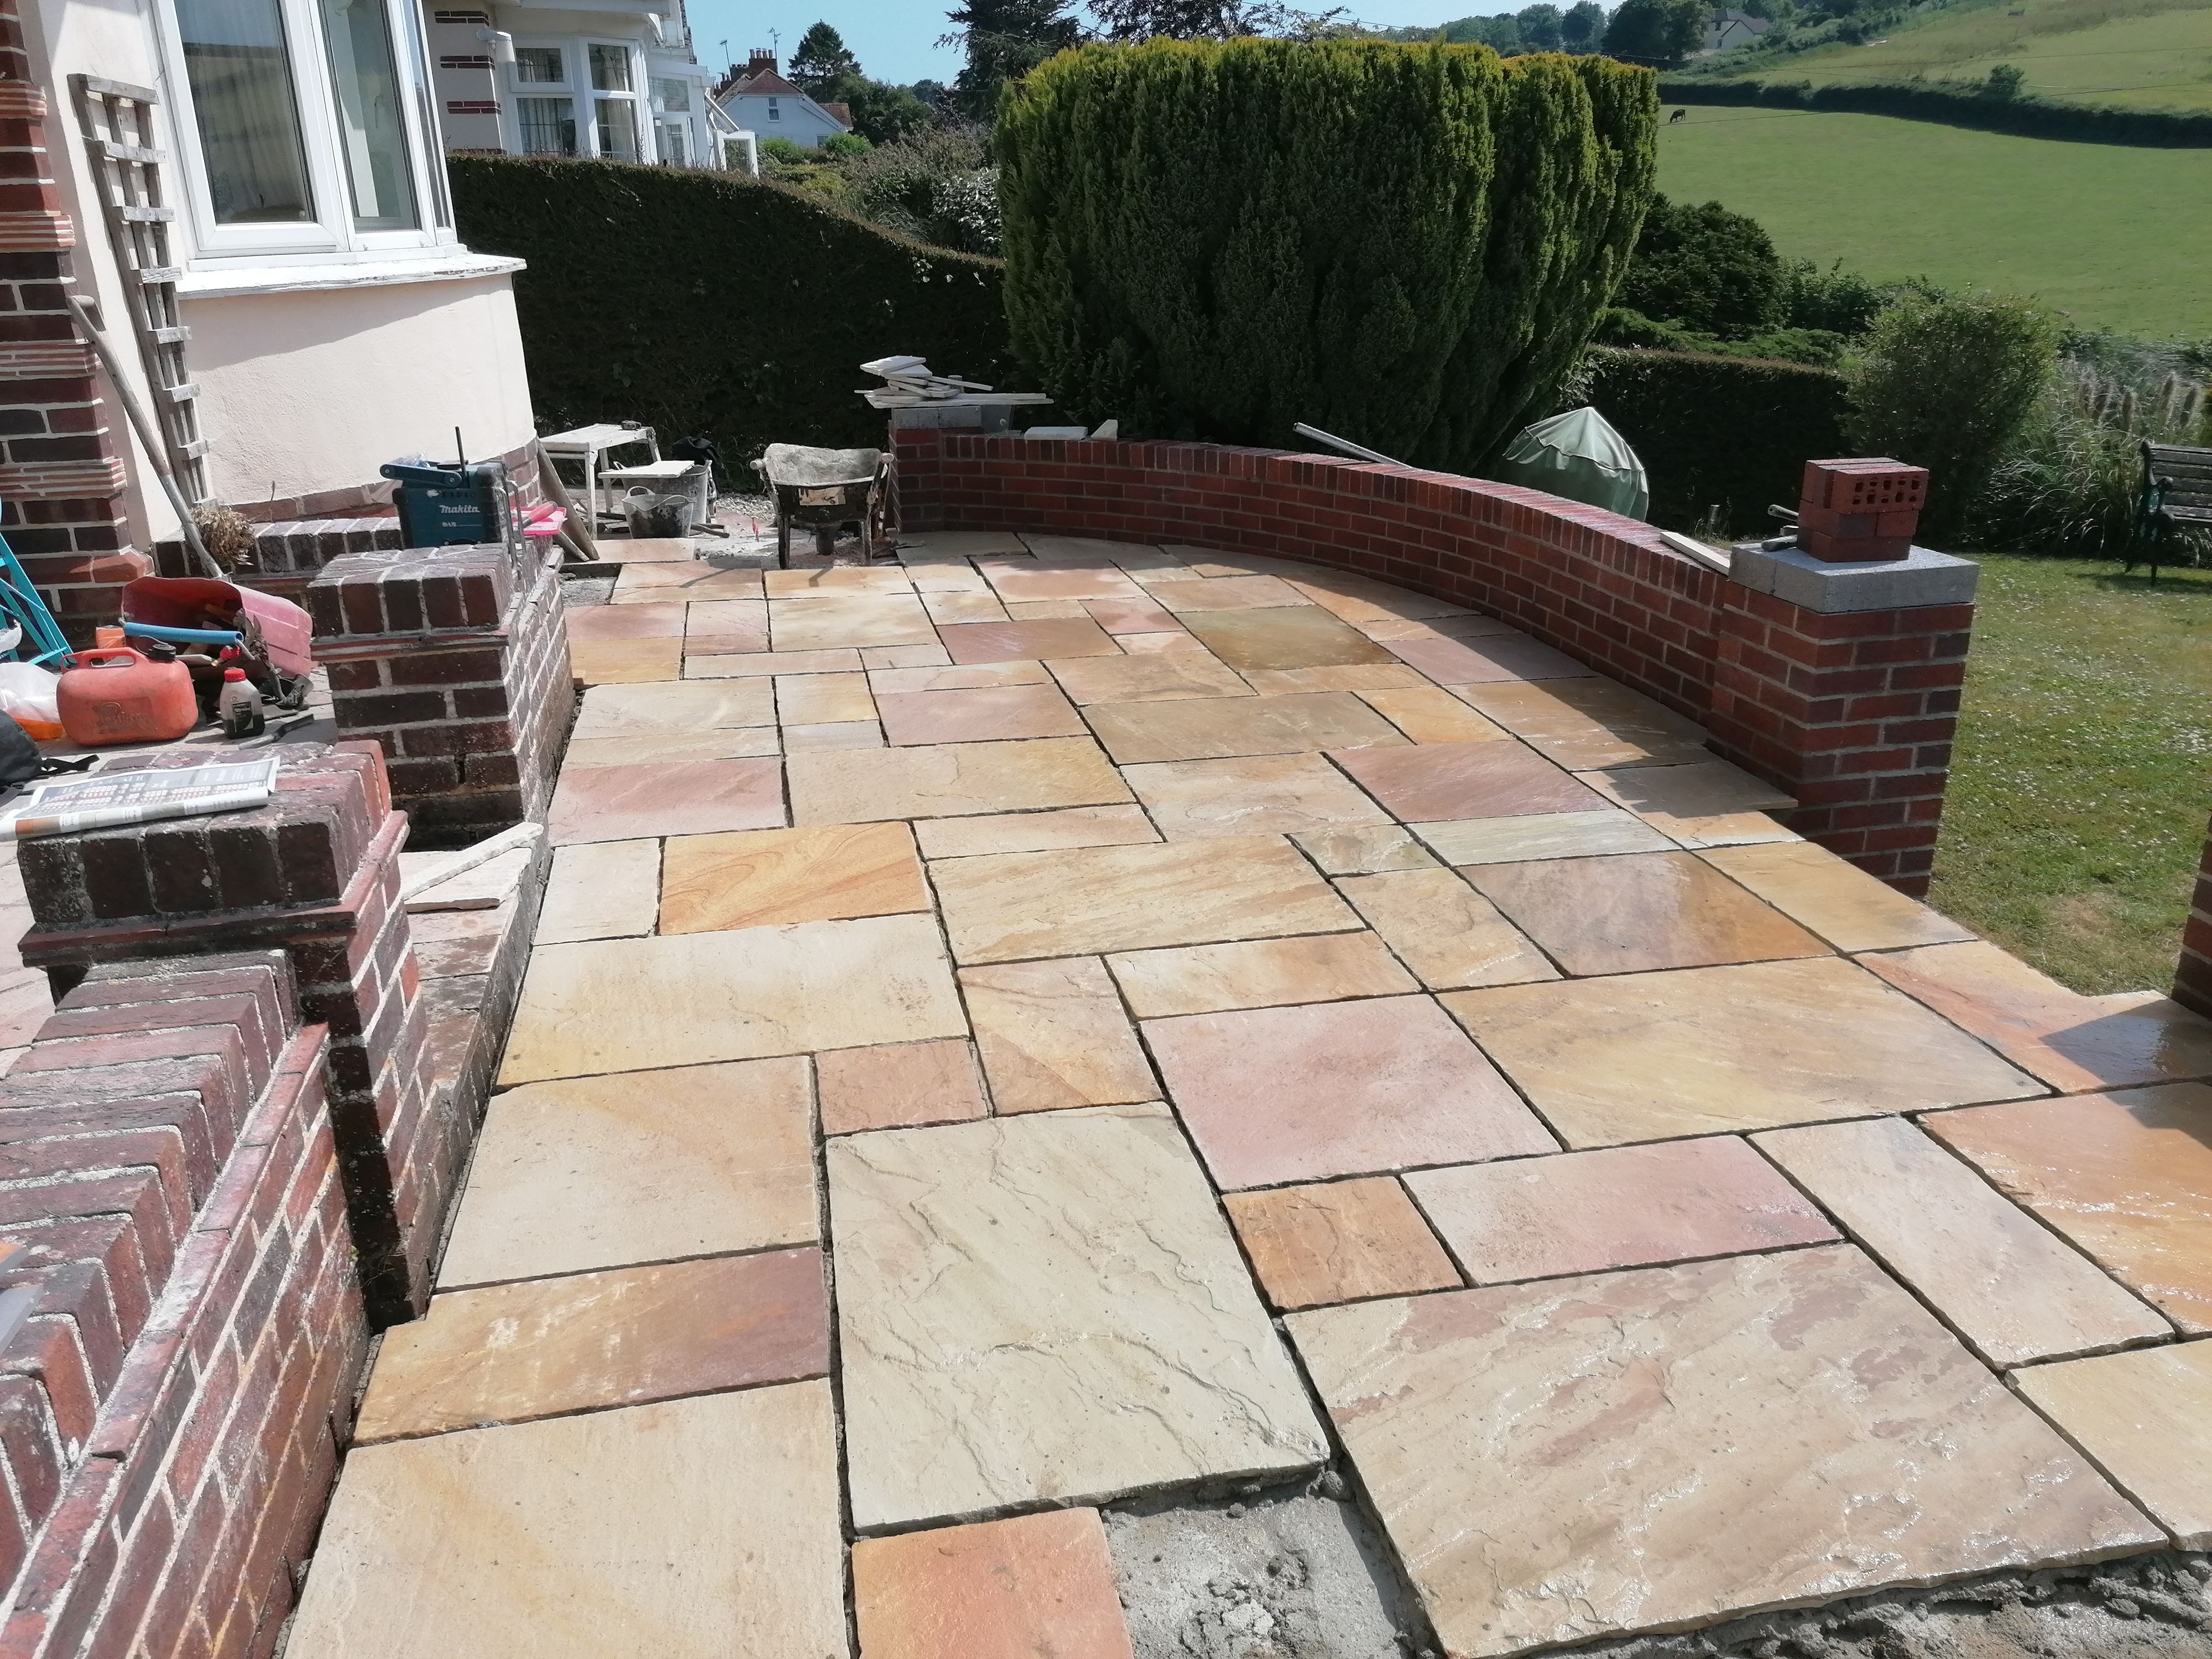
Once the cappings were brought to the client’s request, I finished the piers and pointed everything ready for the handover.
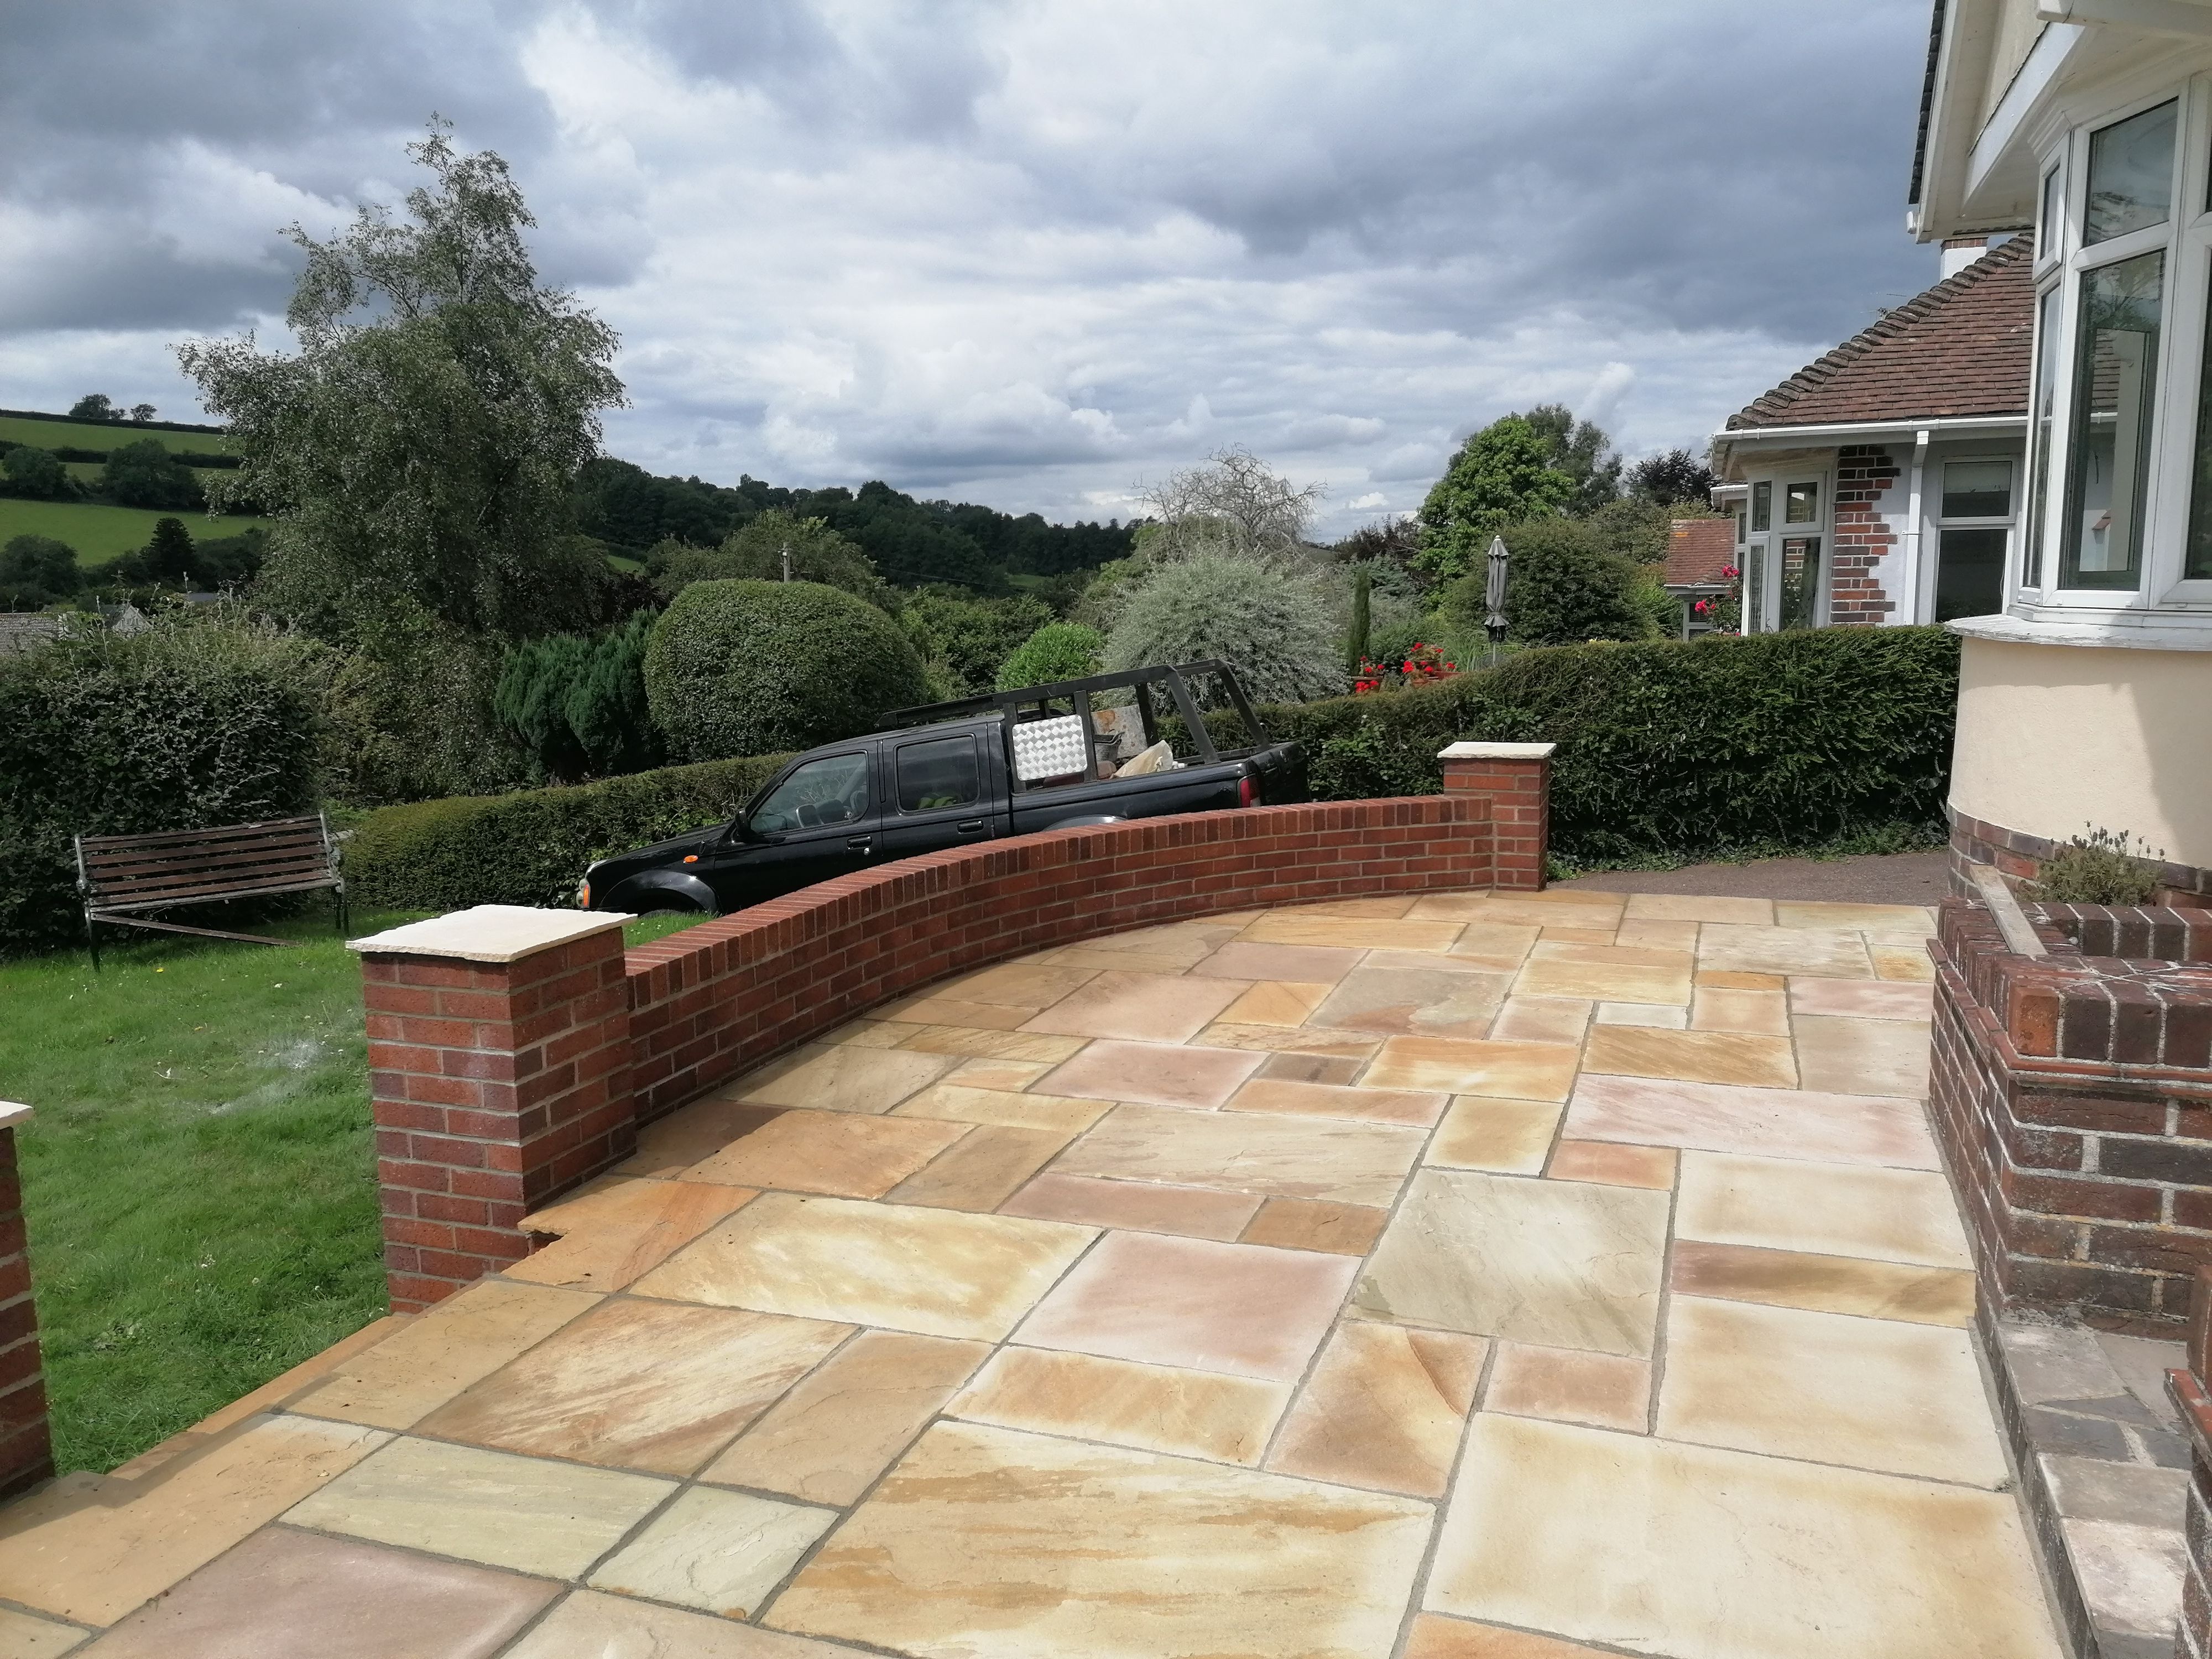
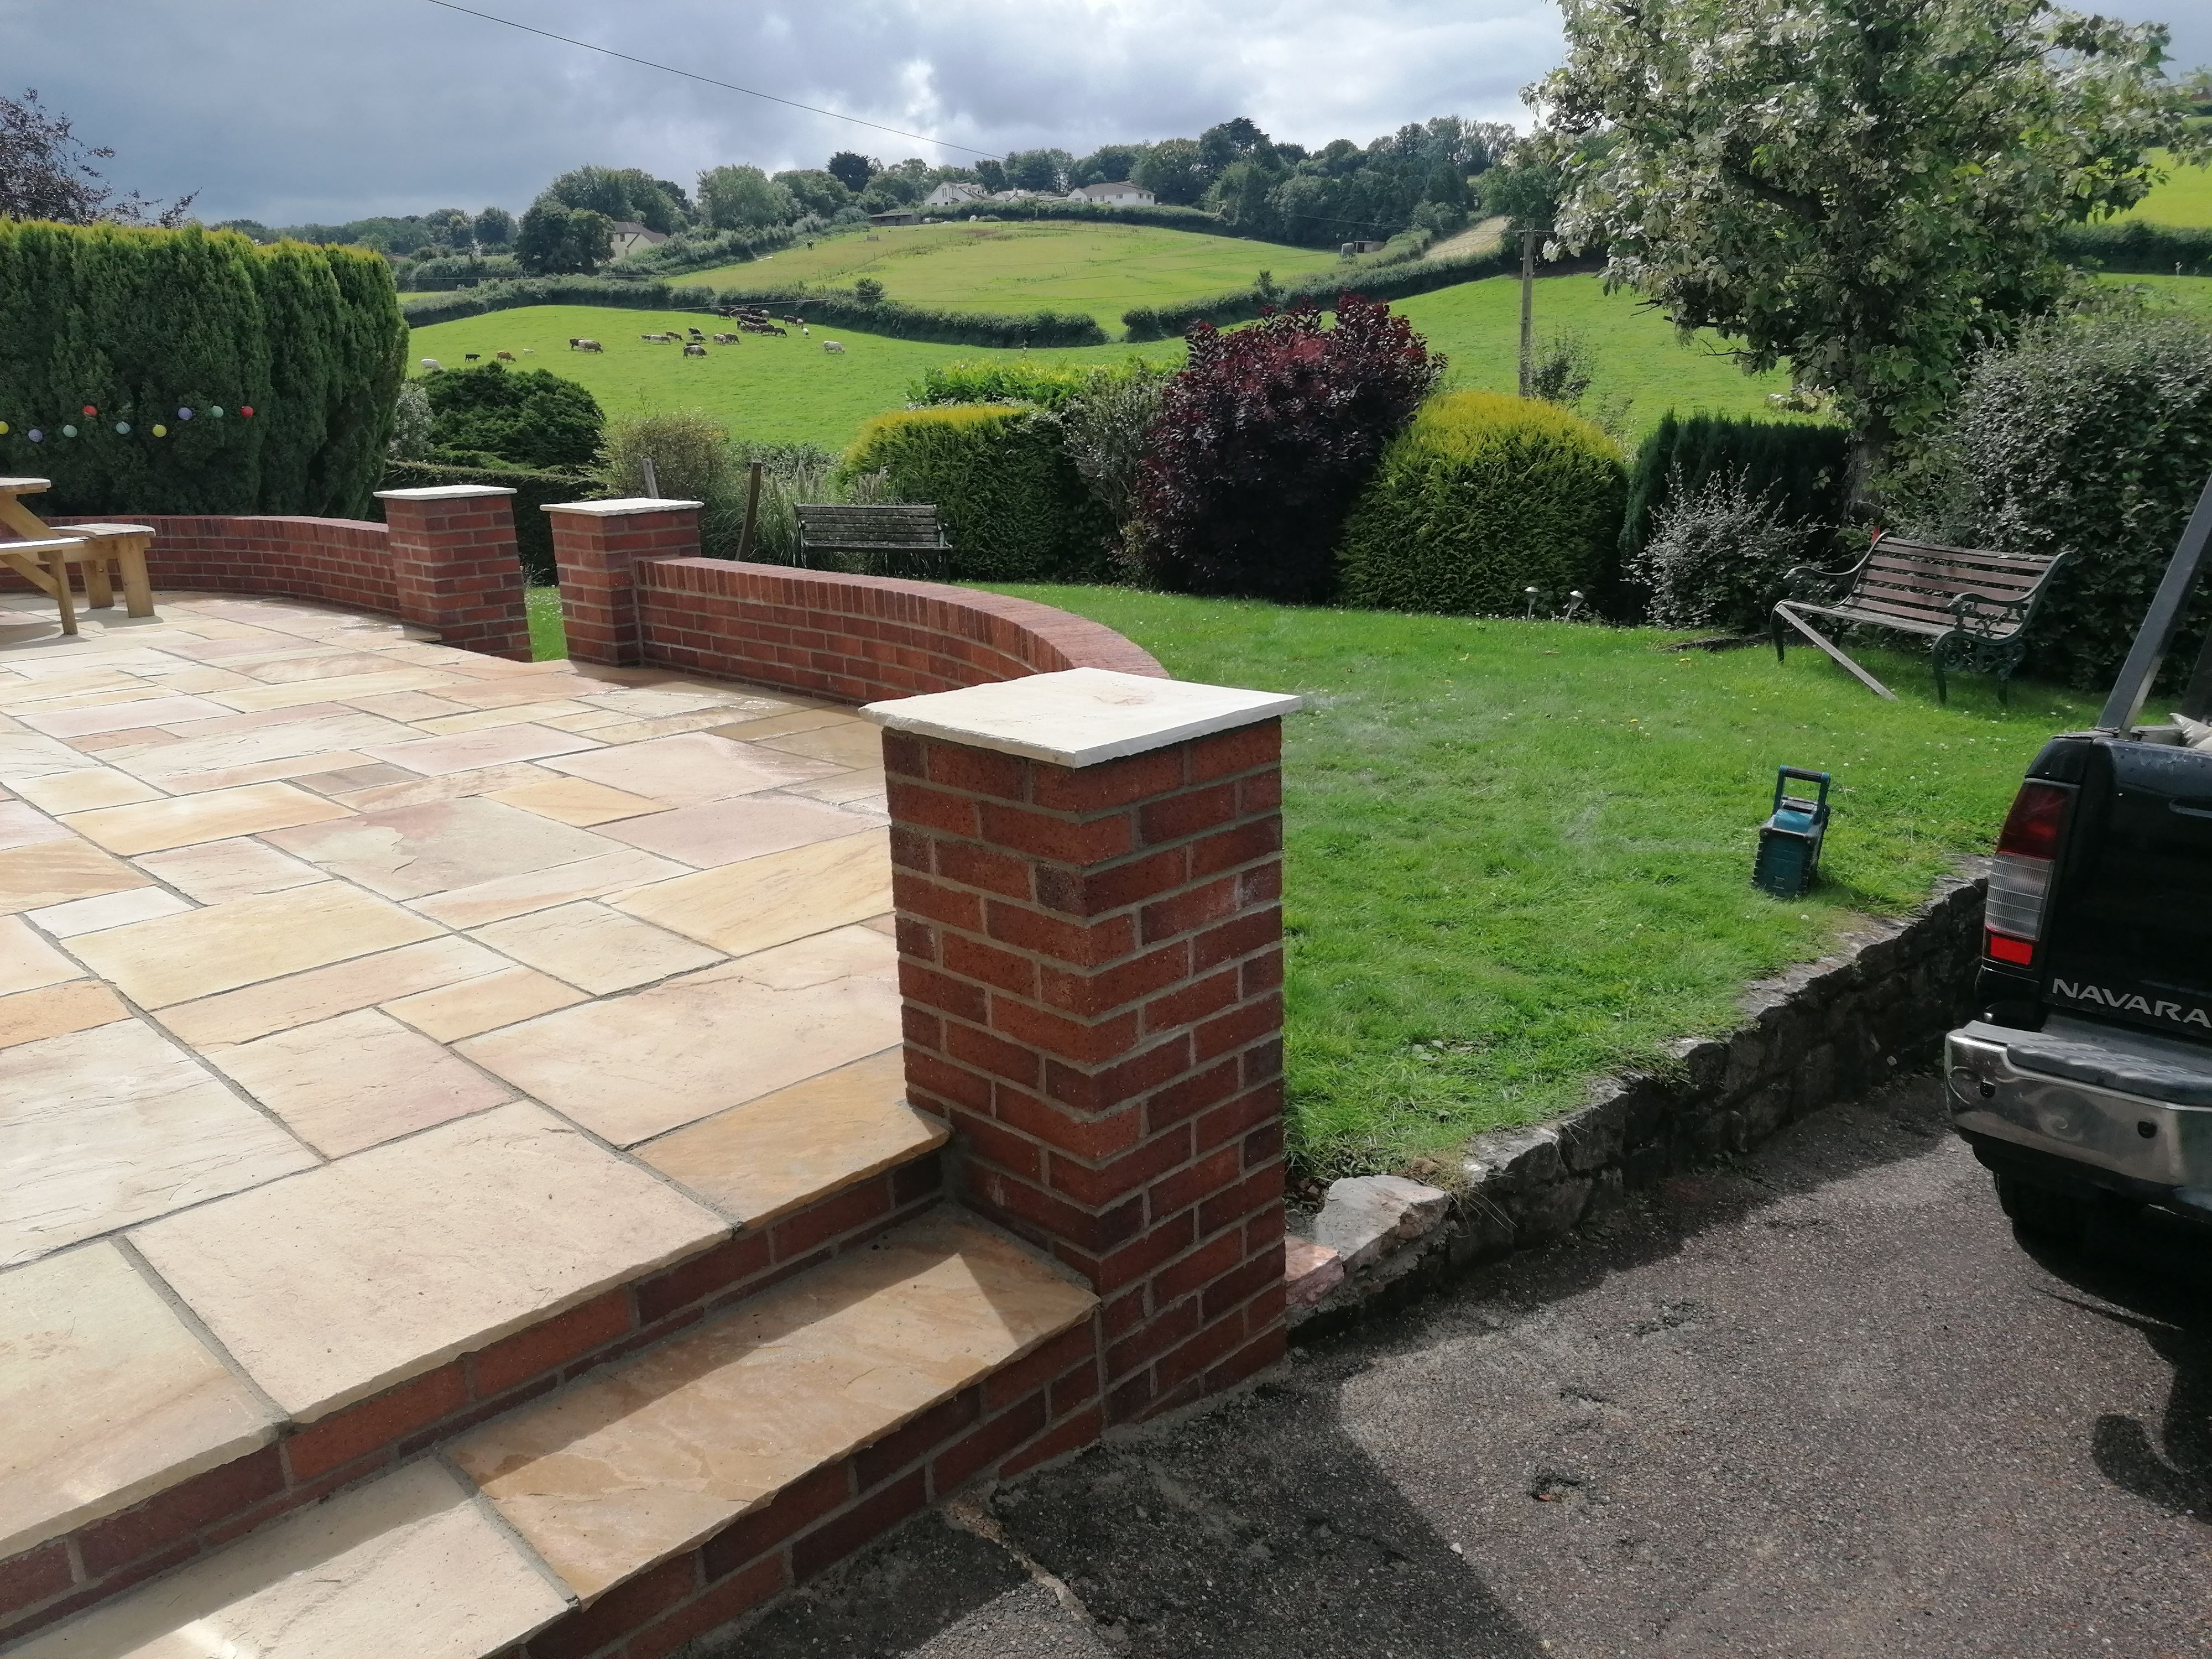
Final Photos #
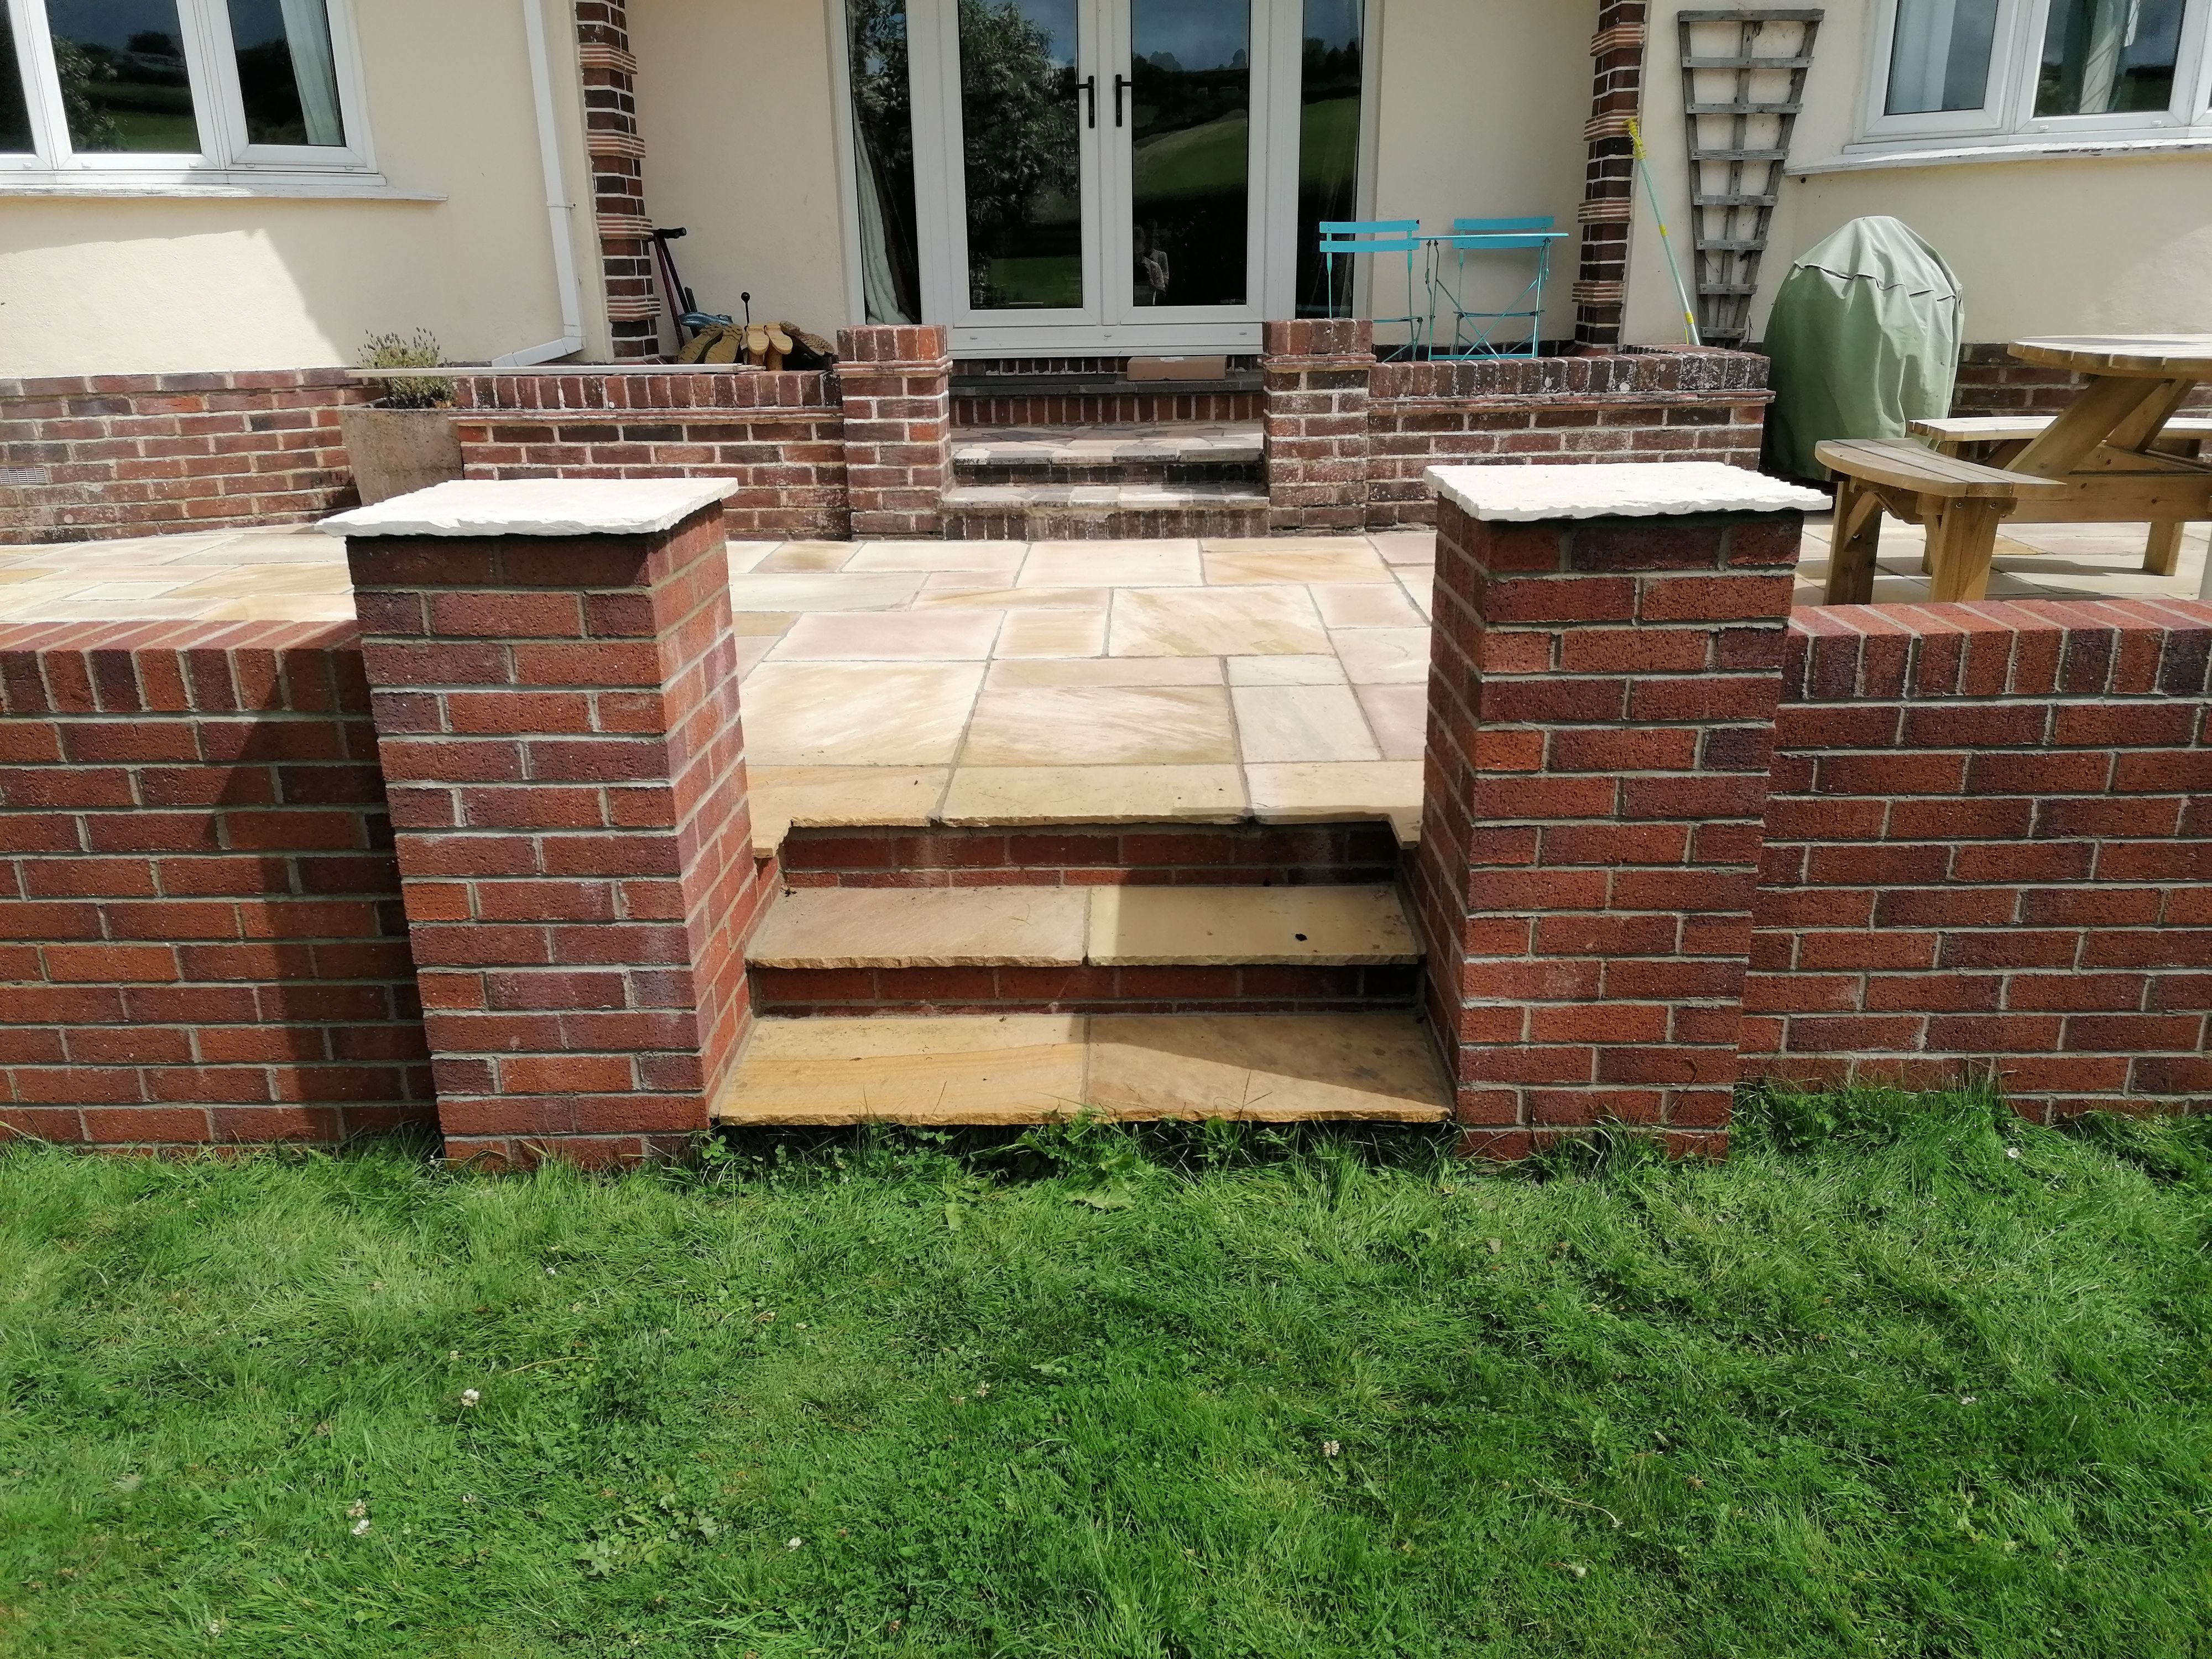
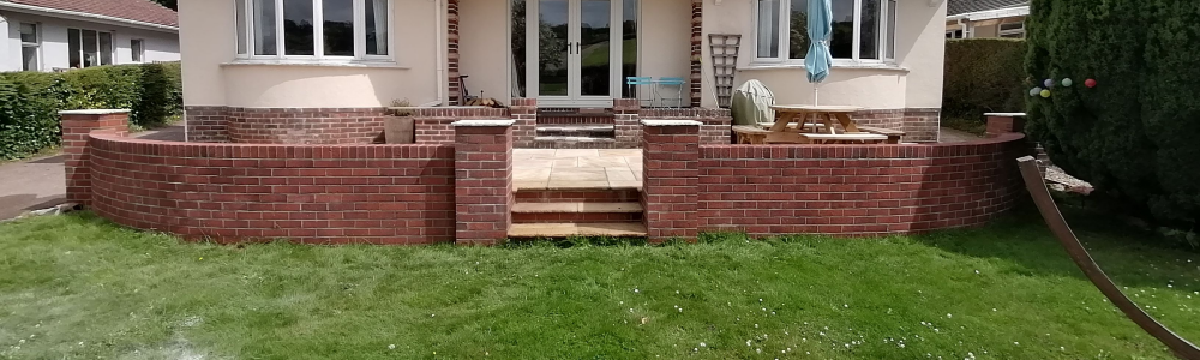
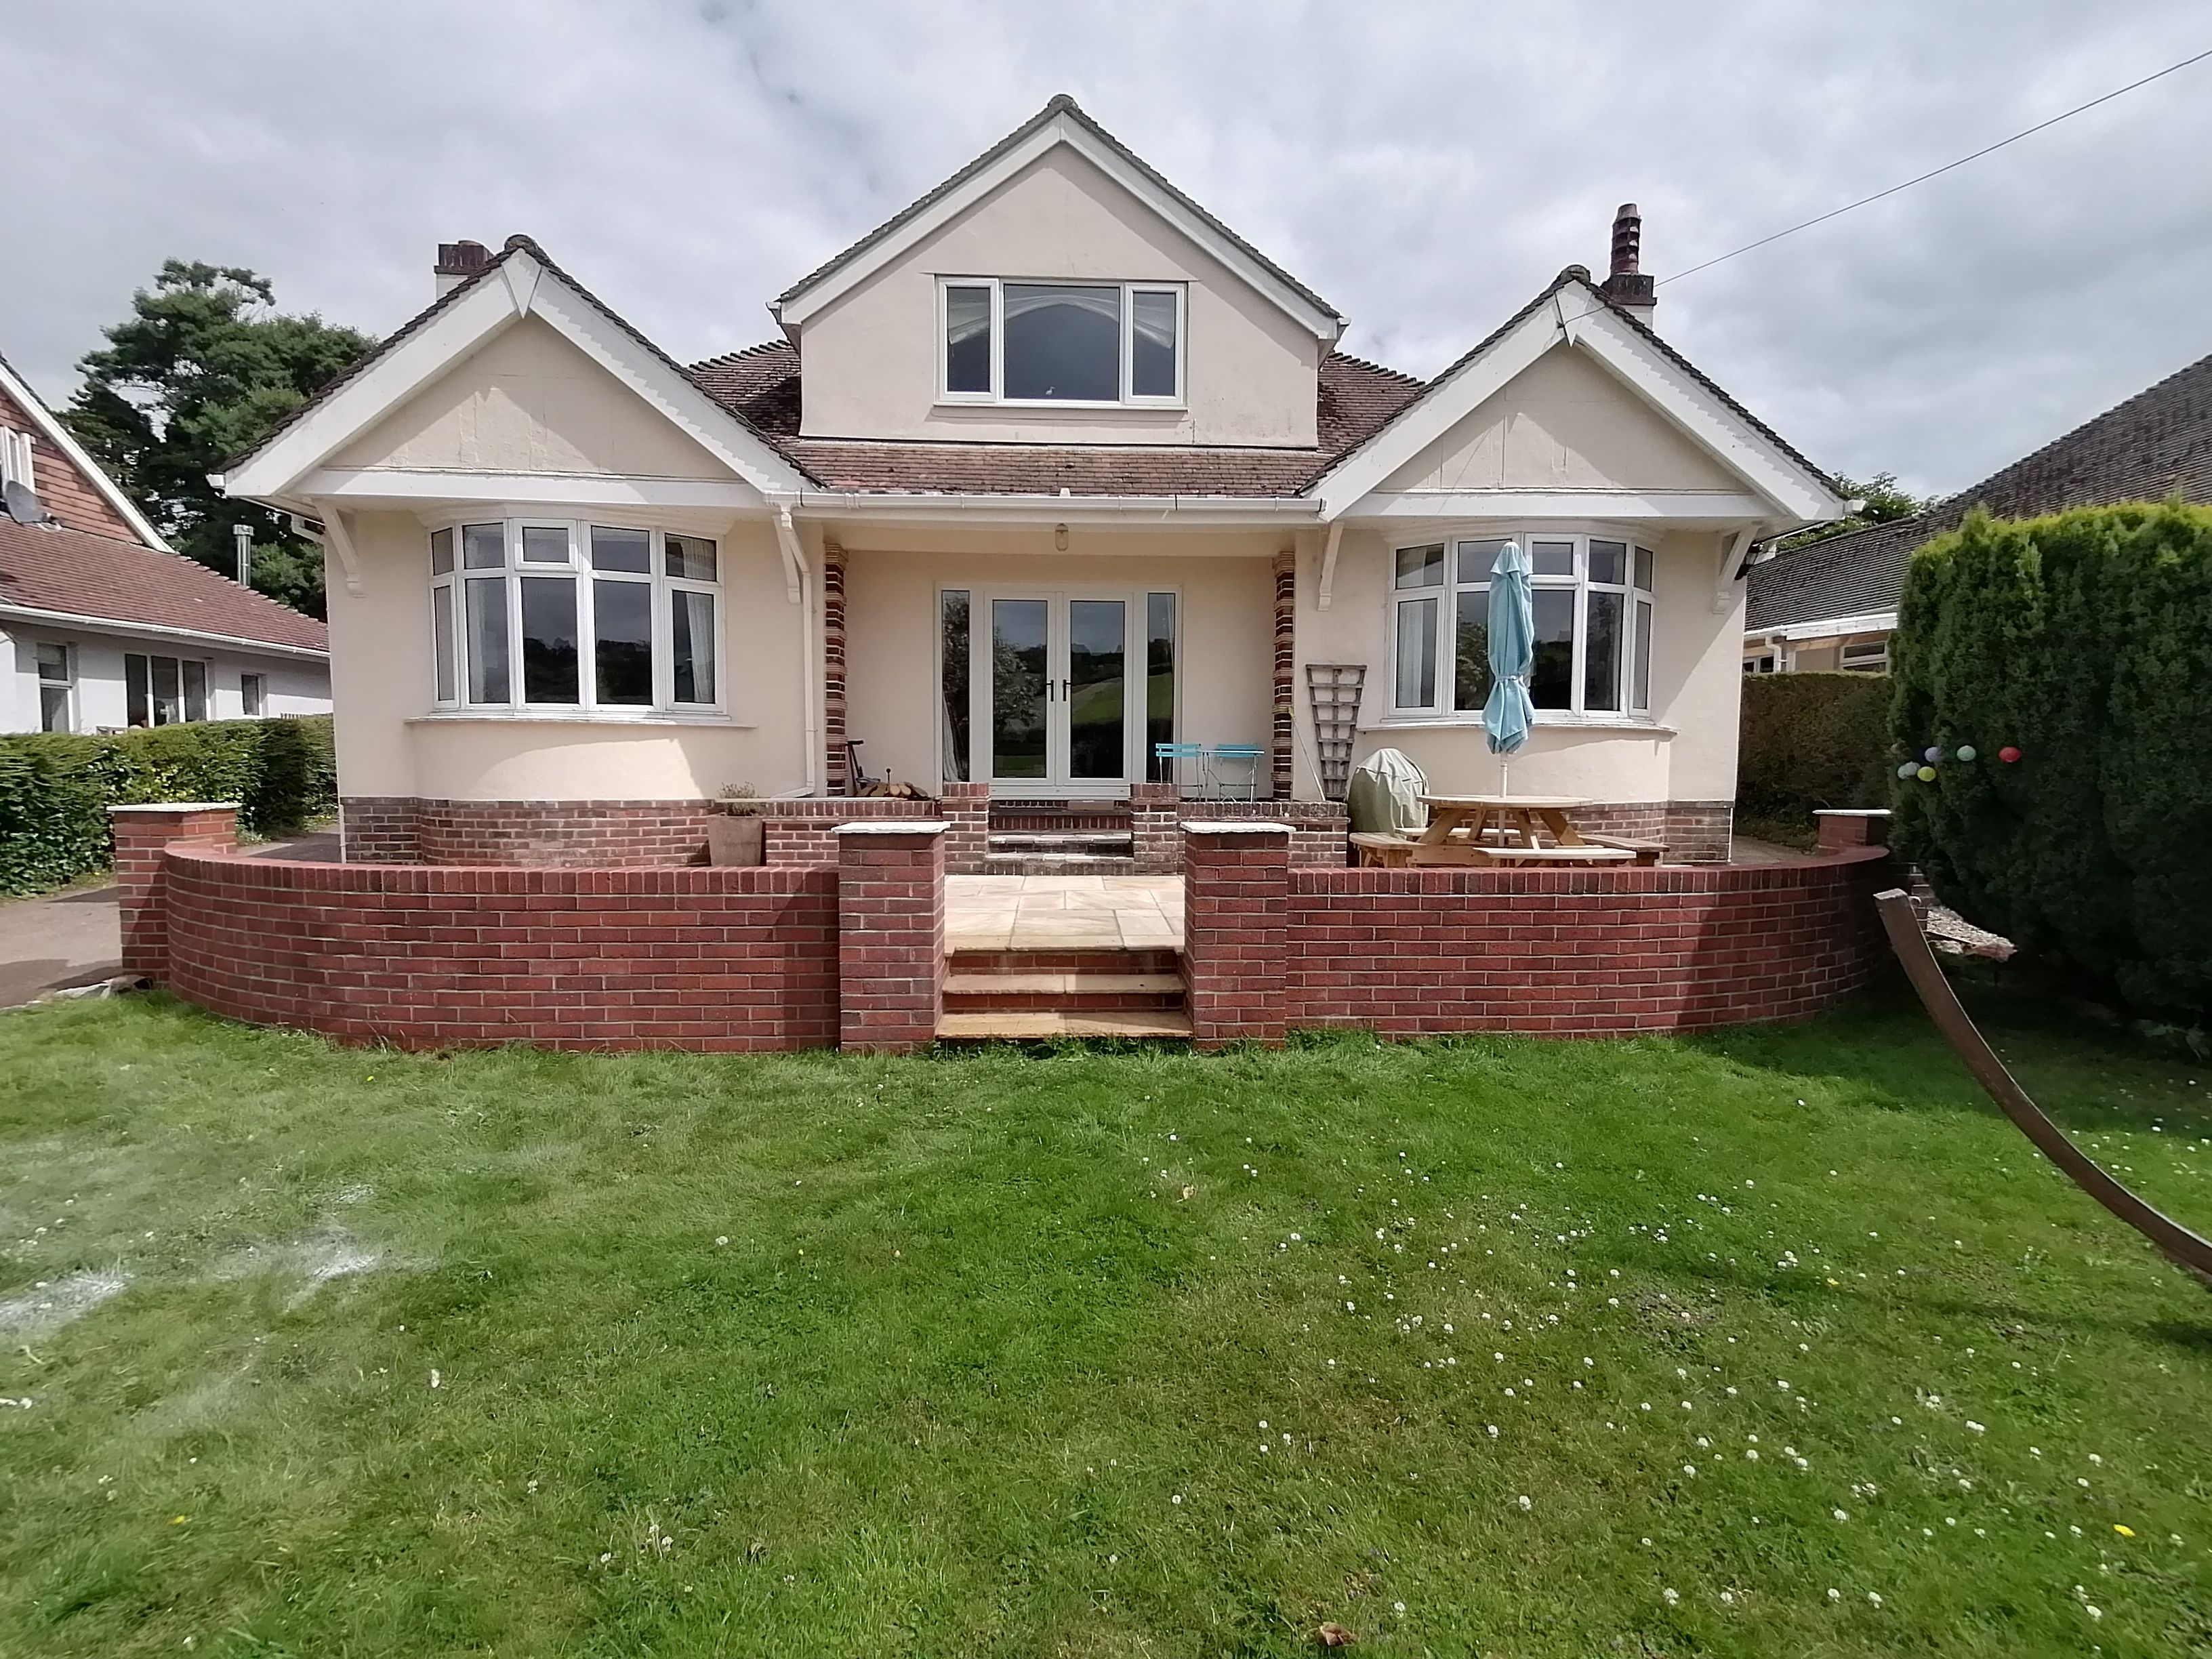
Here’s the finished front garden. The curved walls lead to central piers that are flanked by brickwork stairs finished with stone patio slabs.
If you've enjoyed this article and fancy helping keep the servers humming and the tools running, you can find things on the Robin's Lab wishlist . No obligation — reading, sharing, enjoying the articles and disagreeing with me are all completely free. I won't even send you an invoice.