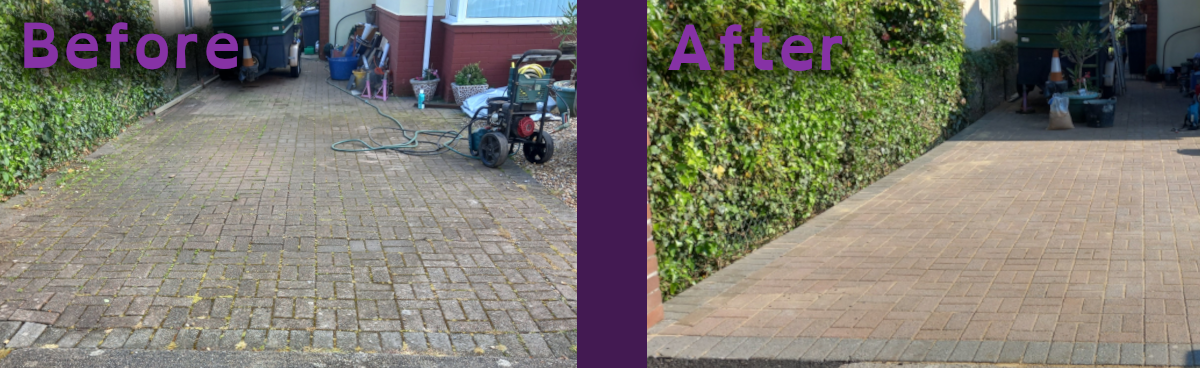

Look at that banner, just look! #
This driveway was 15 years old by the time I got around to fixing it. It was uneven due to ants infesting it and plant roots moving the pavers. Heavy vehicles parking partly on the edge of the pavers had also caused the edges to sink. I had to do something. At this point, it was also bordering on a potential legal issue. Did you know that if someone visiting your property, such as the postman or a delivery driver, trips on a dangerous defect in your driveway and gets injured, you could potentially be liable? It isn’t as simple as there being a particular number of millimetres that makes a driveway illegal, but as the person responsible for the property, you have a duty to take reasonable care to keep visitors reasonably safe. The state of your entranceway can also have an impact on the value and desirability of your property.
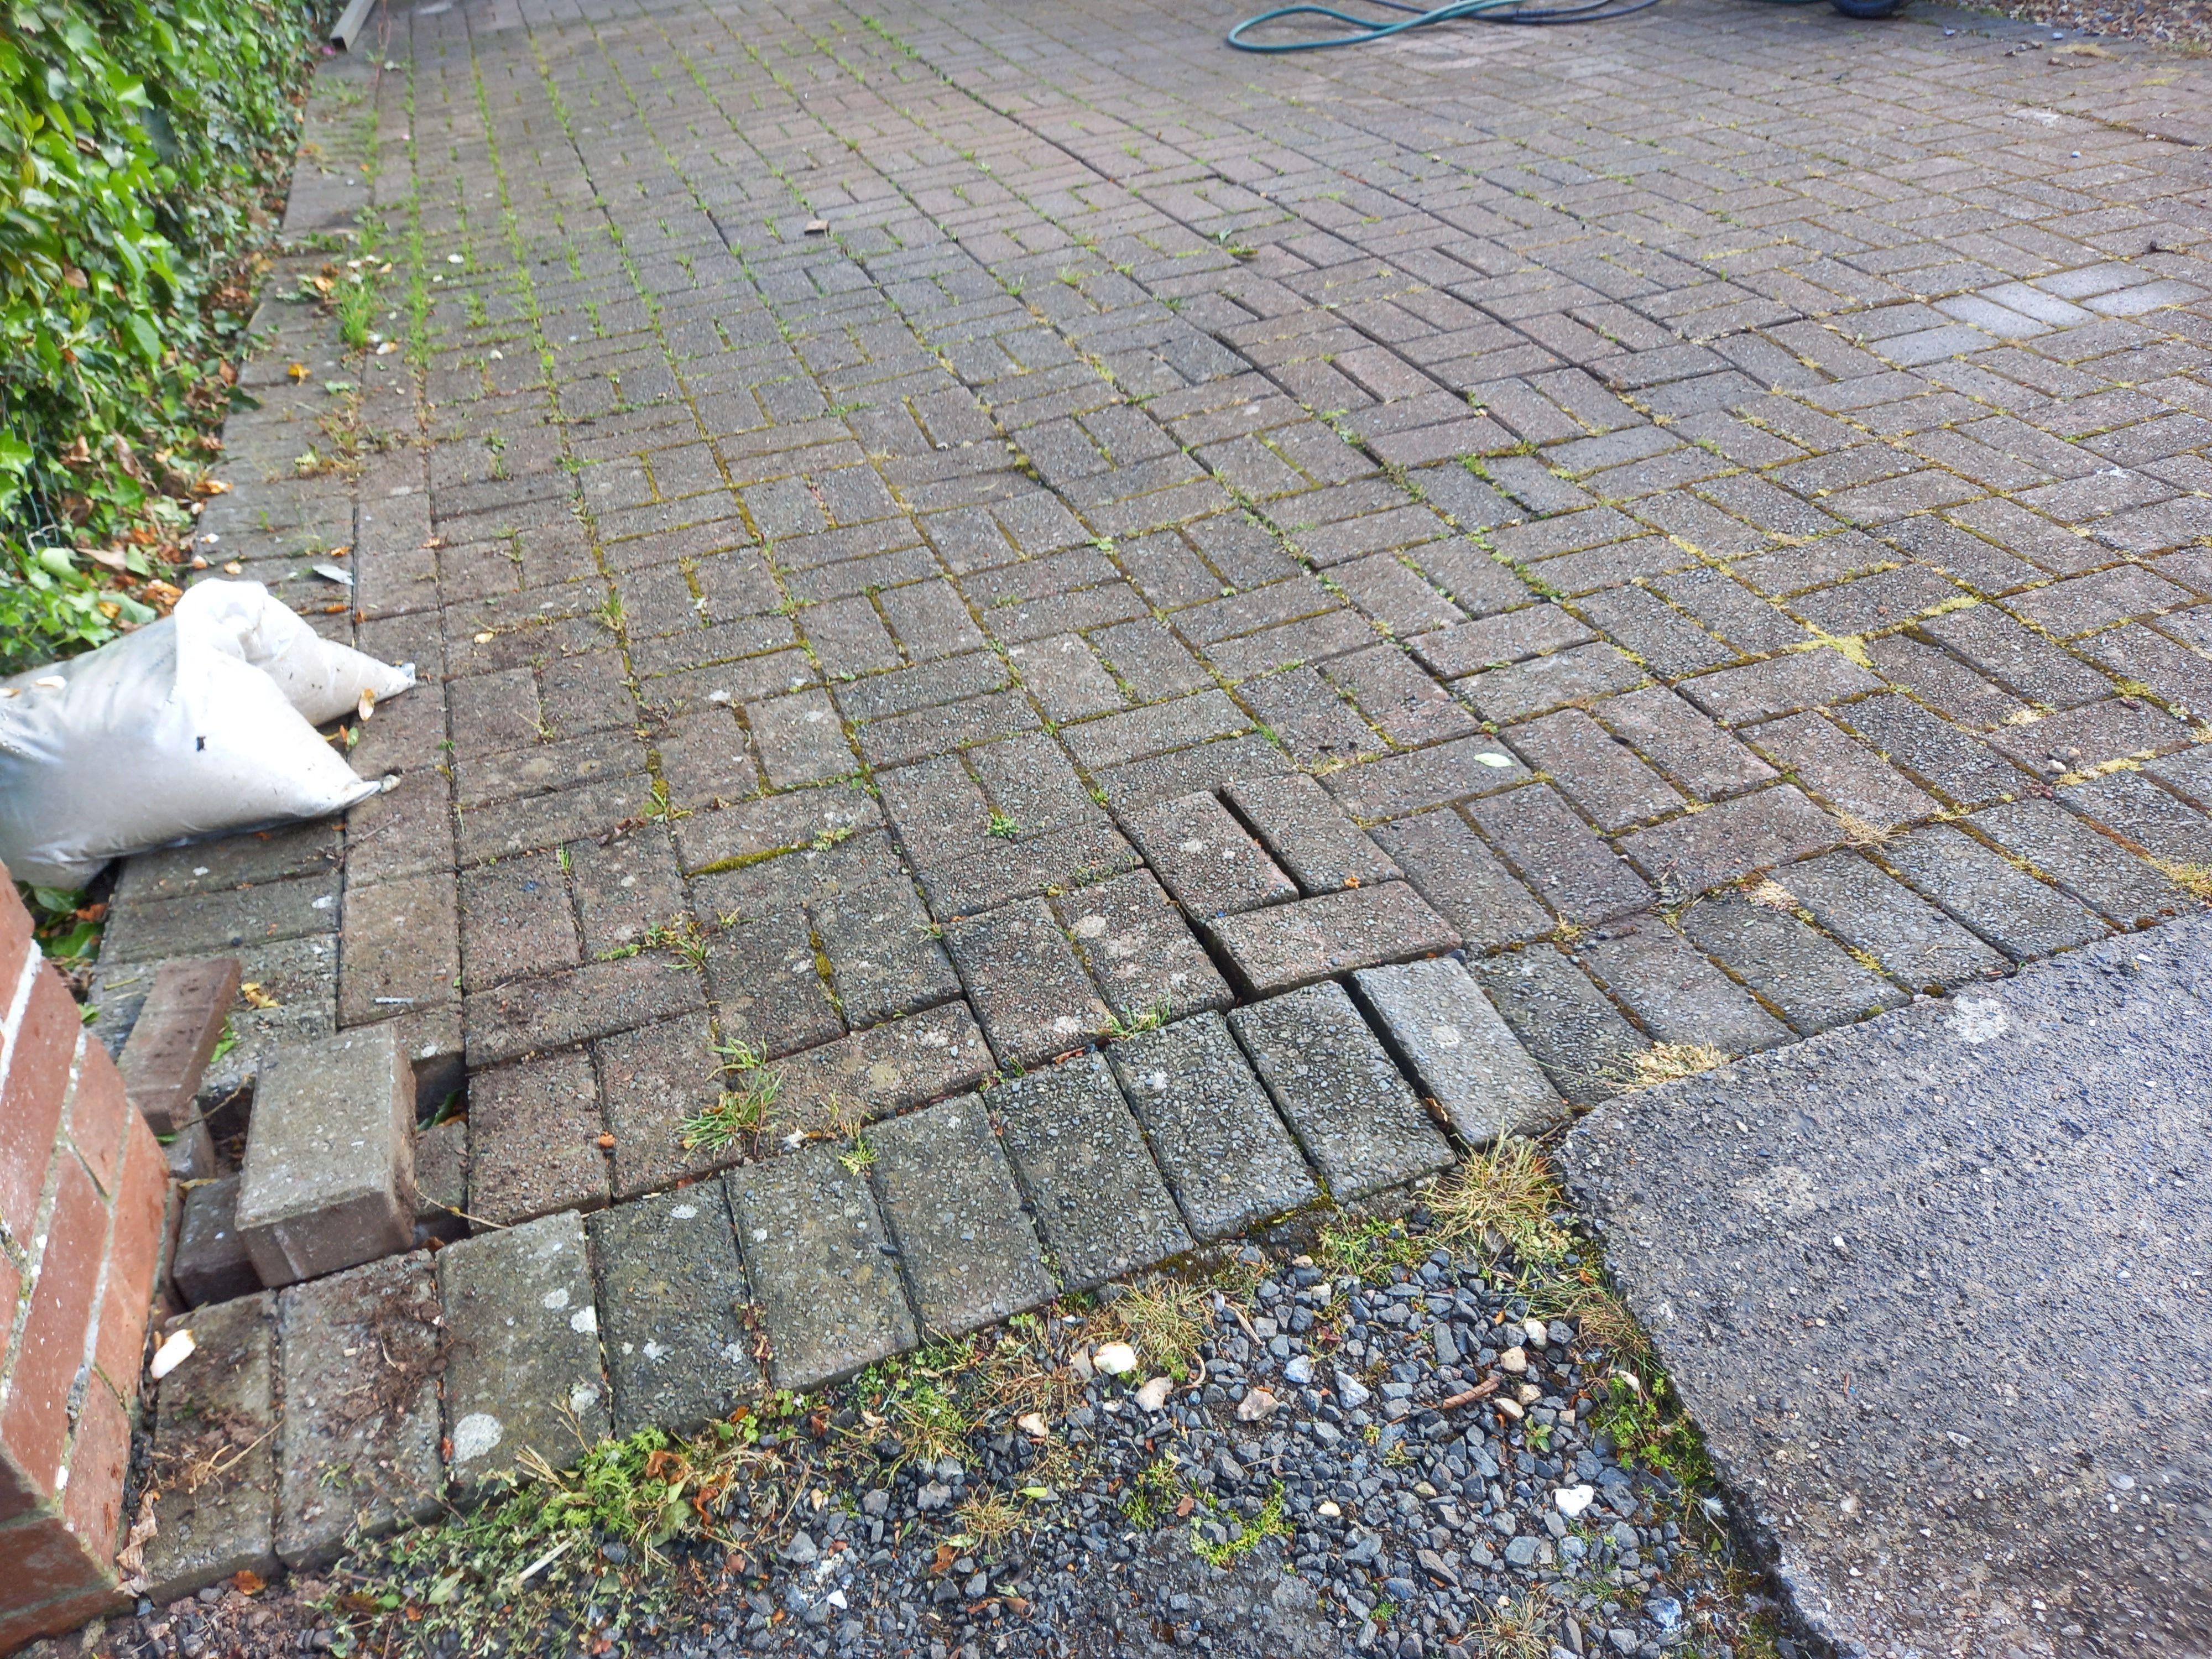
This was in such a sorry state of repair I took action and fixed it.
New tools #
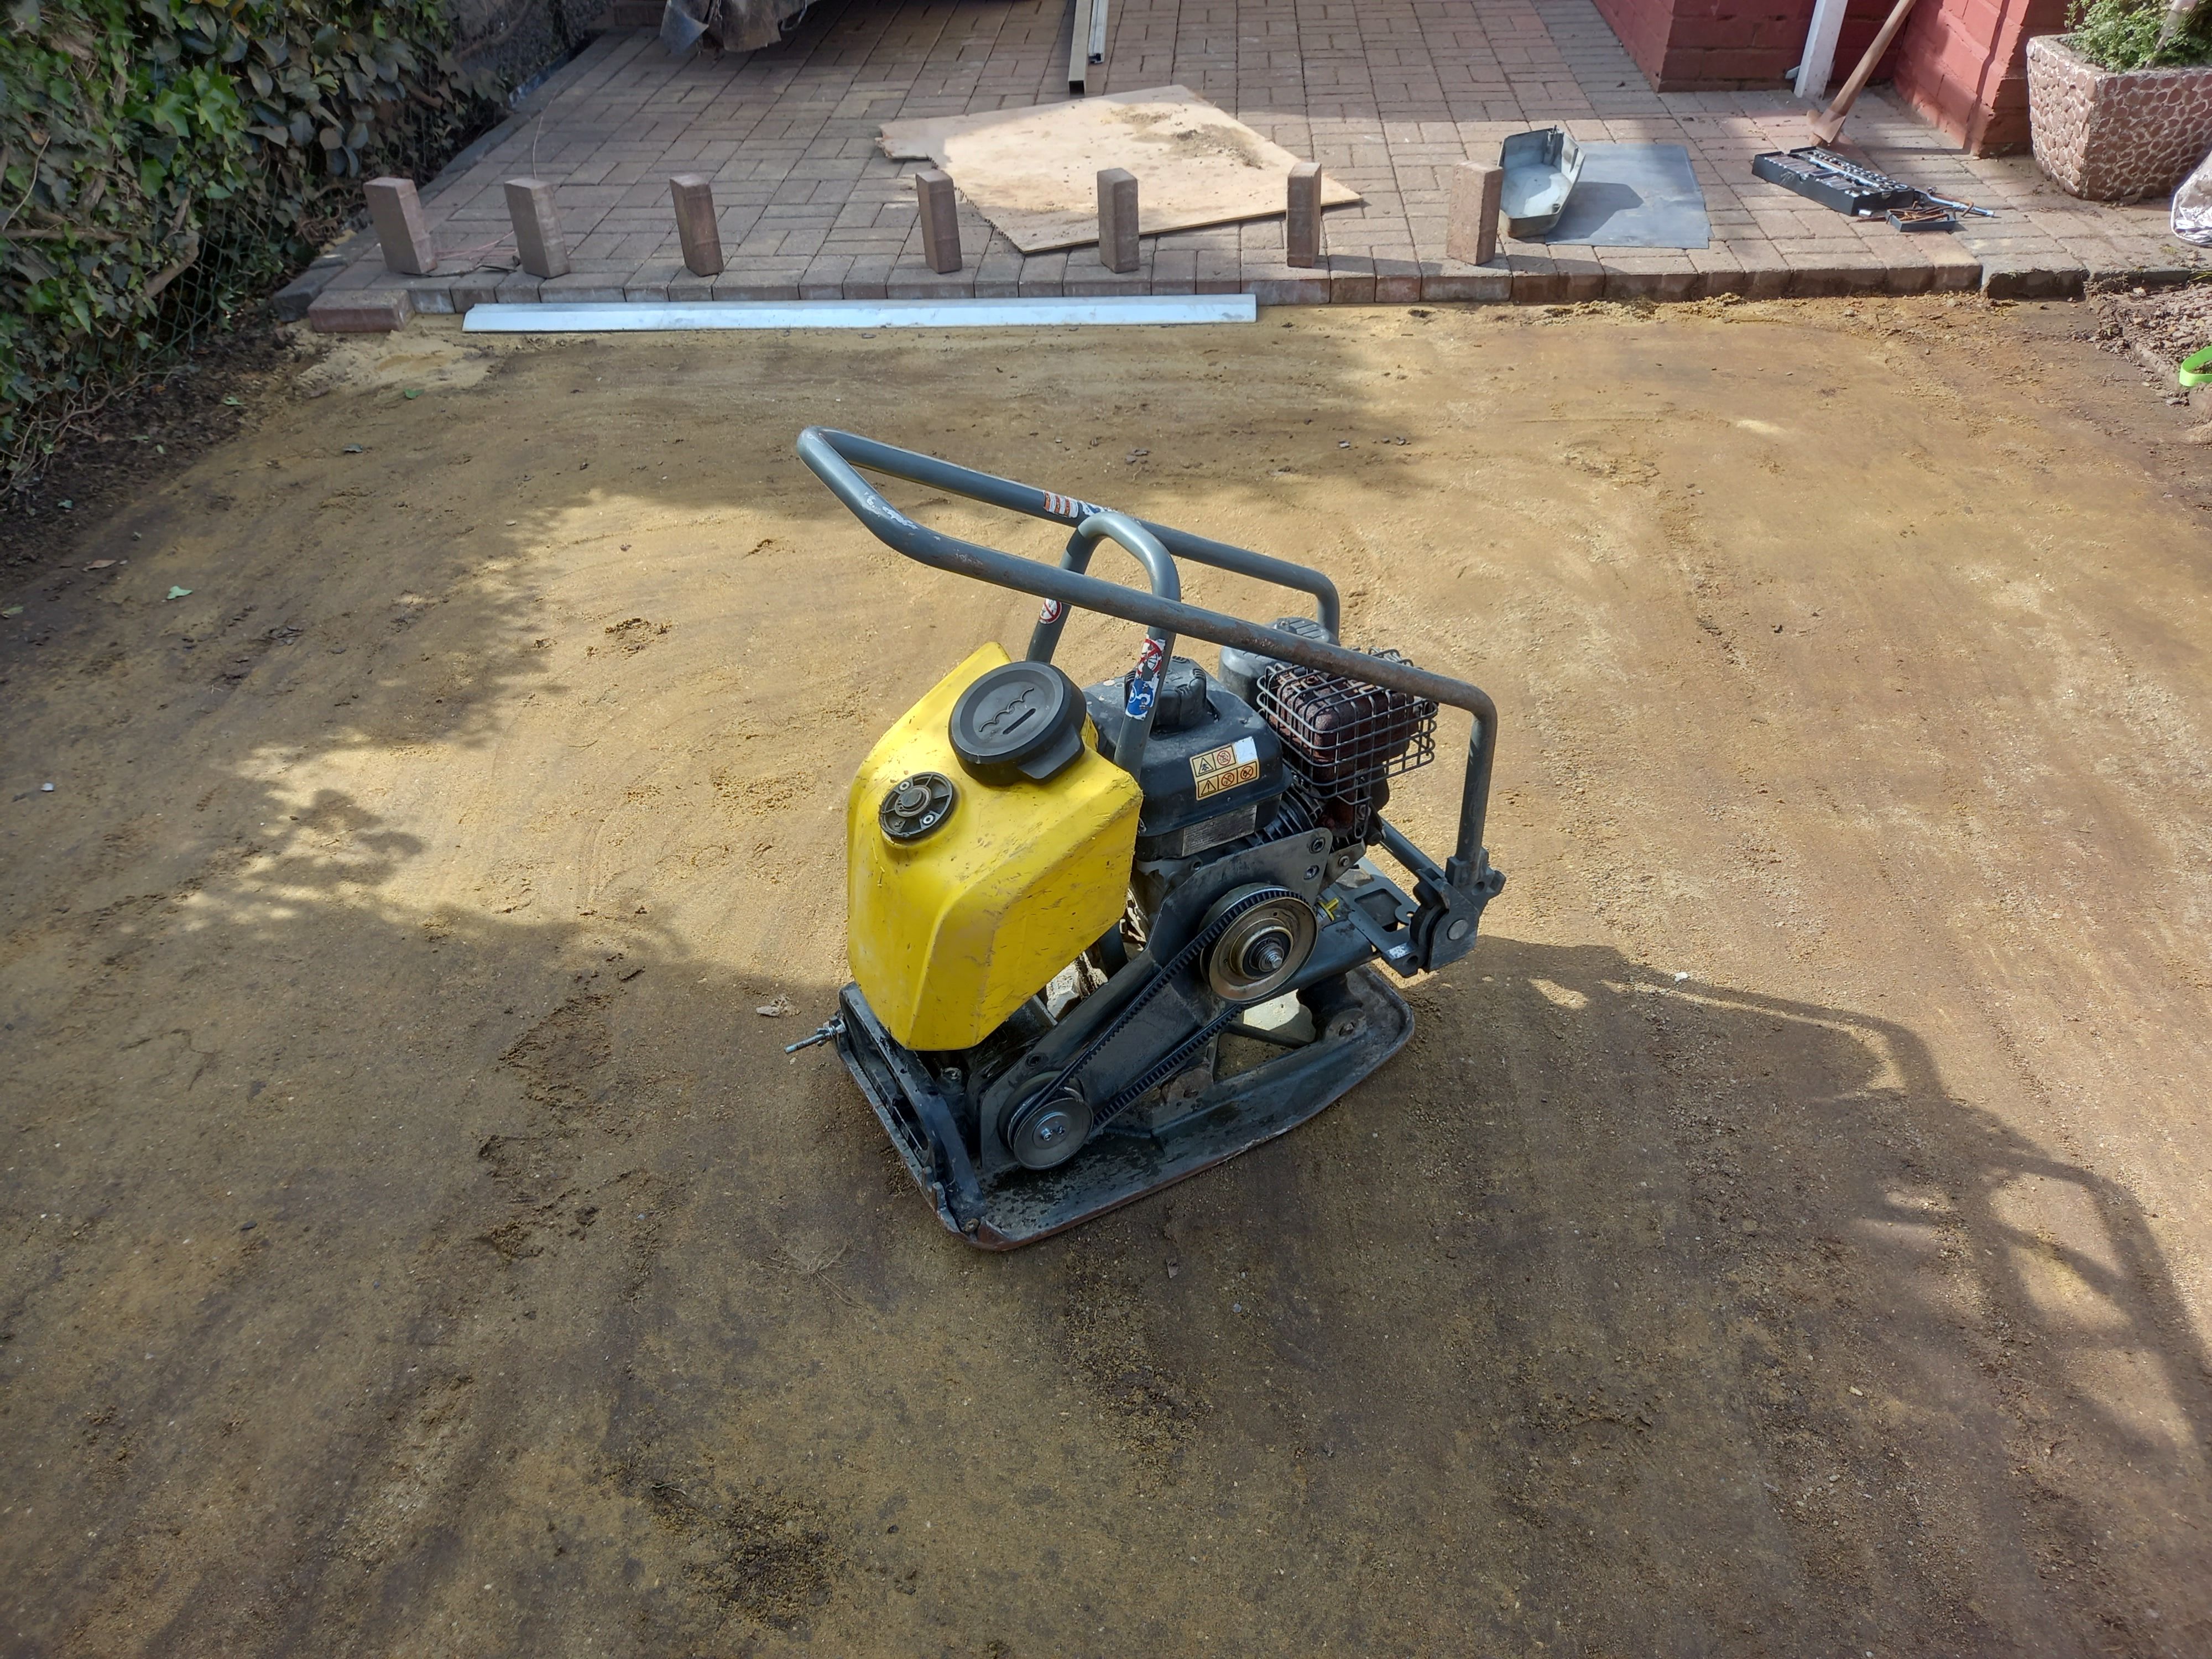
To complete this project, I needed a plate compactor. That’s when I bought a Wacker Neuson BPS1030AW. This £1,000 machine was integral to my plan.
I like this machine because it can be filled with water to make it heavier, because when you’re ‘wacking’ your substrate, weight is everything. It’s also just light enough for me to pick up and put in my truck.
Jet washing #
First of all, I used my petrol-powered Parkside jet washer to clean the surface of all the pavers. This was powerful enough to unceremoniously slice the stems off the little plants, remove the moss, some roots and even ingrained dirt.
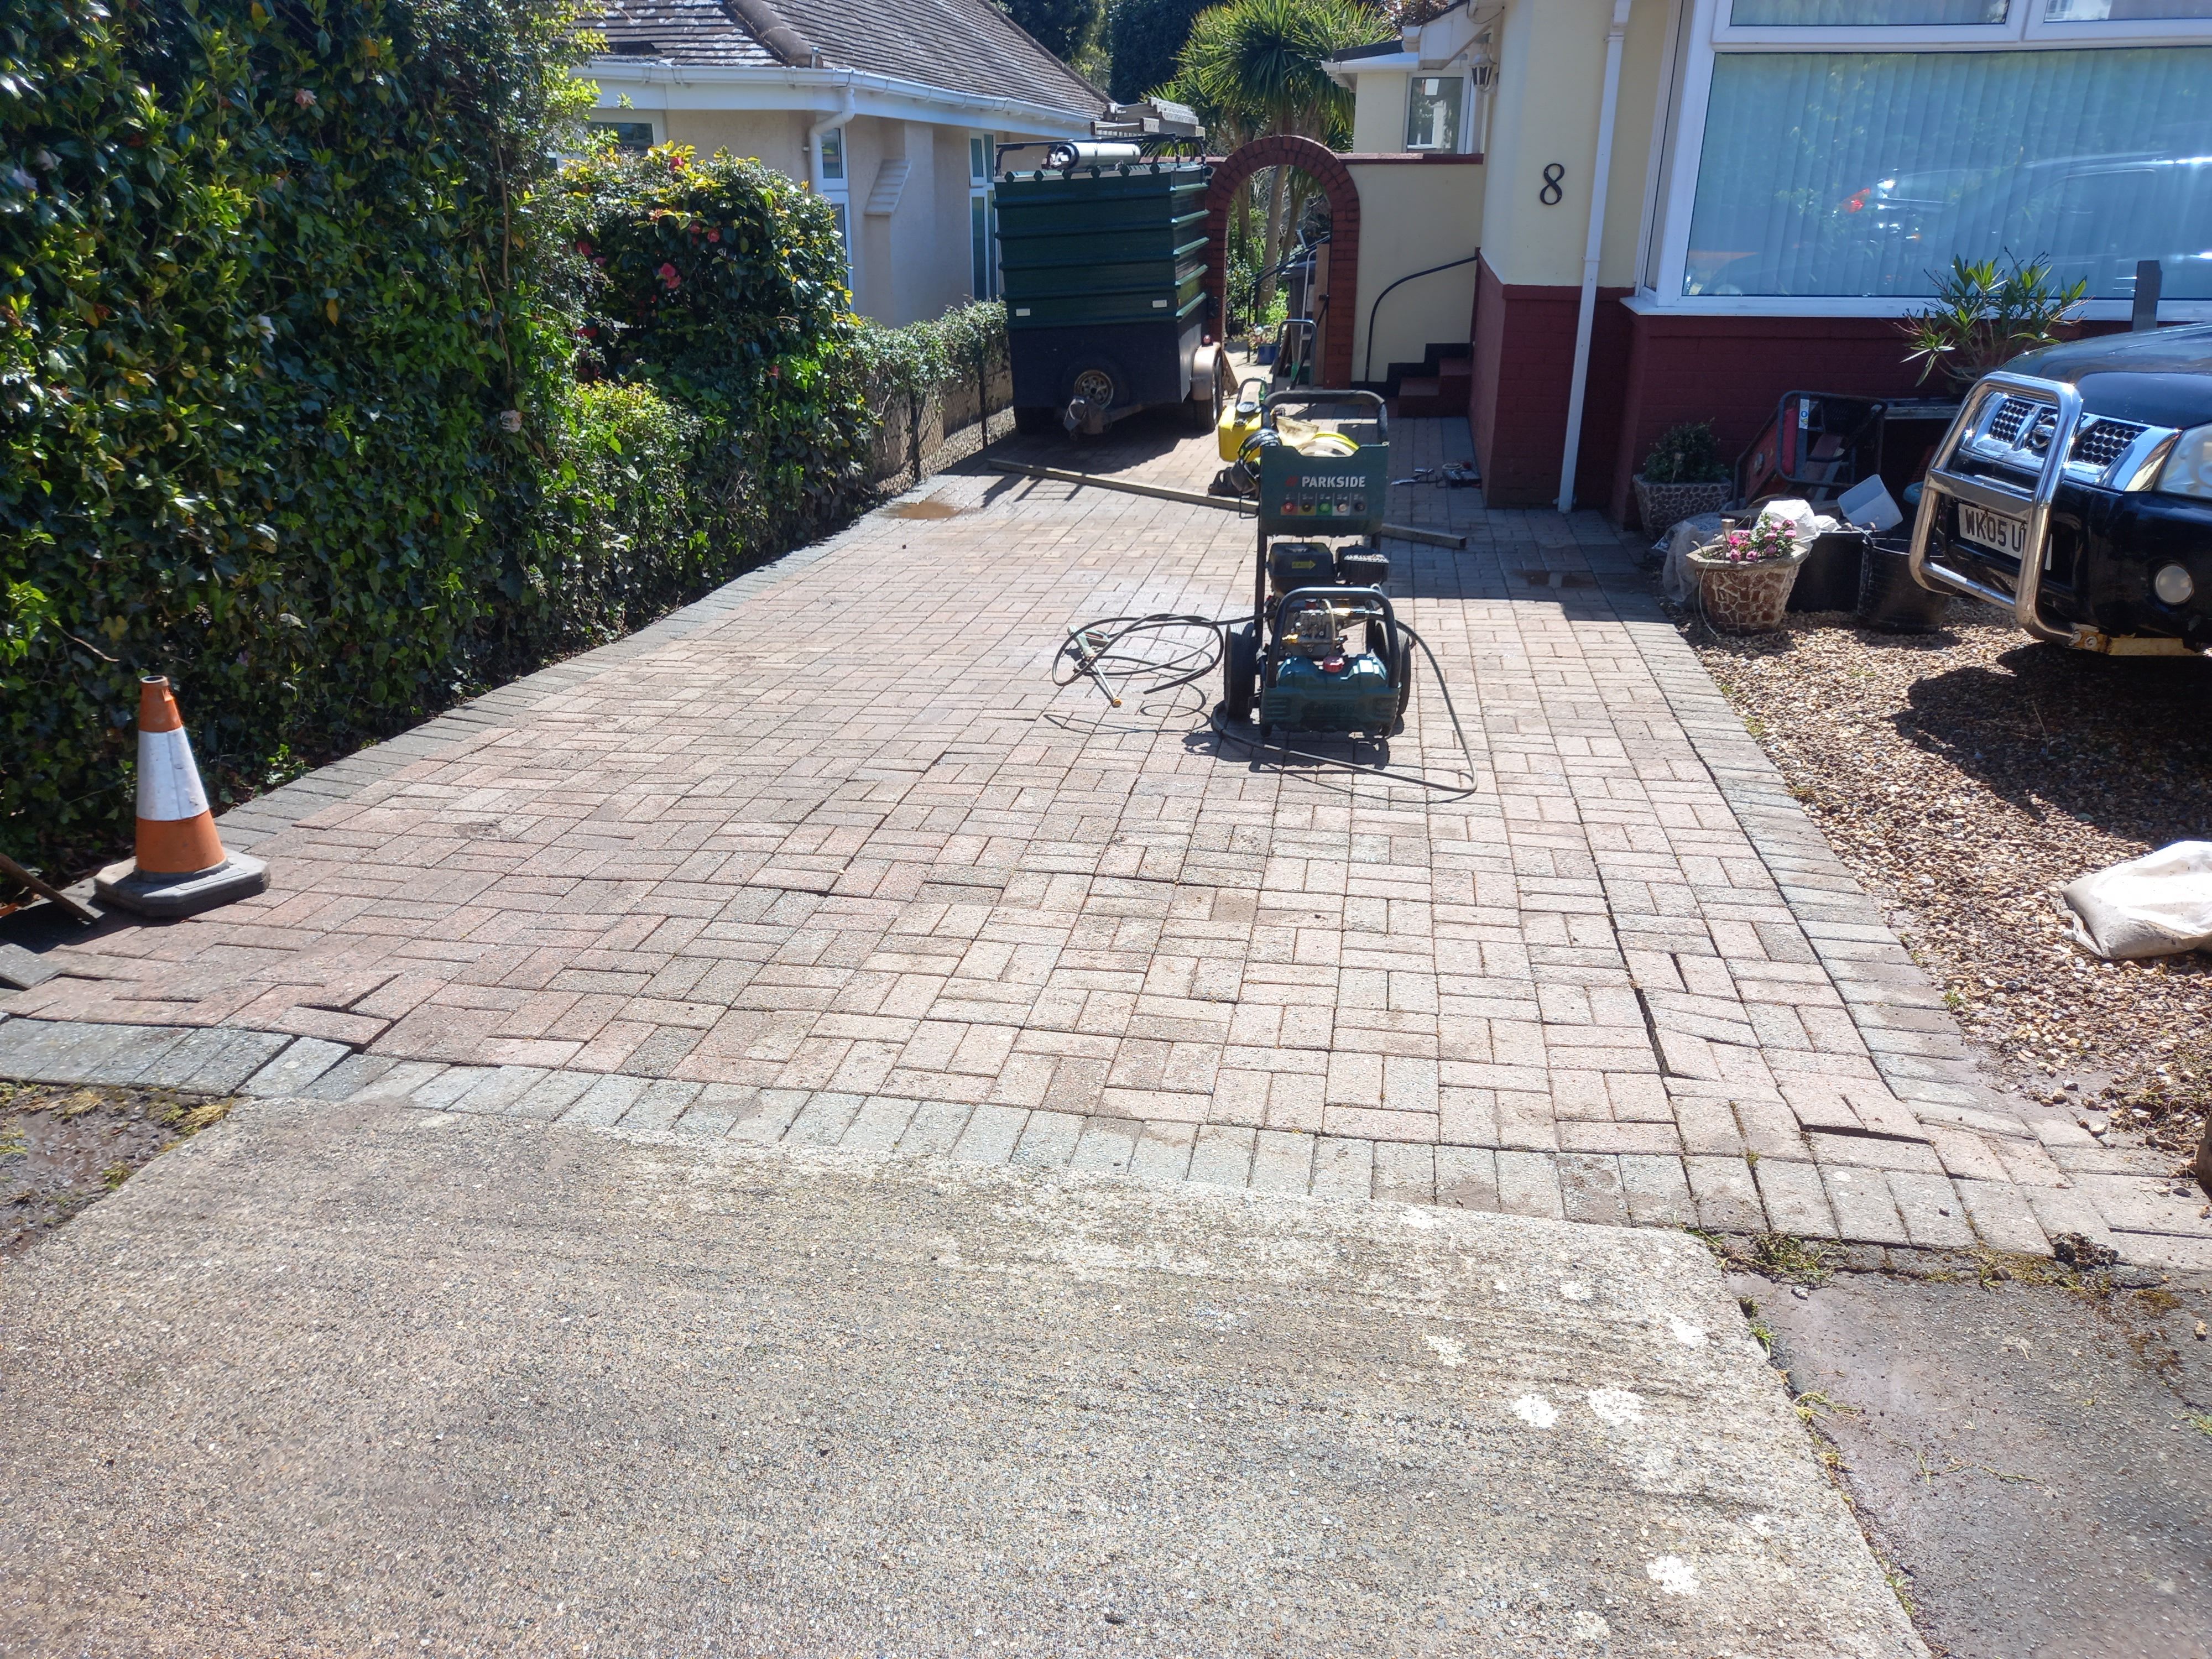
I highly recommend a similar model for anyone with a driveway. These are great for for yearly maintenance.
Lifting Pavers #
By far the grossest job is lifting pavers. I had to lift over 1,000 pavers and flick off worms, ants and other insects, wearing out a couple of pairs of thin work gloves in the process. I then put ant powder down to kill any remaining nests.
These were stacked in three piles: brindle (light brown), grey edging pavers and the cuts.
Cleaning #
I spent two days cleaning over 1,000 pavers by hand. Luckily, I had my trusty Makita radio next to me the whole time.
I basically grabbed a paver, dunked it into a bucket of water and then scrubbed it using a wire brush. That paver was then set aside in a new pile, ready to be relaid on the driveway.
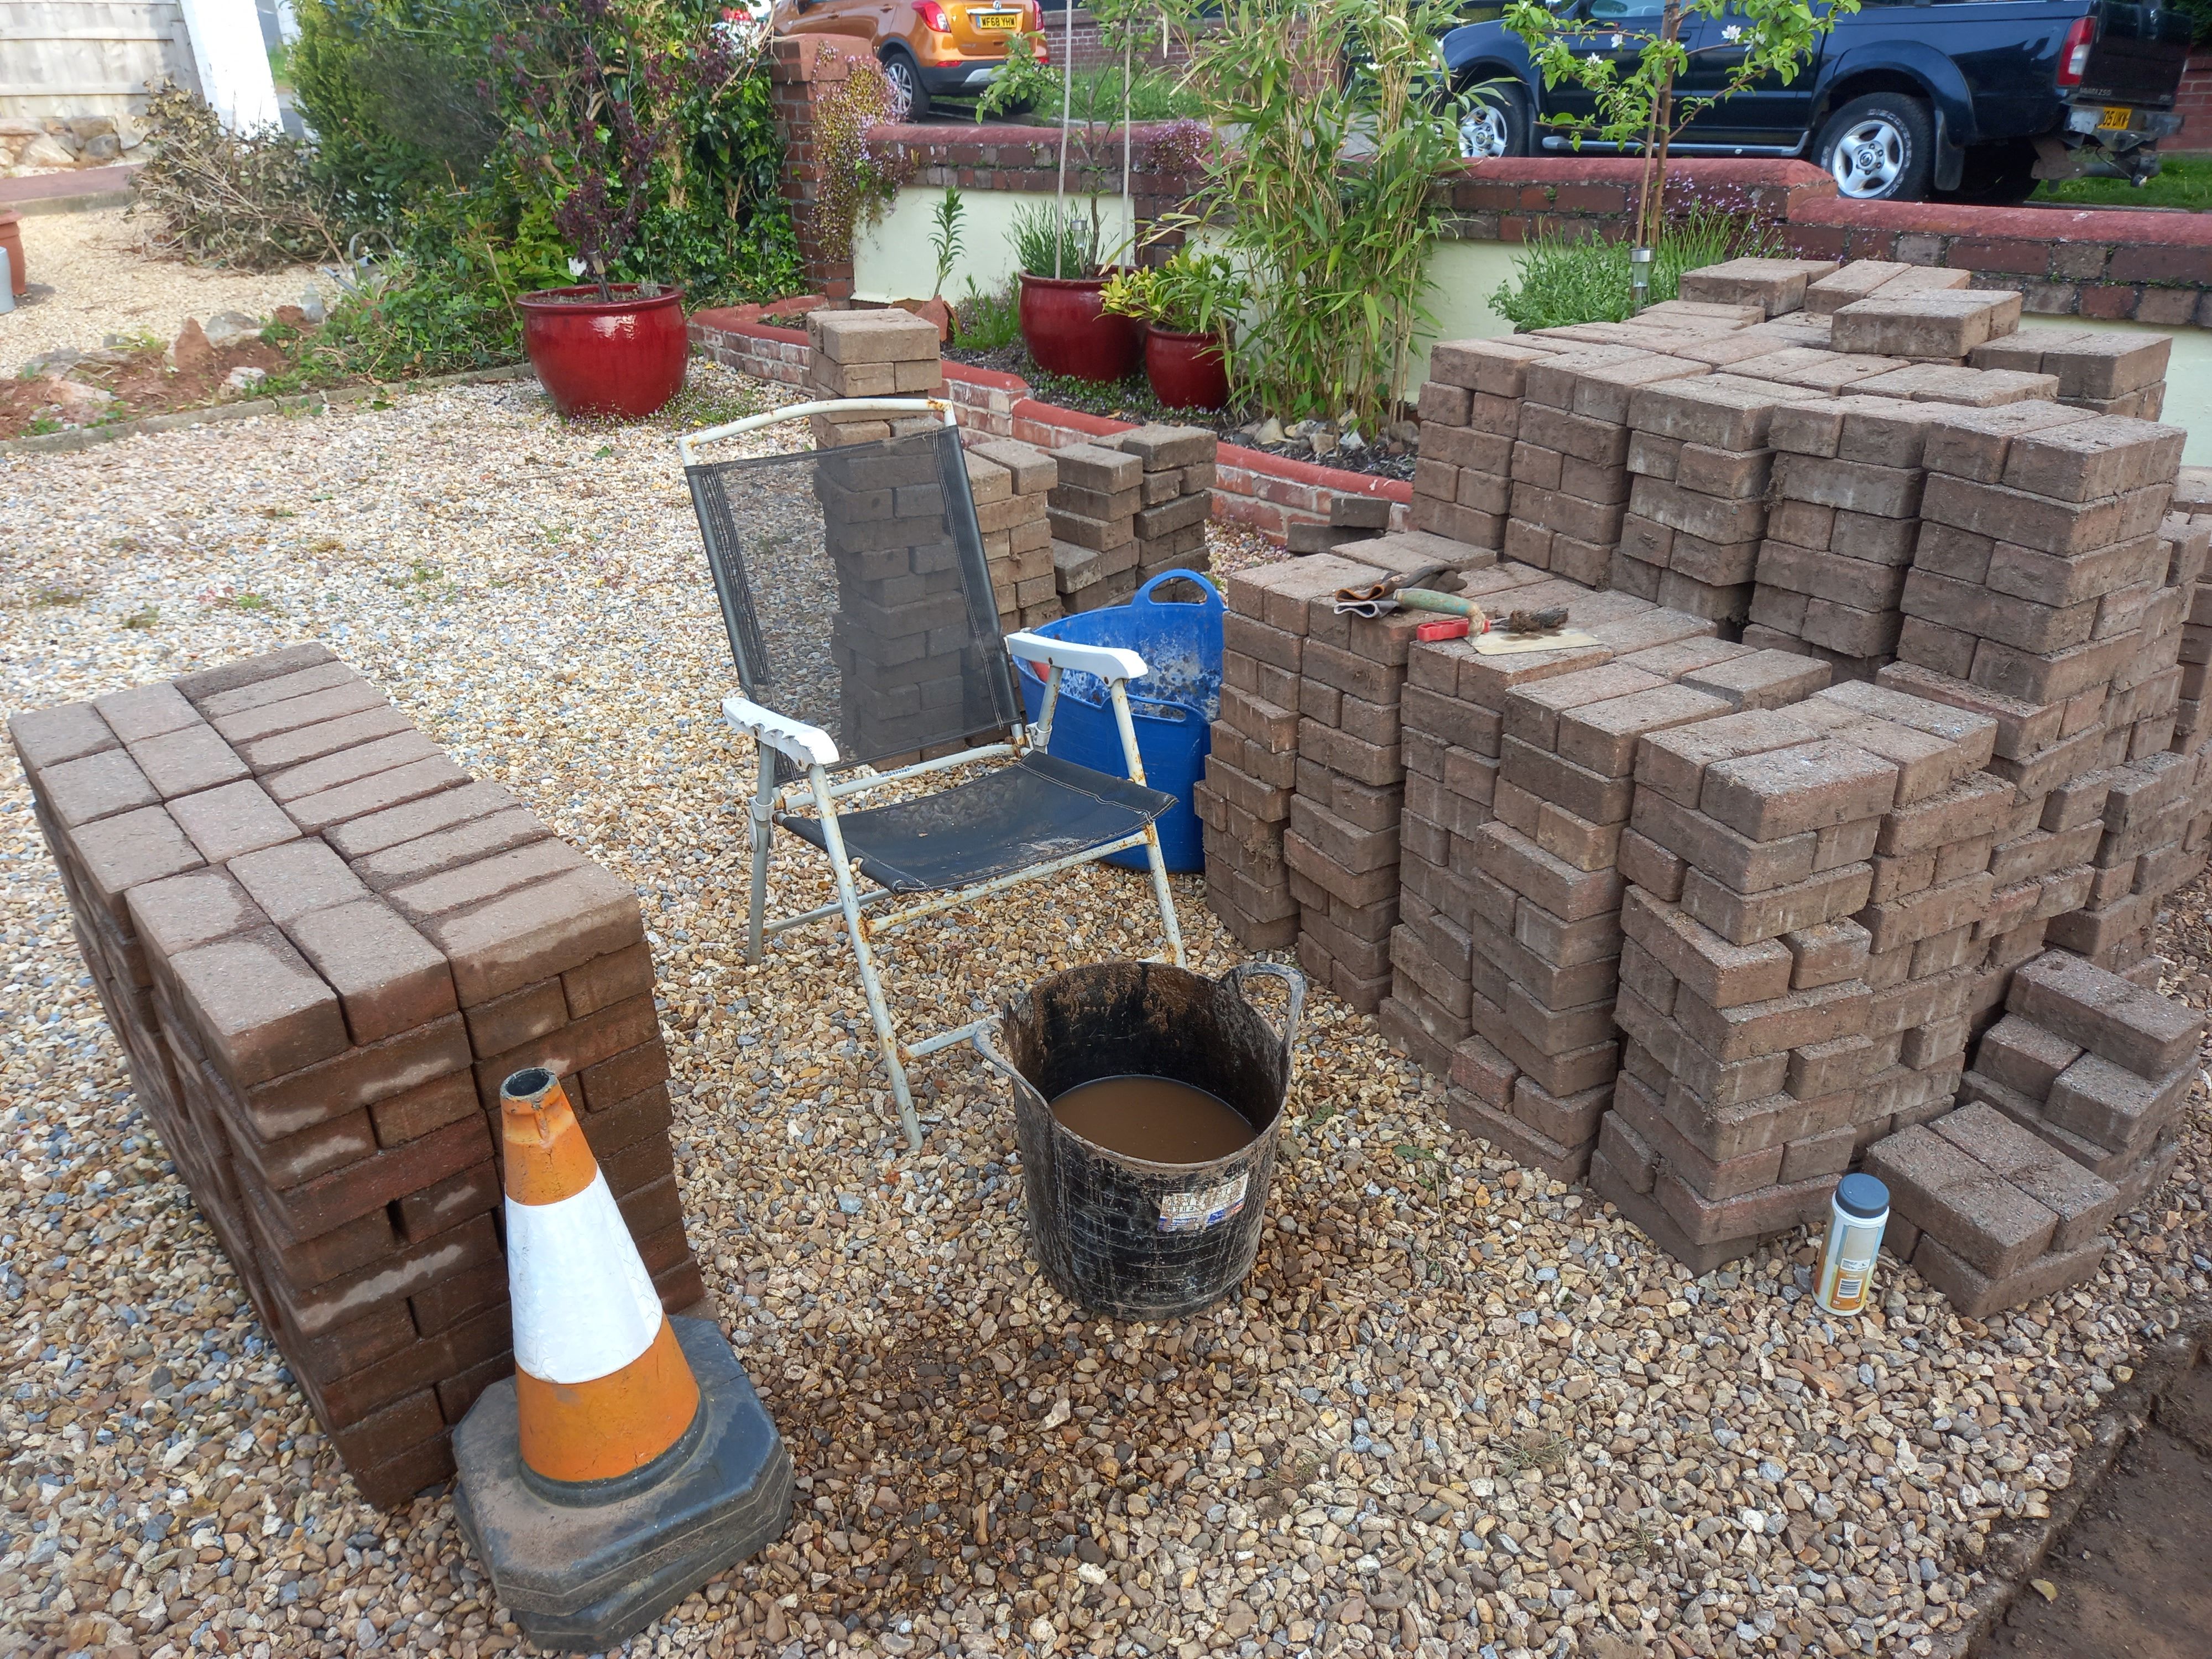
Unfortunately, this step can’t be skipped. You need to remove the old compressed sand and any remaining roots that cling to the surface.

Ground Preparation #
This is where I would change my approach if I was starting a new driveway. Pavers should be laid on wearing grit or agricultural grit, not sand. This stops ants from being able to push the grains of sand up through the gaps in the pavers.
This driveway was a repair, and it would have been a bit pointless using the expensive grit, knowing the ants would just push out the smaller particles once everything was mixed together during the screeding process.
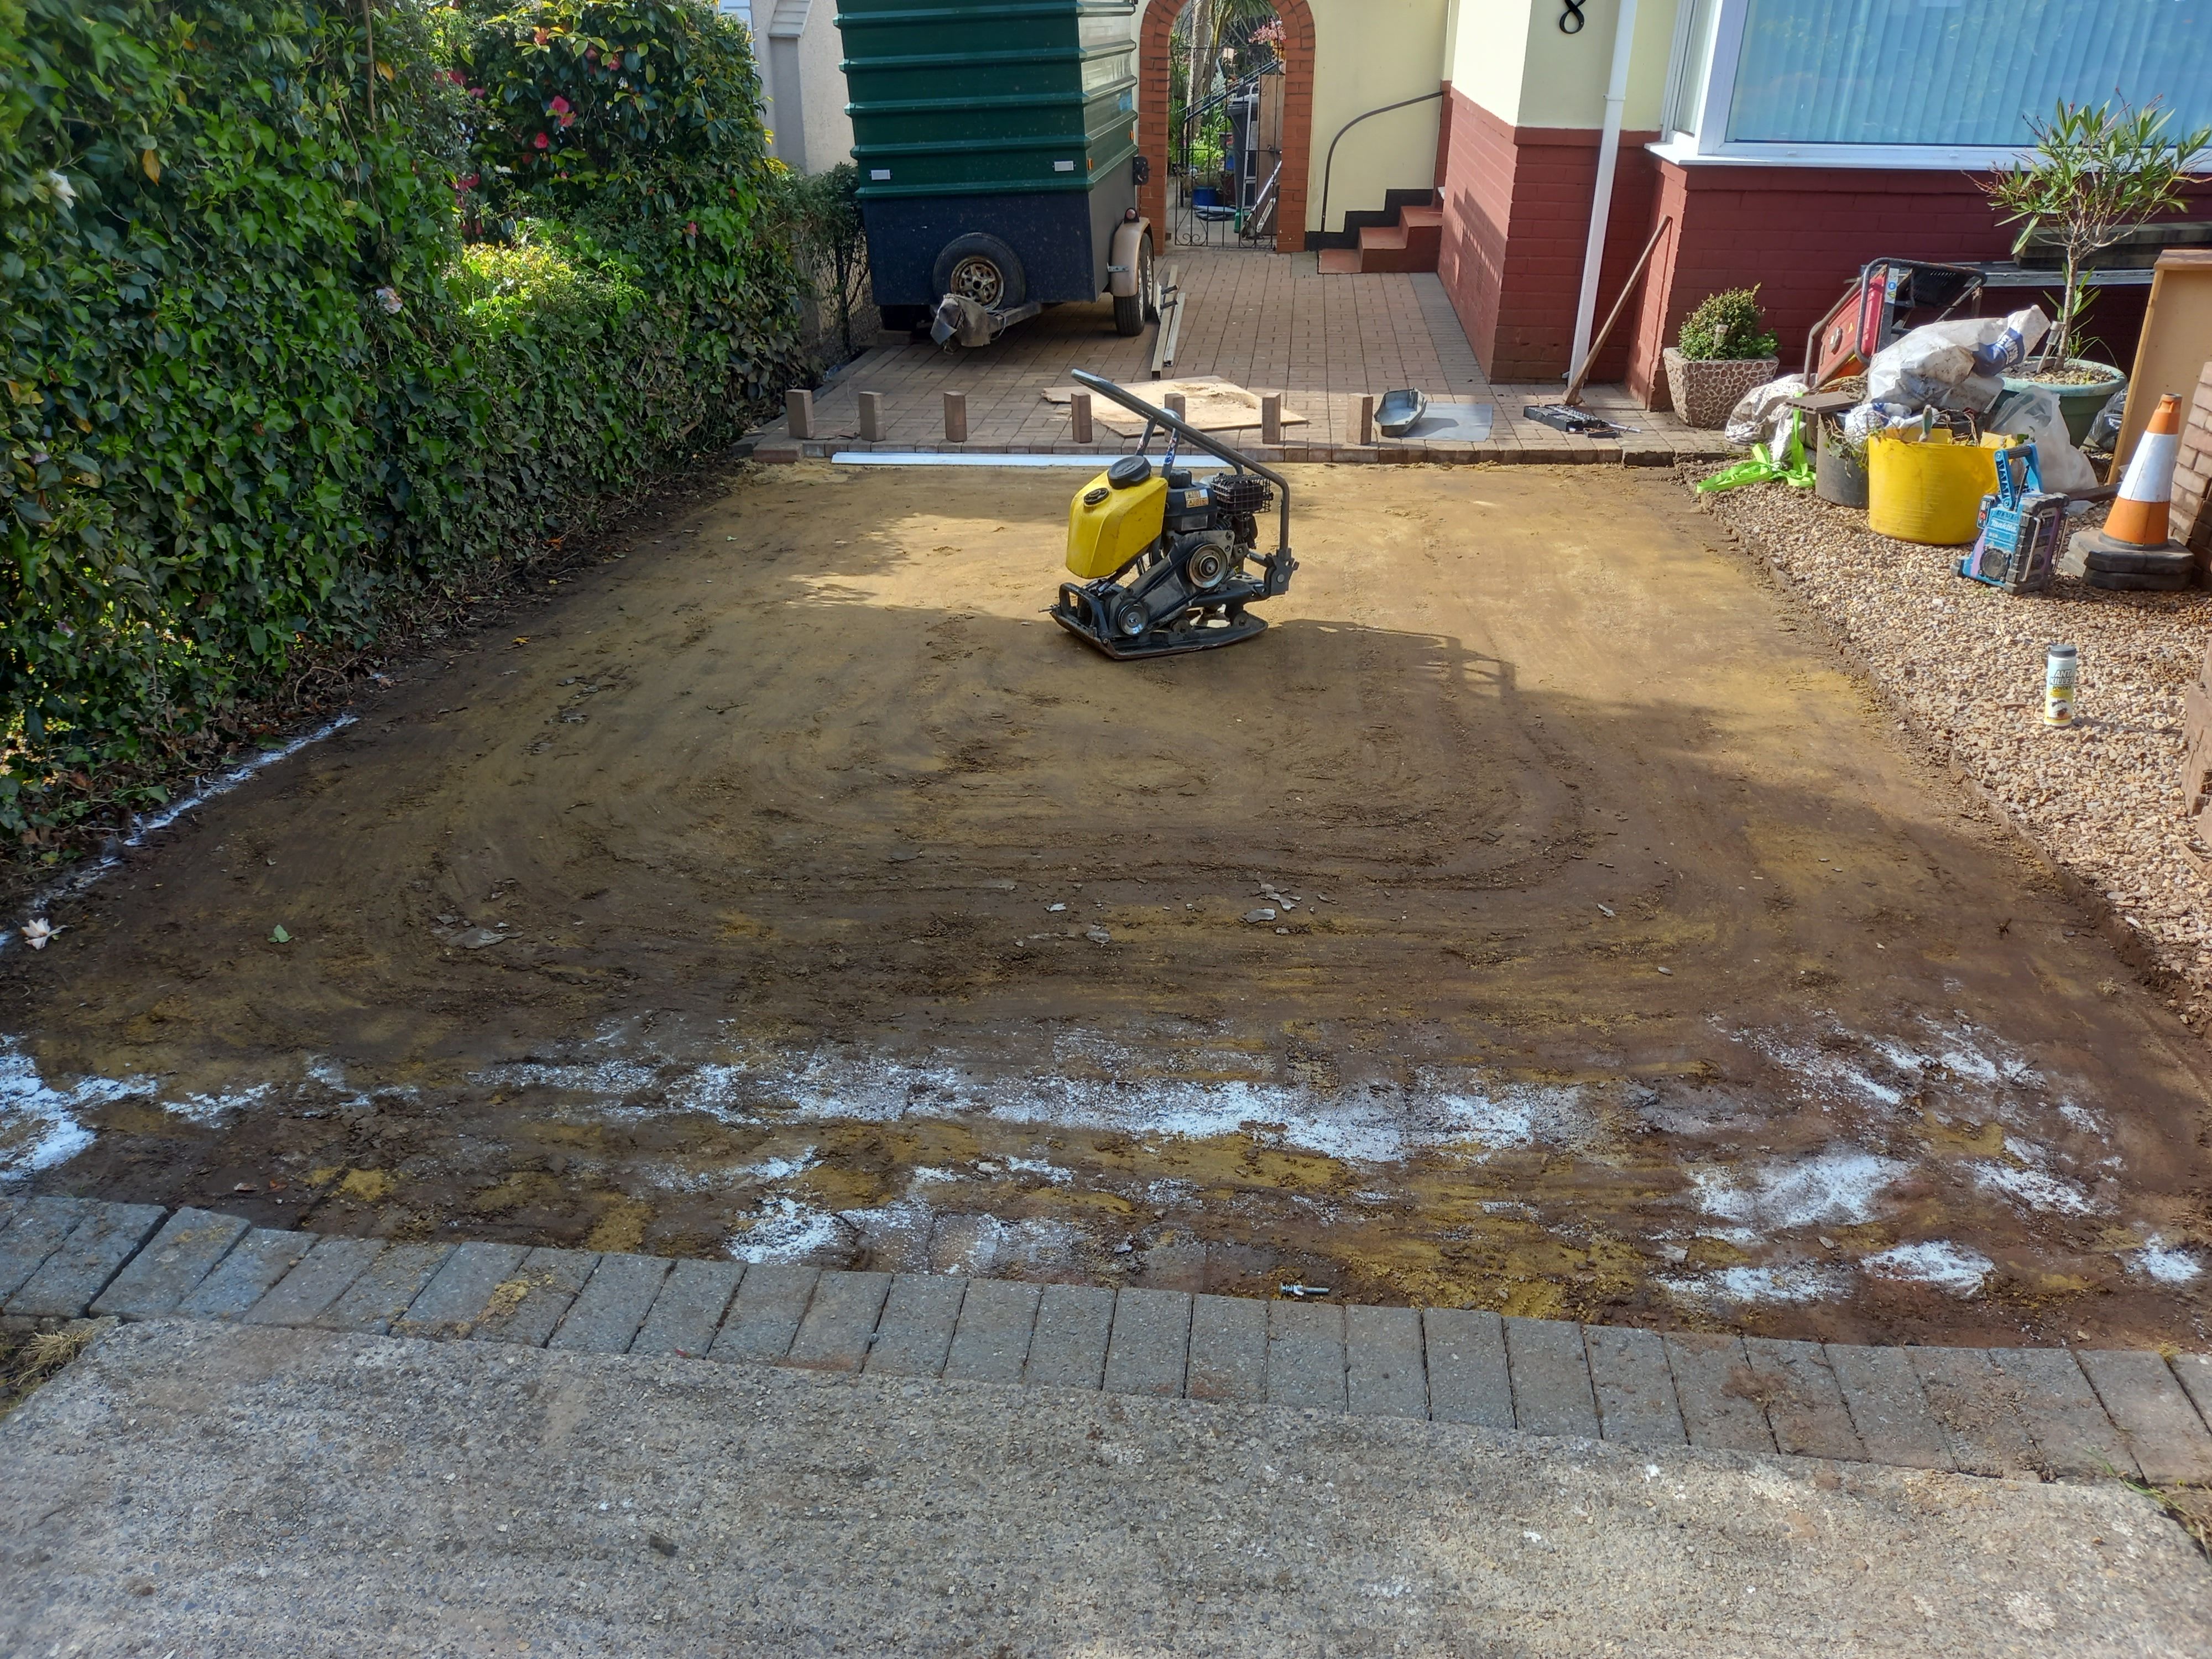
I bought a dumpy bag of sand and threw it over the existing sand once I had raked out the last of the roots with my landscaping rake.
These rakes are great. They are like normal rakes, but a hell of a lot stronger.
I then levelled this using my spazzle. A spazzle is essentially a blunt, stiff aluminium blade on a pole, used for jobs just like this or for levelling concrete.
After that, I filled the front tank of my BPS1030AW Wacker with water. This extra weight allows the machine to firmly compact the sand, ready for setting out.
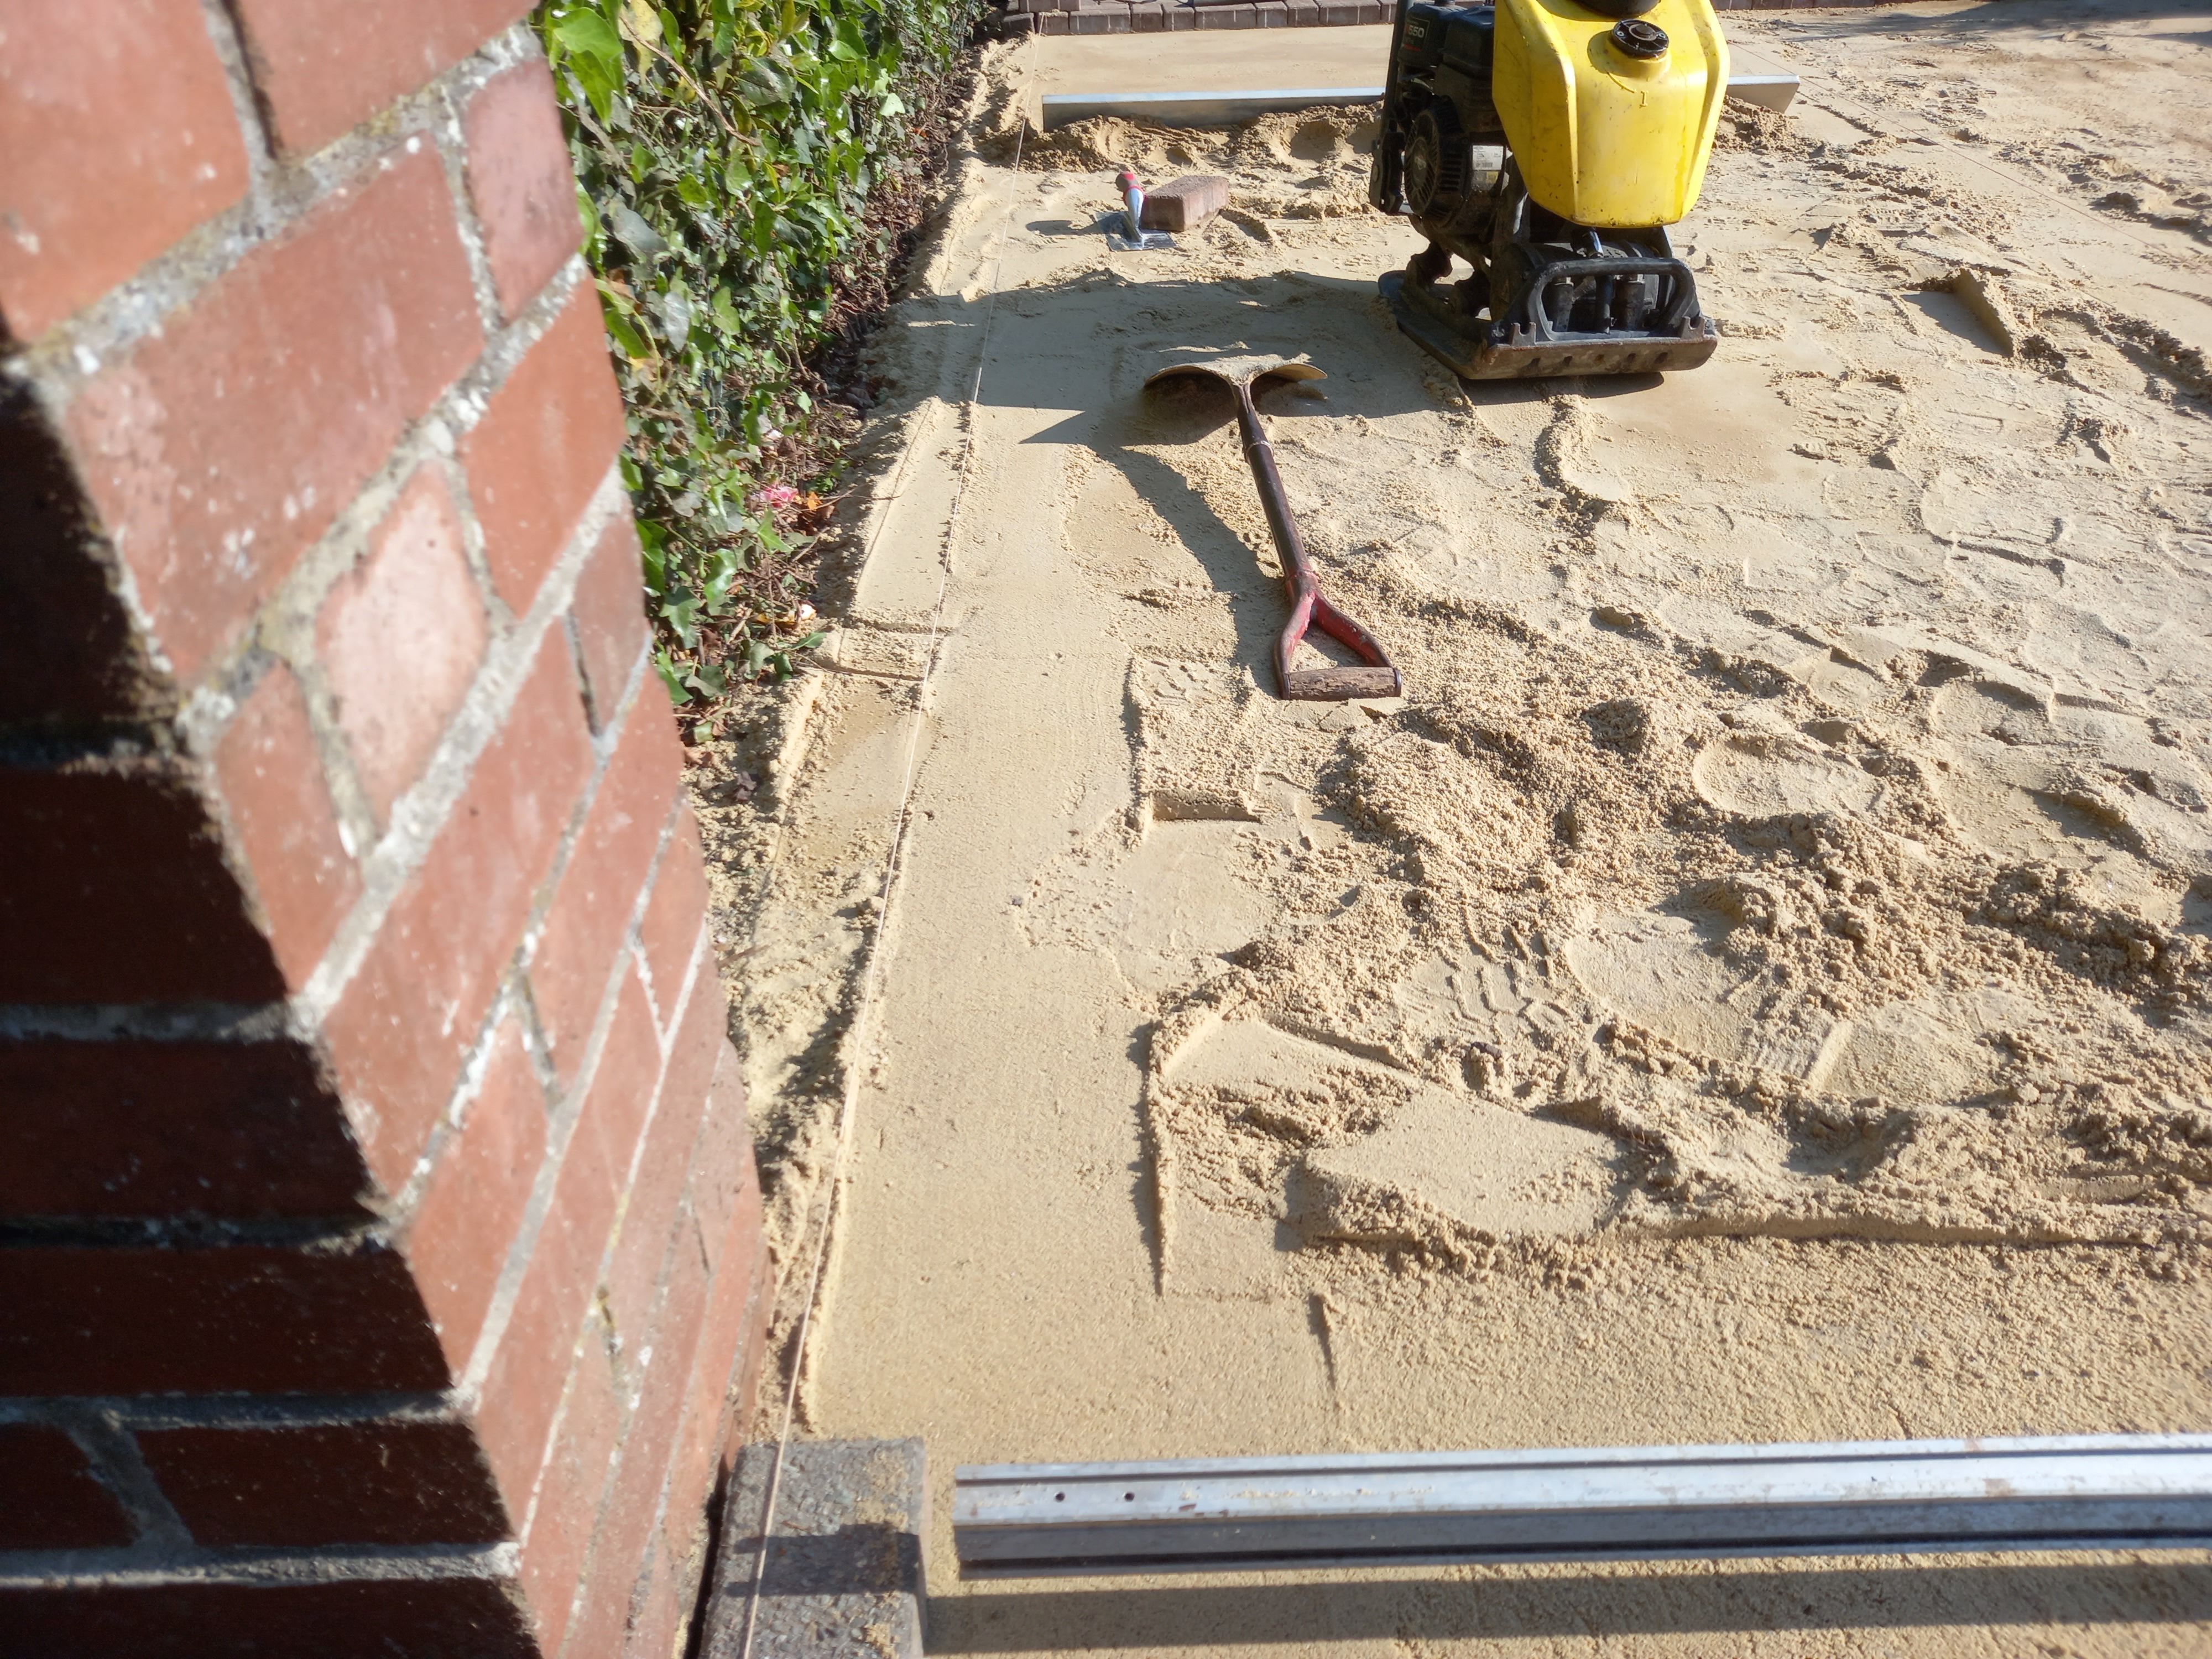
Relaying #
There are many ways to set out a driveway. This one was pretty straightforward.
I started by cleaning the original edge of the sand that was up against the pavers I hadn’t lifted. Then, on the road side, I compressed and flattened a spot to about 10 mm above where I wanted the finished height. This allows for compression afterwards.
I then positioned a paver on the new area and ran a string line between the two sections. This allowed me to use a paver as a float, slowly moving sand aside until the top of the paver met the bottom of the string line.
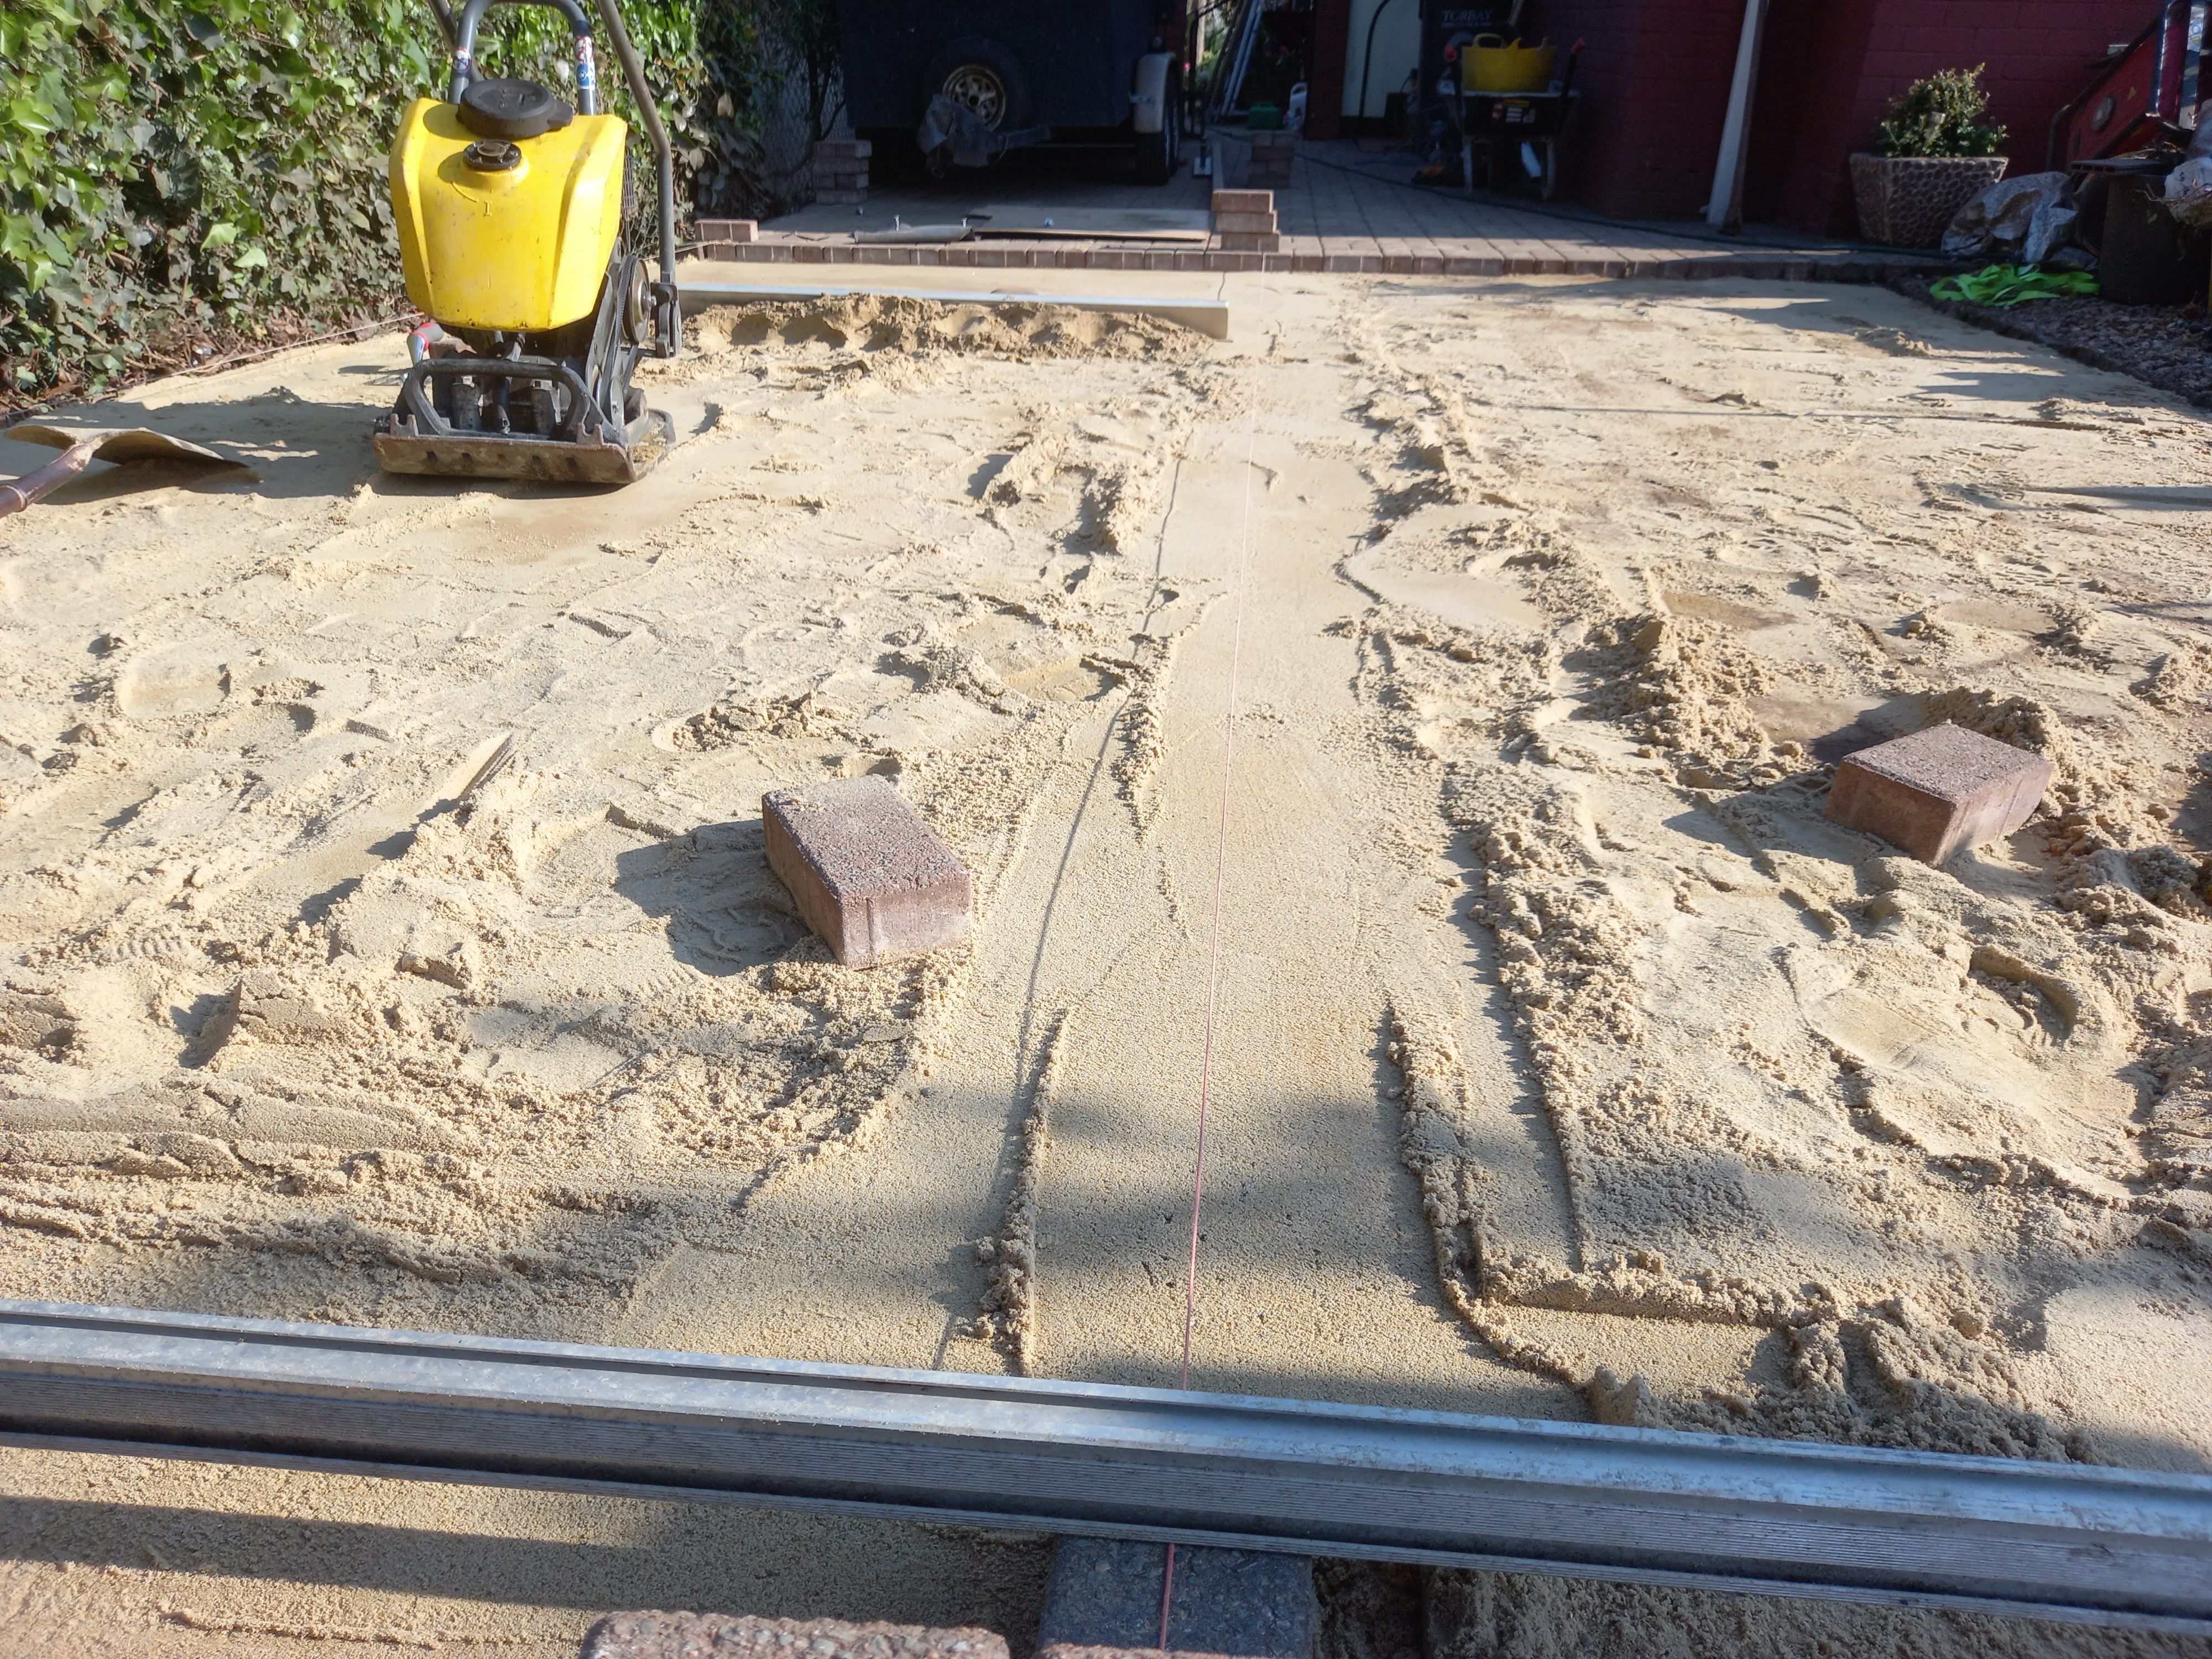
Once you create two of these, you can move on to creating a bay.
Using the wacker plate, I compacted the sand I had built up between the two channels I made with the string and paver.
I then used a straightedge to draw back the sand to the height of the two channels, followed by a plastering trowel alongside a float to flatten it.
Once you do this, you can relay the pavers back onto the perfectly prepared sand, ignoring the obvious problem at the edge for the time being.
You have to repeat the screeding and laying-paver steps a few times. once you do you should have completed relaying the driveway.
Cutting Corners #
You may have to lay the final edging pavers by placing the charcoal (grey) pavers onto the brindle (brown) pavers. Draw a line and cut along it to allow the charcoal (grey) ones to sit on the sand where you want them.
Next, you empty the water out of your plate compactor and tamp the whole driveway to settle the pavers into position, making sure you don’t run off the edge.
Do that then lift all the edging pavers you just laid that aren’t up against something solid, like a concrete path or a house. Dig the sand out and mix concrete to lay them back down.
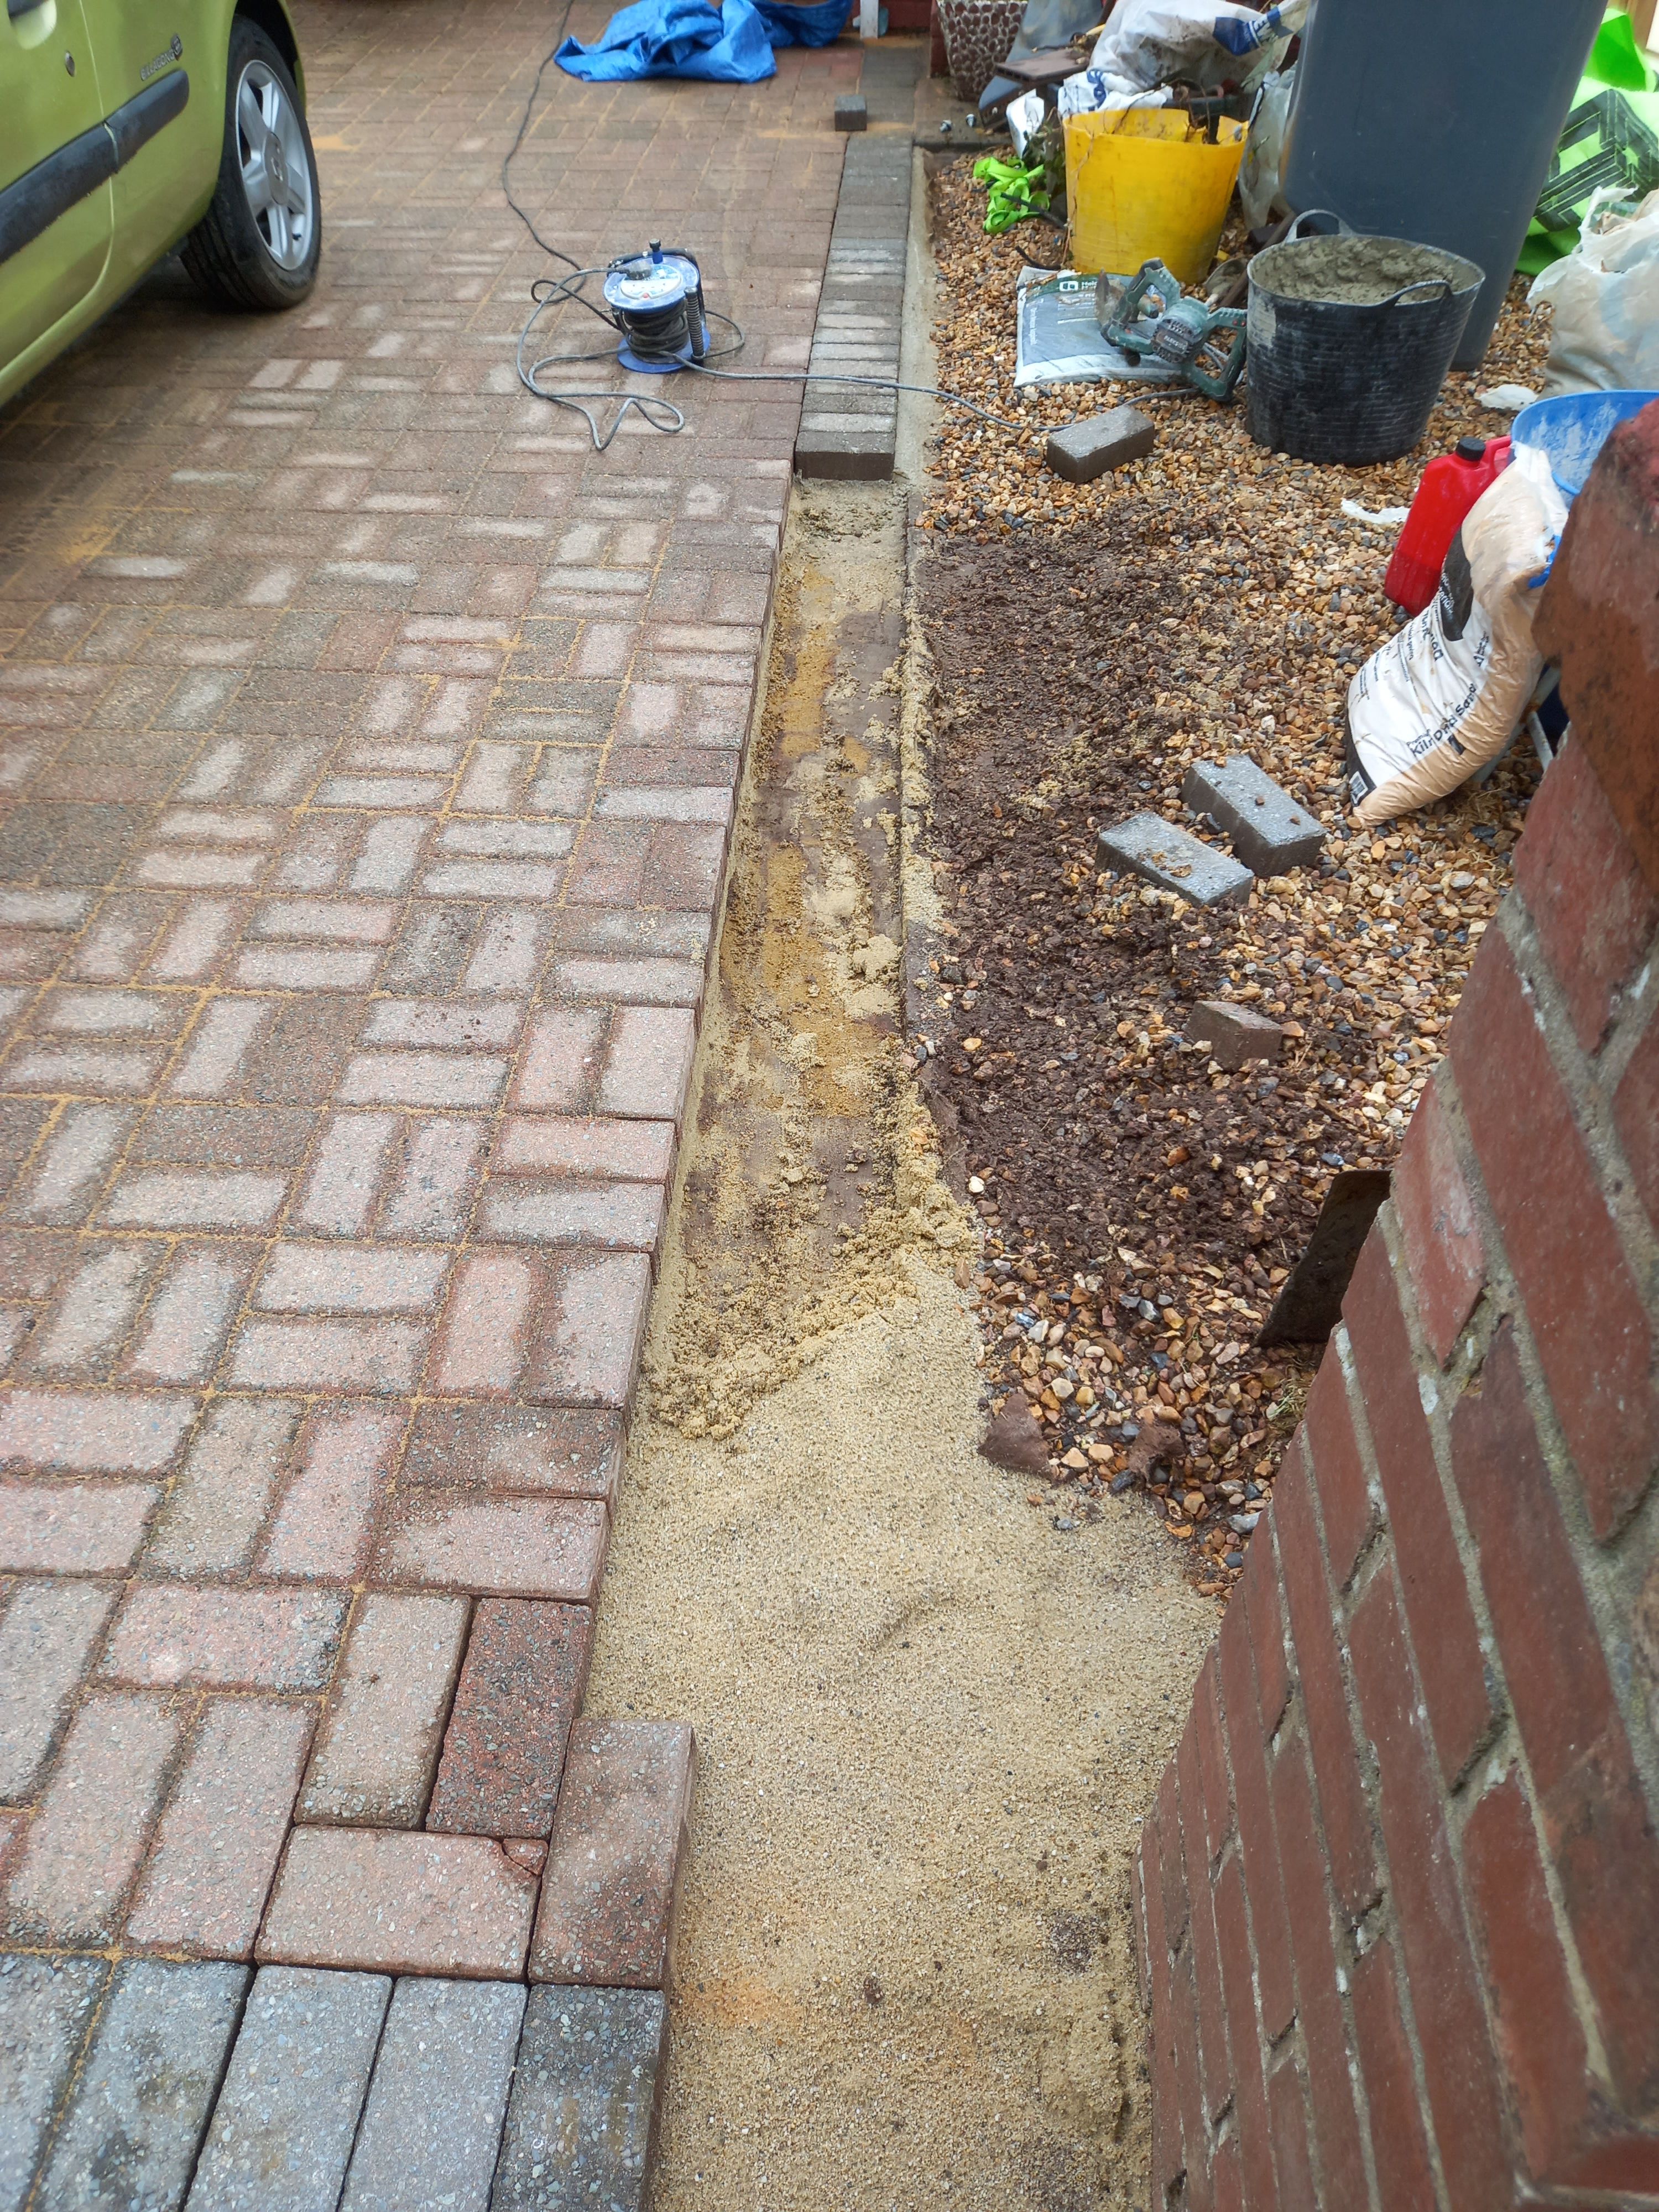
This stops the substrate sand from getting washed out or a heavy vehicle from moving the whole lot.
After that, I put a little clear silicone on the vertical perp joints (gaps) in the pavers to hold back the kiln-dried sand.
Kiln-dried sand is a very fine sand, almost like hourglass sand. It uses that viscous property to fall between the joints of the pavers and lock them into position.
You help this process along by using a plate compactor with a rubber mat attached. (I don’t have a mat.)
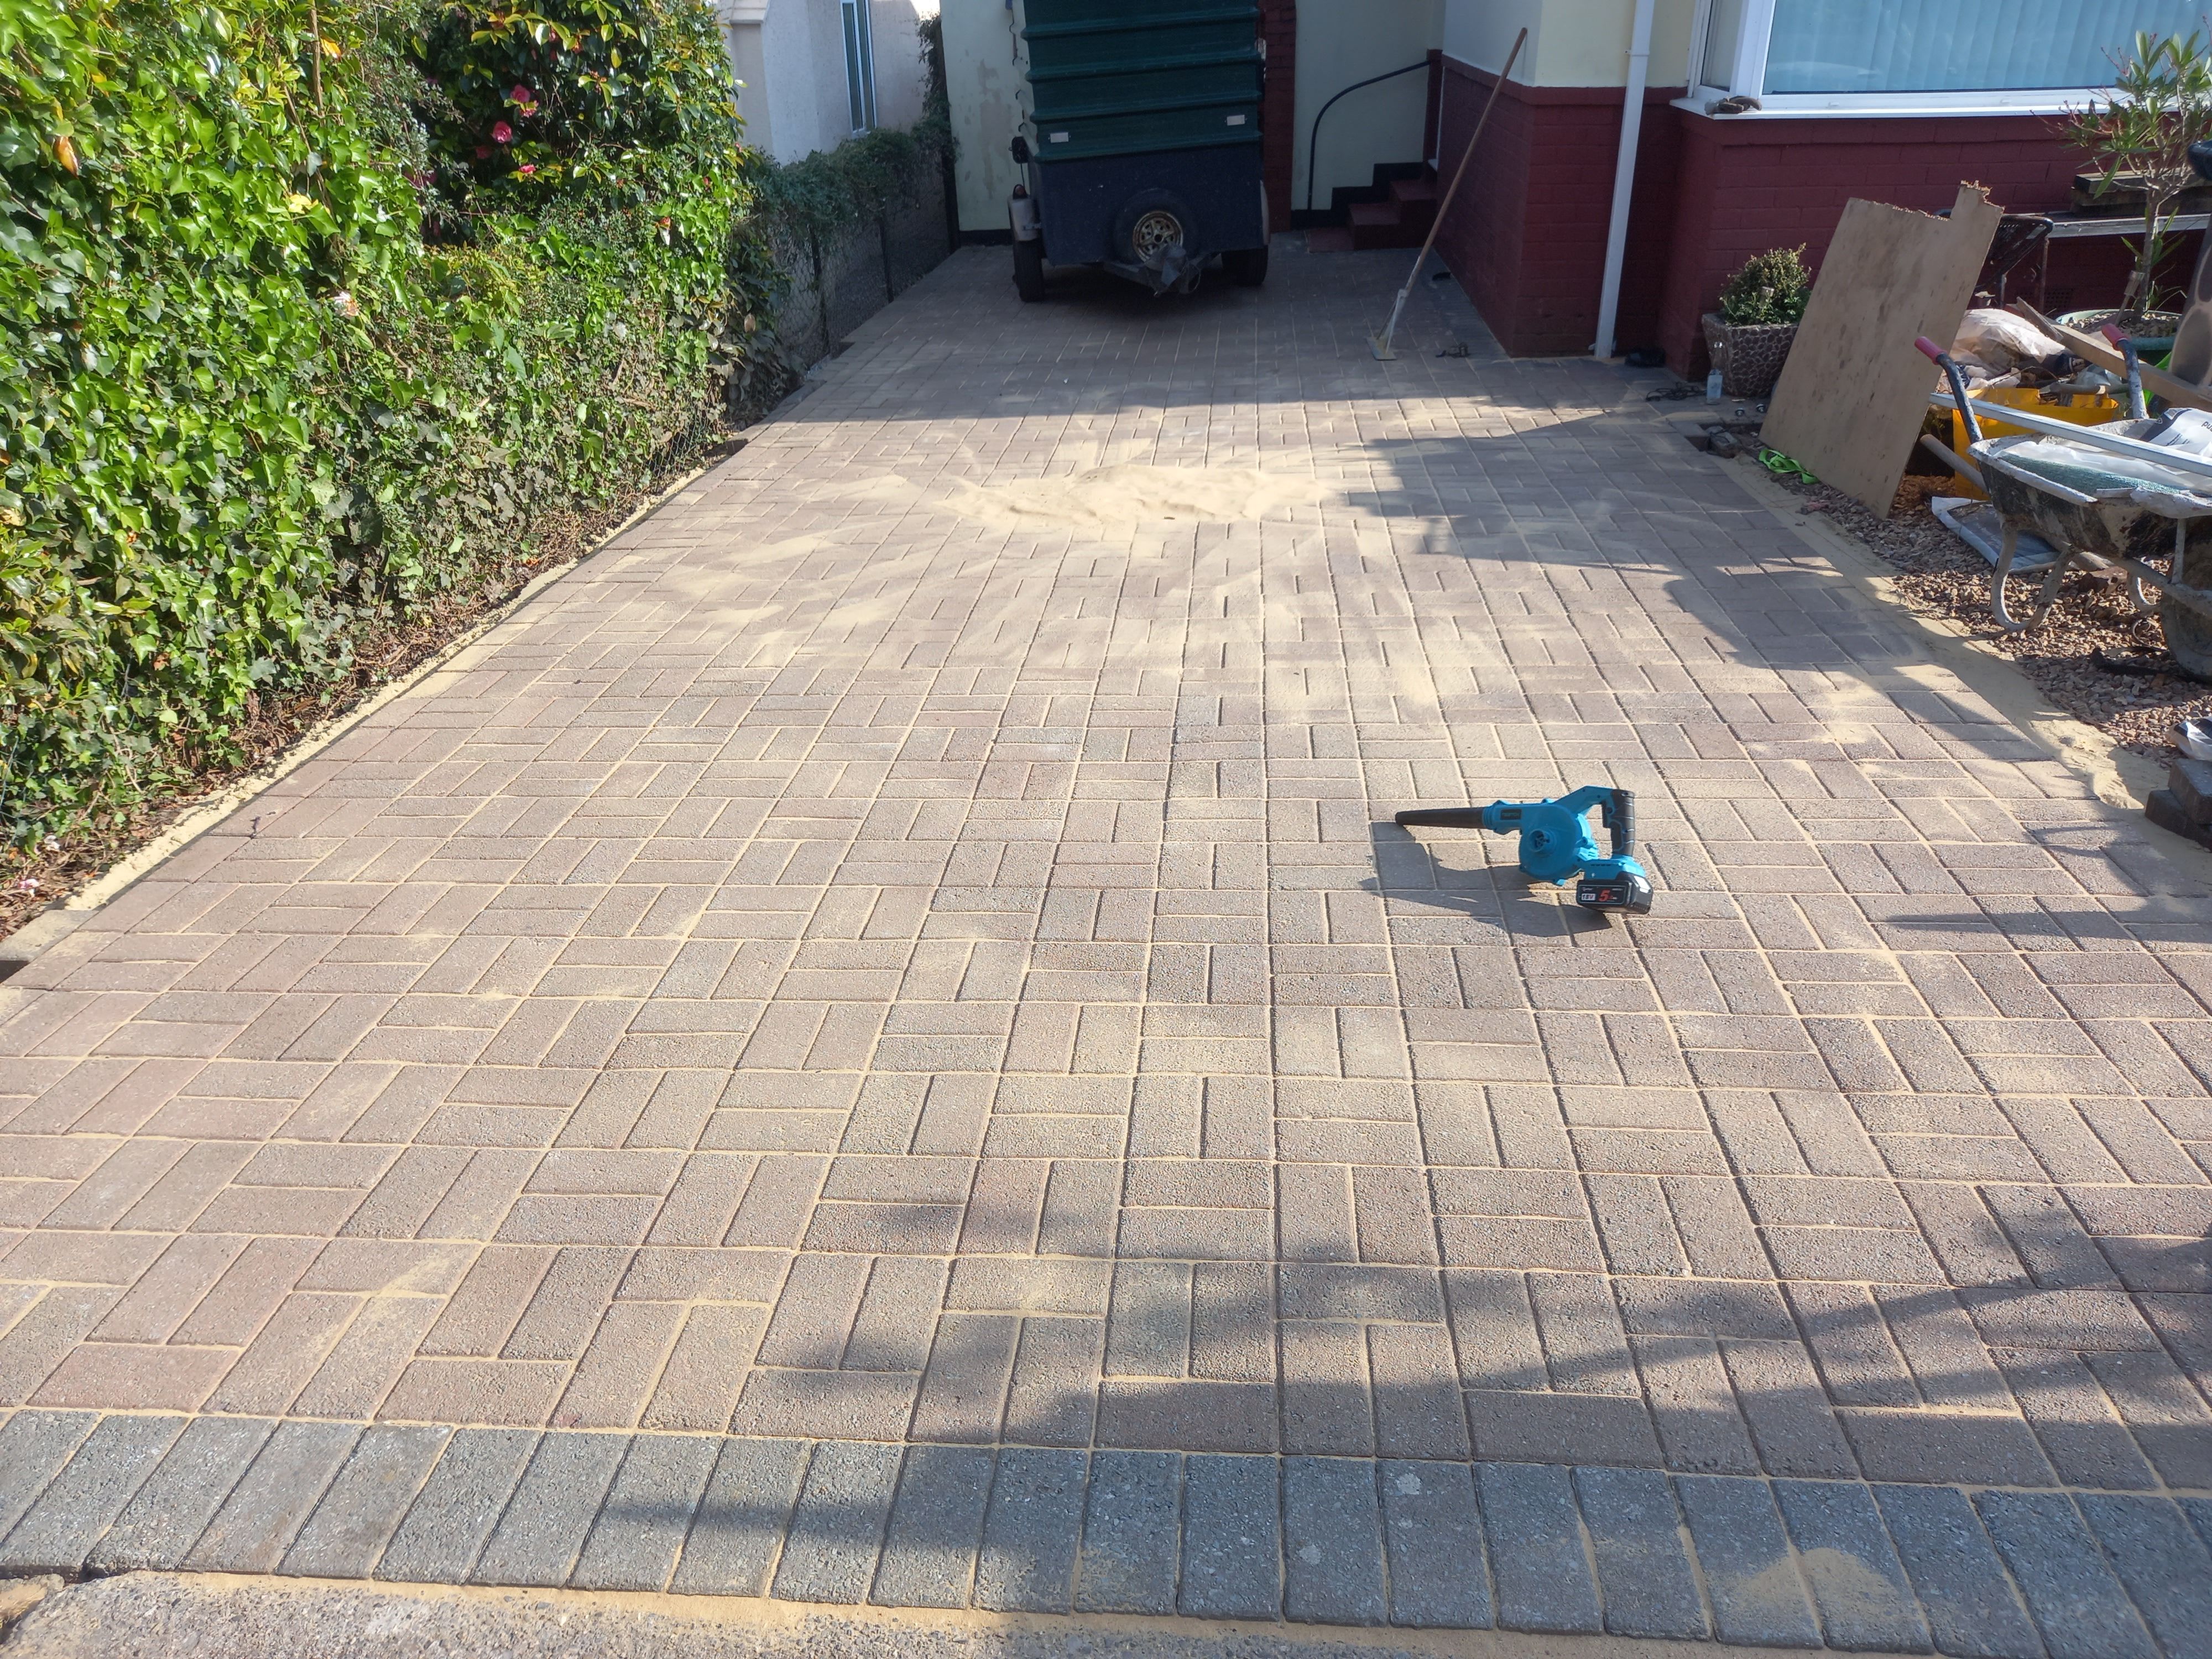
There you have it. You can optionally seal the driveway afterwards with special driveway sealers, but because this was a refurbishment of an old driveway, I opted against it.
Extra Photos #
Below is a few photos of the curve I added to the driveway. Note that I used pavers from a hidden section of the drive to make it.
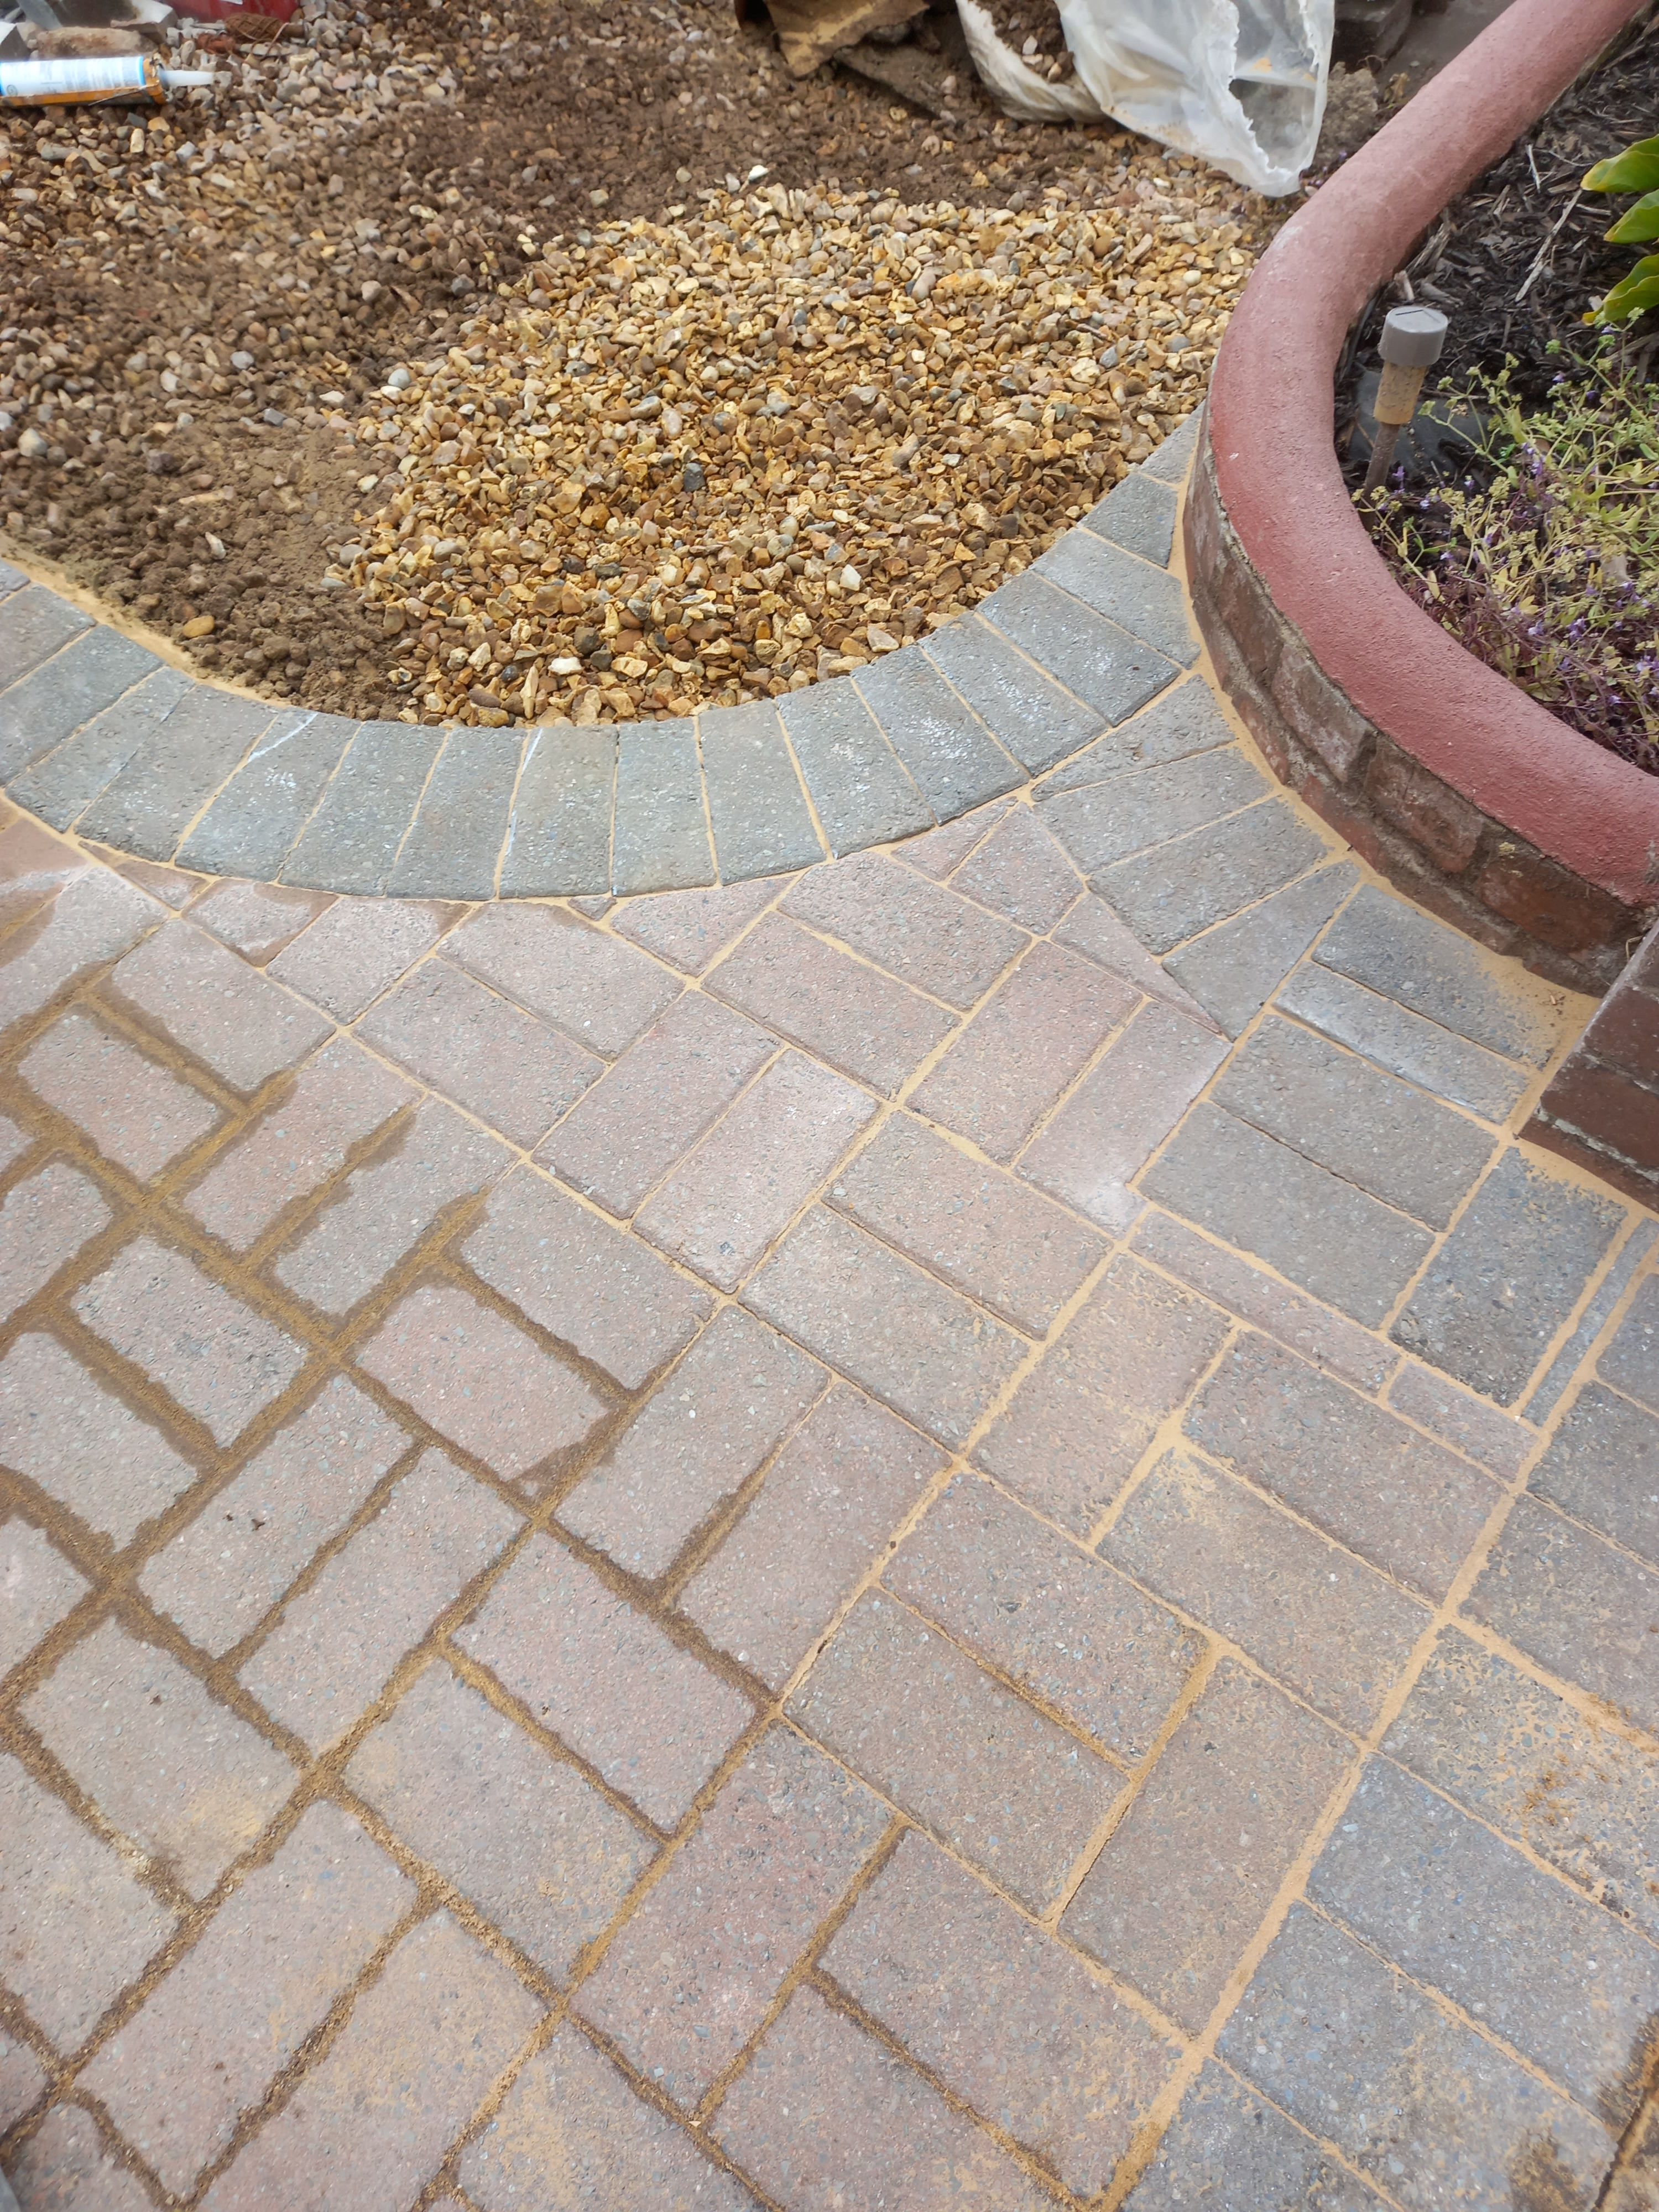
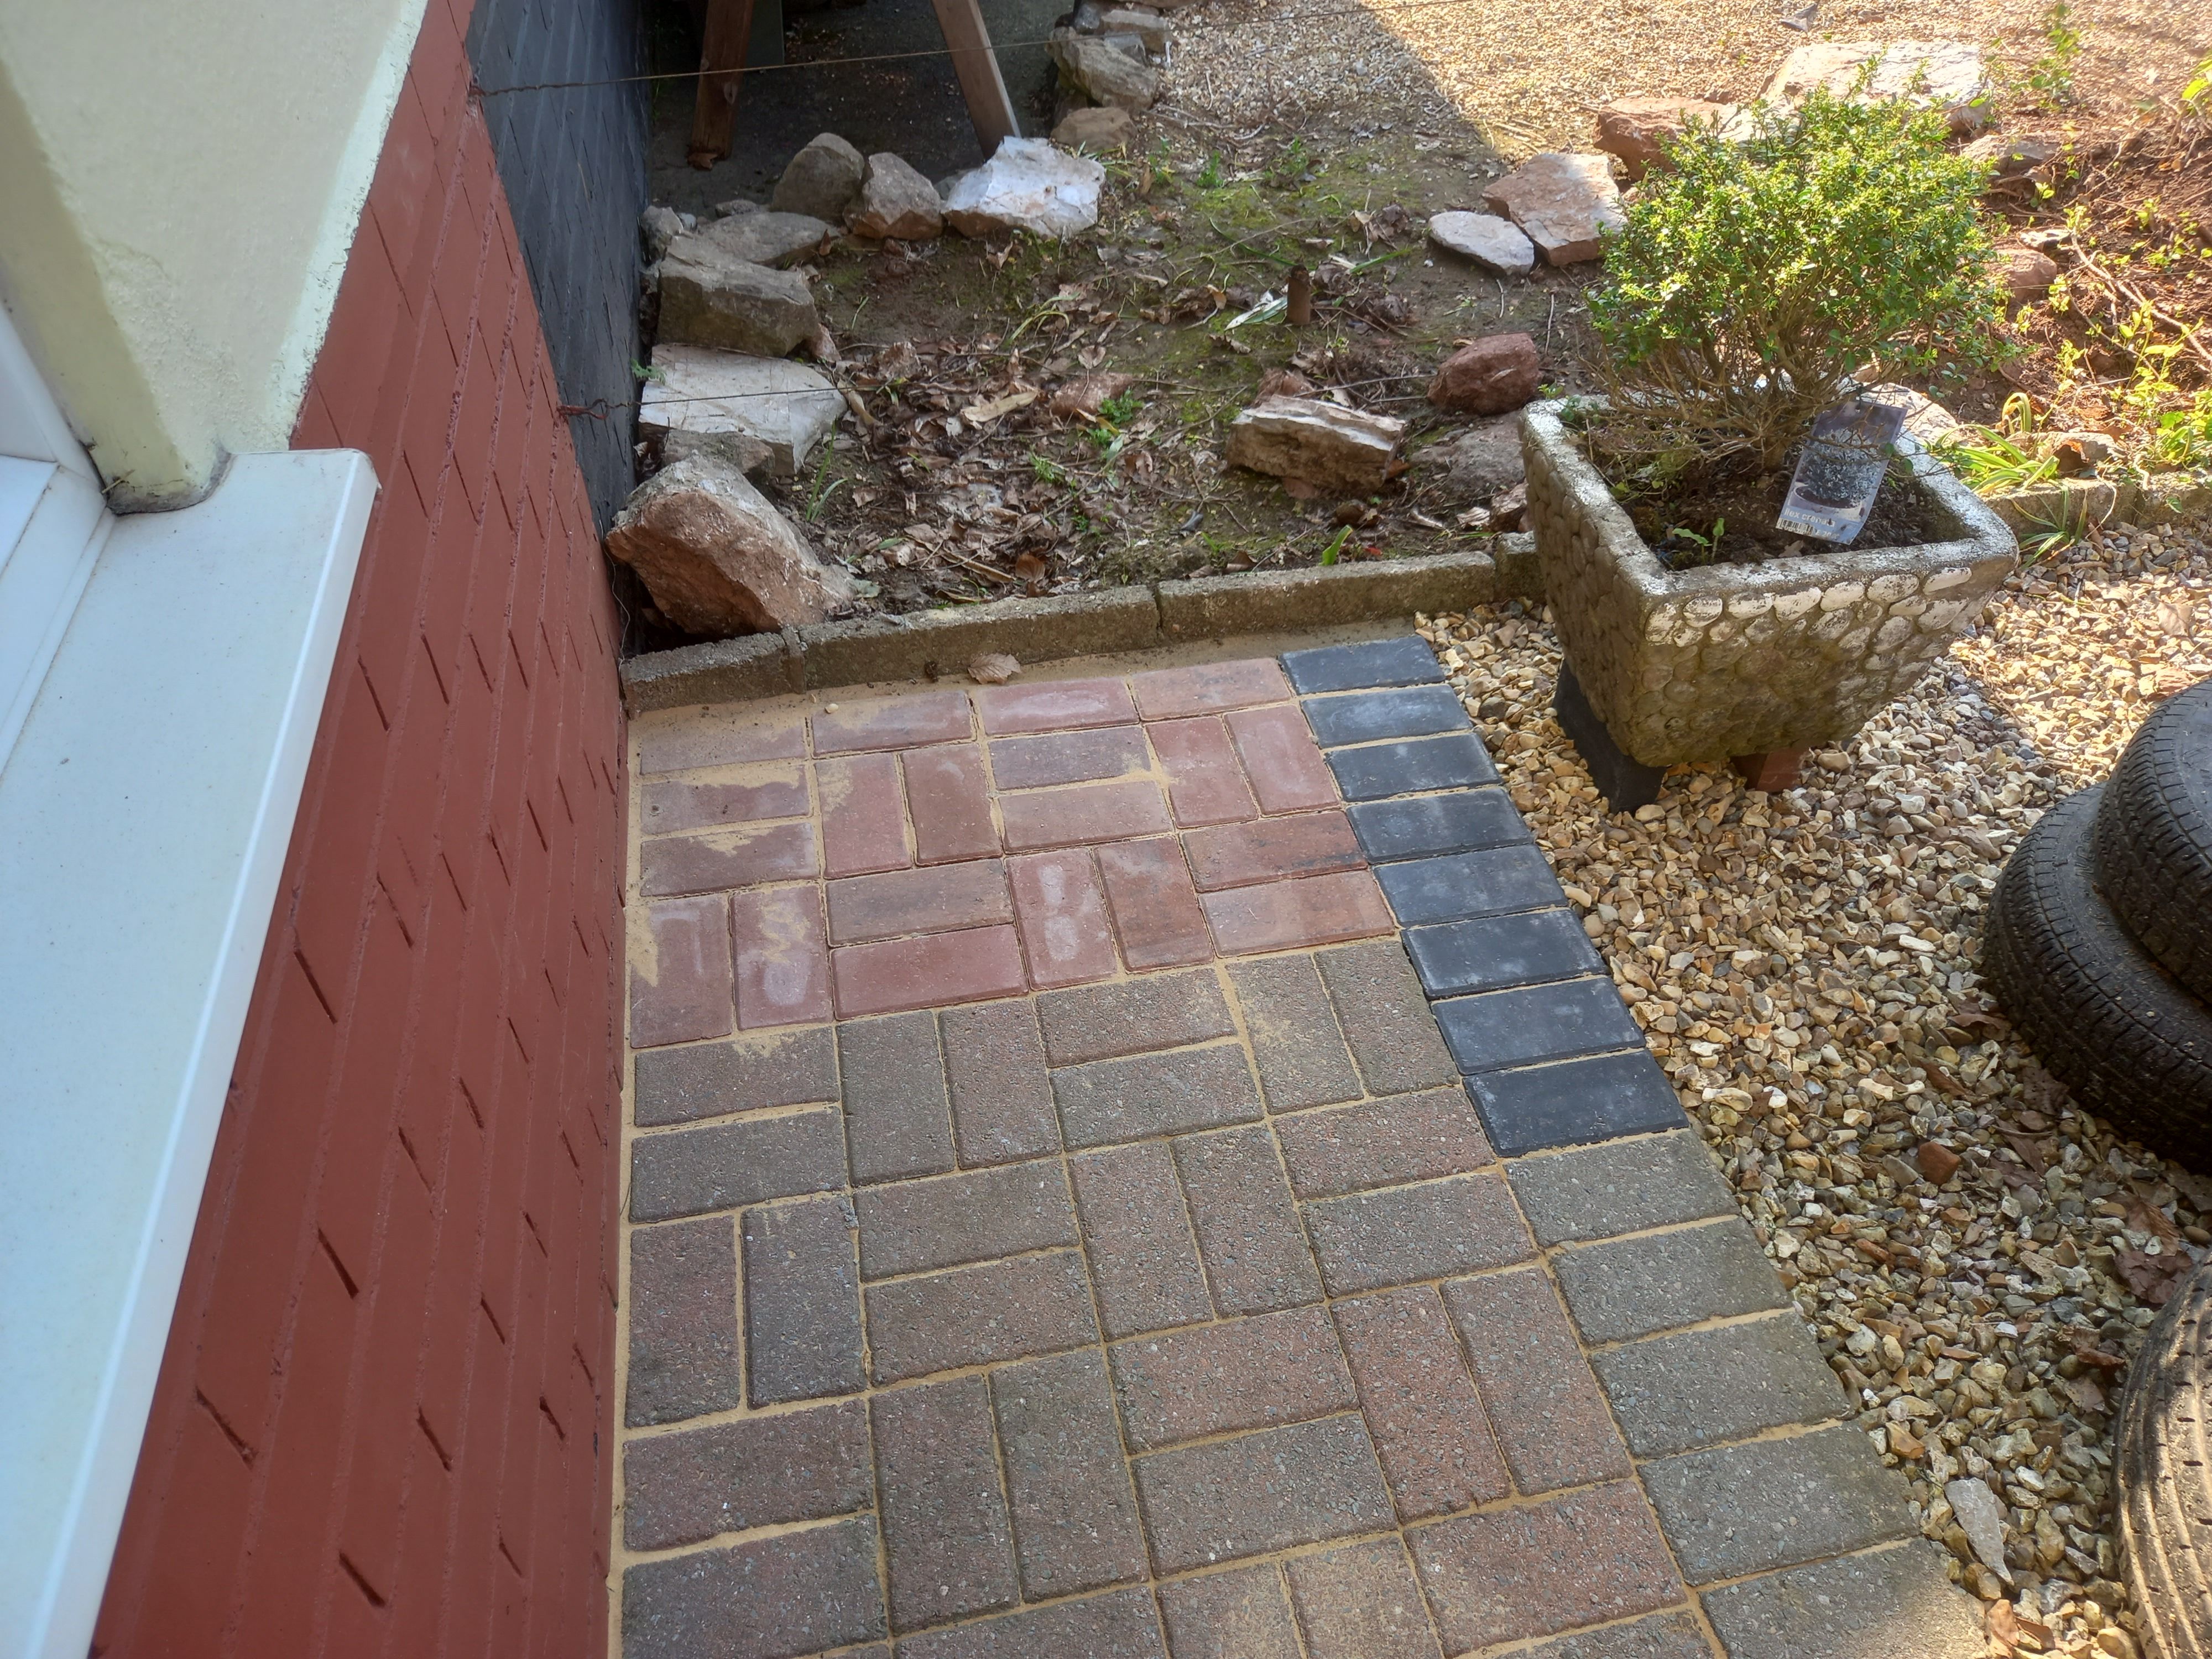
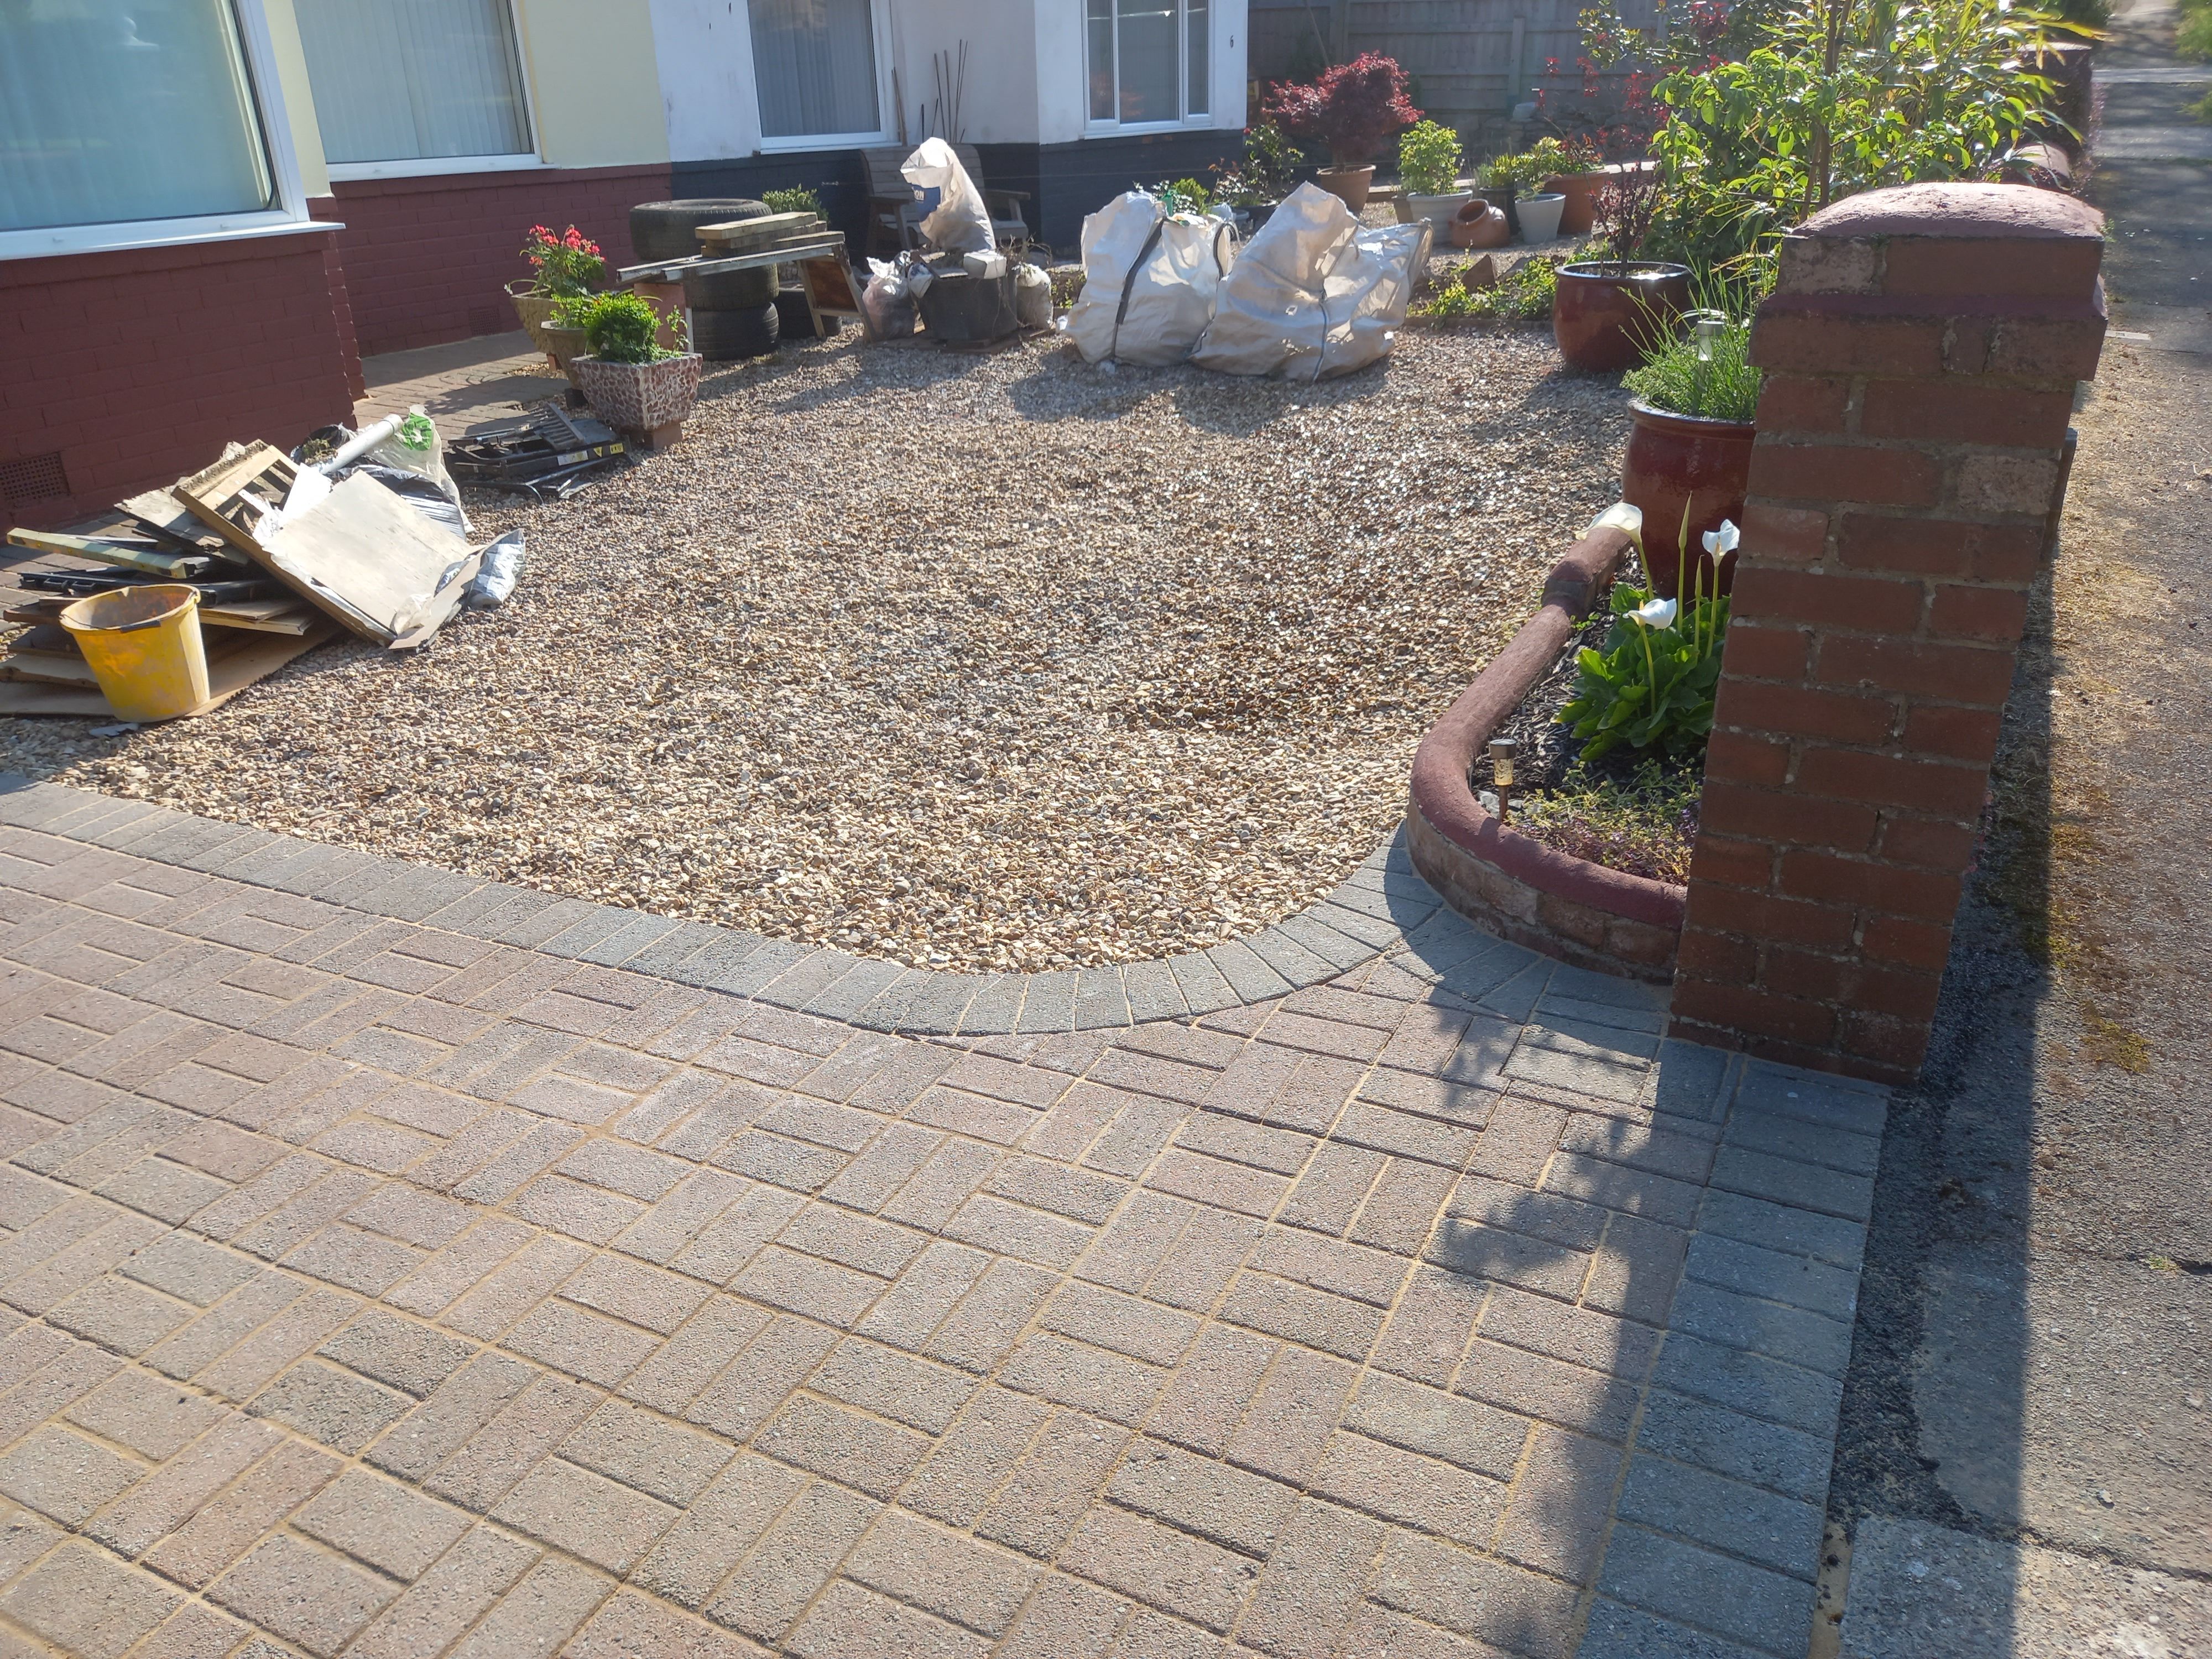
And that is how I repaired this driveway. I also bought two dumpy-bags of gravel to refresh the gravel part of the property.
If you've enjoyed this article and fancy helping keep the servers humming and the tools running, you can find things on the Robin's Lab wishlist . No obligation — reading, sharing, enjoying the articles and disagreeing with me are all completely free. I won't even send you an invoice.