
Introduction.#
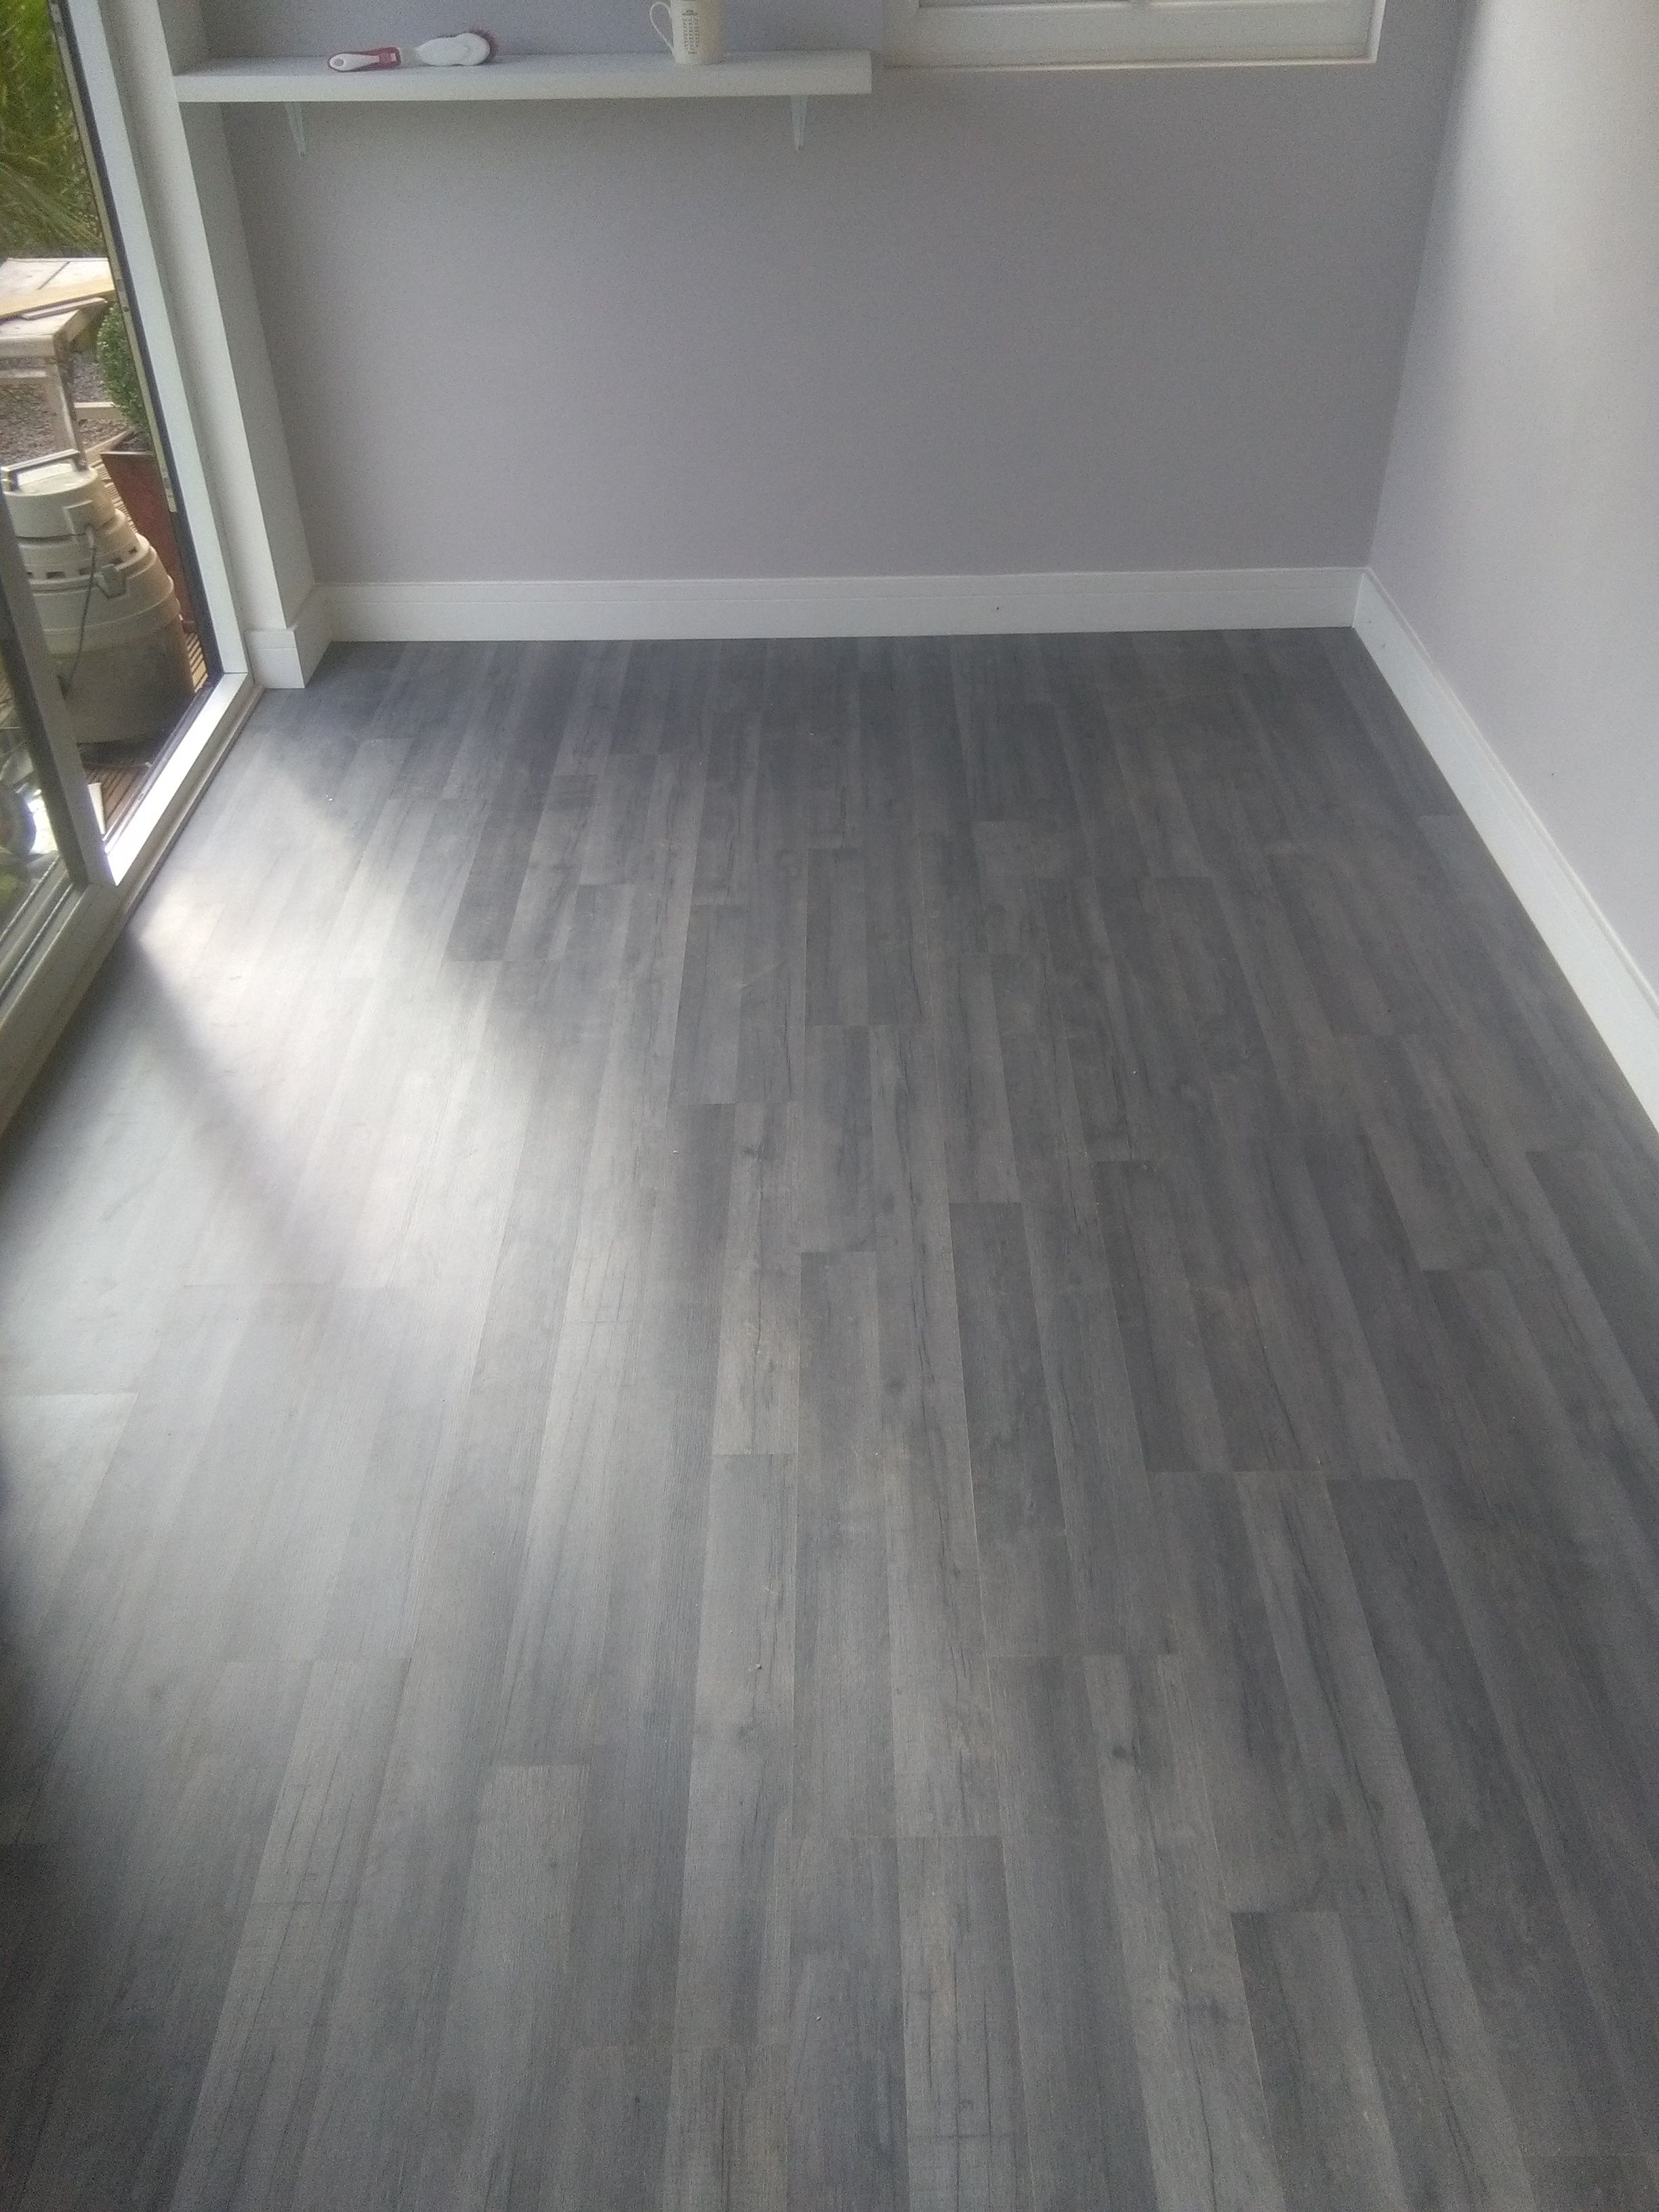
Over my 30+ years working in construction I have picked up many skills. Trades like plastering and block-work, don’t usually have the immediate satisfaction you get from looking at the complete finished room. I think that’s why I enjoy it. Although it can be harder due to the accuracy needed to supply and fit a finished product.
Preparation#
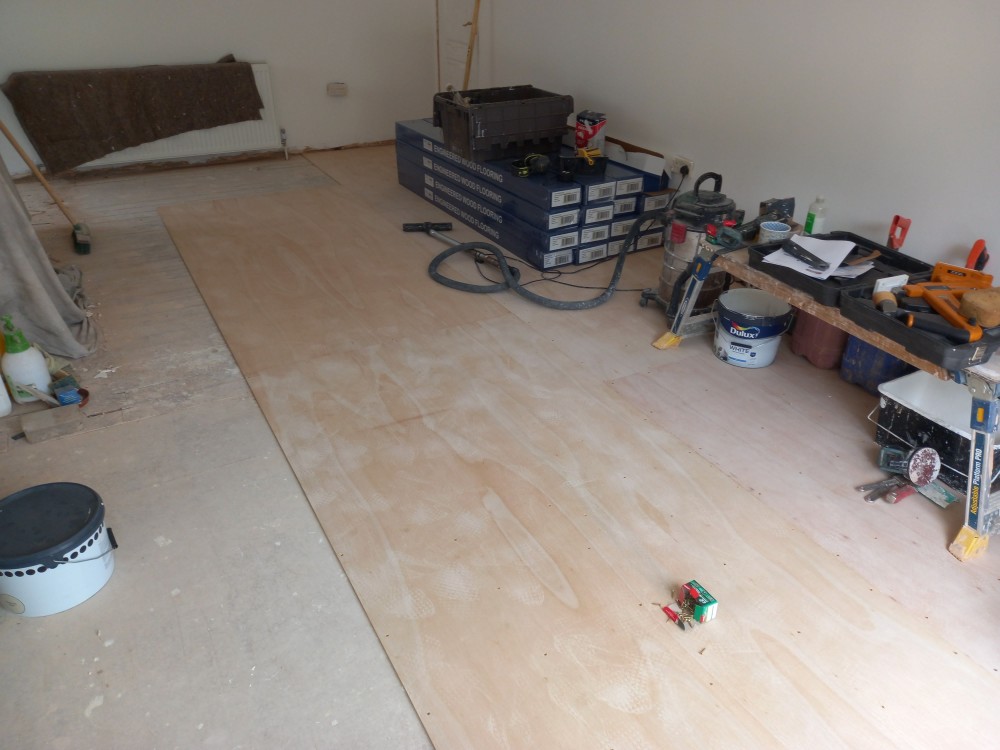
Before laying the floor you need a flat smooth surface. I would remove all furnishings from the room if it’s needed and take up the old covering, whether that be carpet or another laminate. Then I would inspect the sub-floor for damp or movement and correct as needed. This then gives you a good starting point to apply the new flooring. In the case below I decided to affix plywood to the floor. This was done for two reasons. One, it gave me a perfect base to lay the wooden flooring. Two, it raised up the floor to match the tiling in the hallway.
Starting the job#
Laying flooring is an art. For example, I will always try and have the direction of the planks perpendicular to where the light comes in. This creates an illusion of making the room look bigger. After that I will pick the longest uninterrupted side. By this I mean there isn’t a fireplace in the way or a flue stack etc.. If there was something in the way it creates a lot of problems.
You start by allowing cutouts for the door. This might mean that you have to rip the planks down, because you don’t want a small piece of wood in the doorway. This is liable to get damaged or move easily. You also need to pay attention to the span of the room, making sure your cuts are not so small that they will just splinter on the other side of the room.
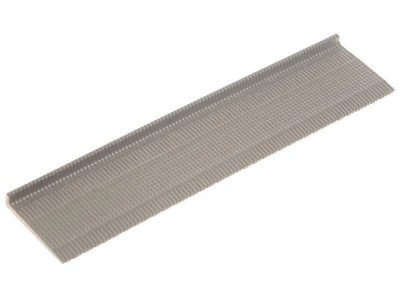
After you have made the cutout for the doorway with your jigsaw, and ripped the boards down, you can fix them in place by screwing them where they won’t be seen on the edge where the skirting will go. I use another plank half on the join to help align the boards in a perfectly straight line. Finally you cut off nails from your nail strips, then nail the first board by hand.
Laying the boards#
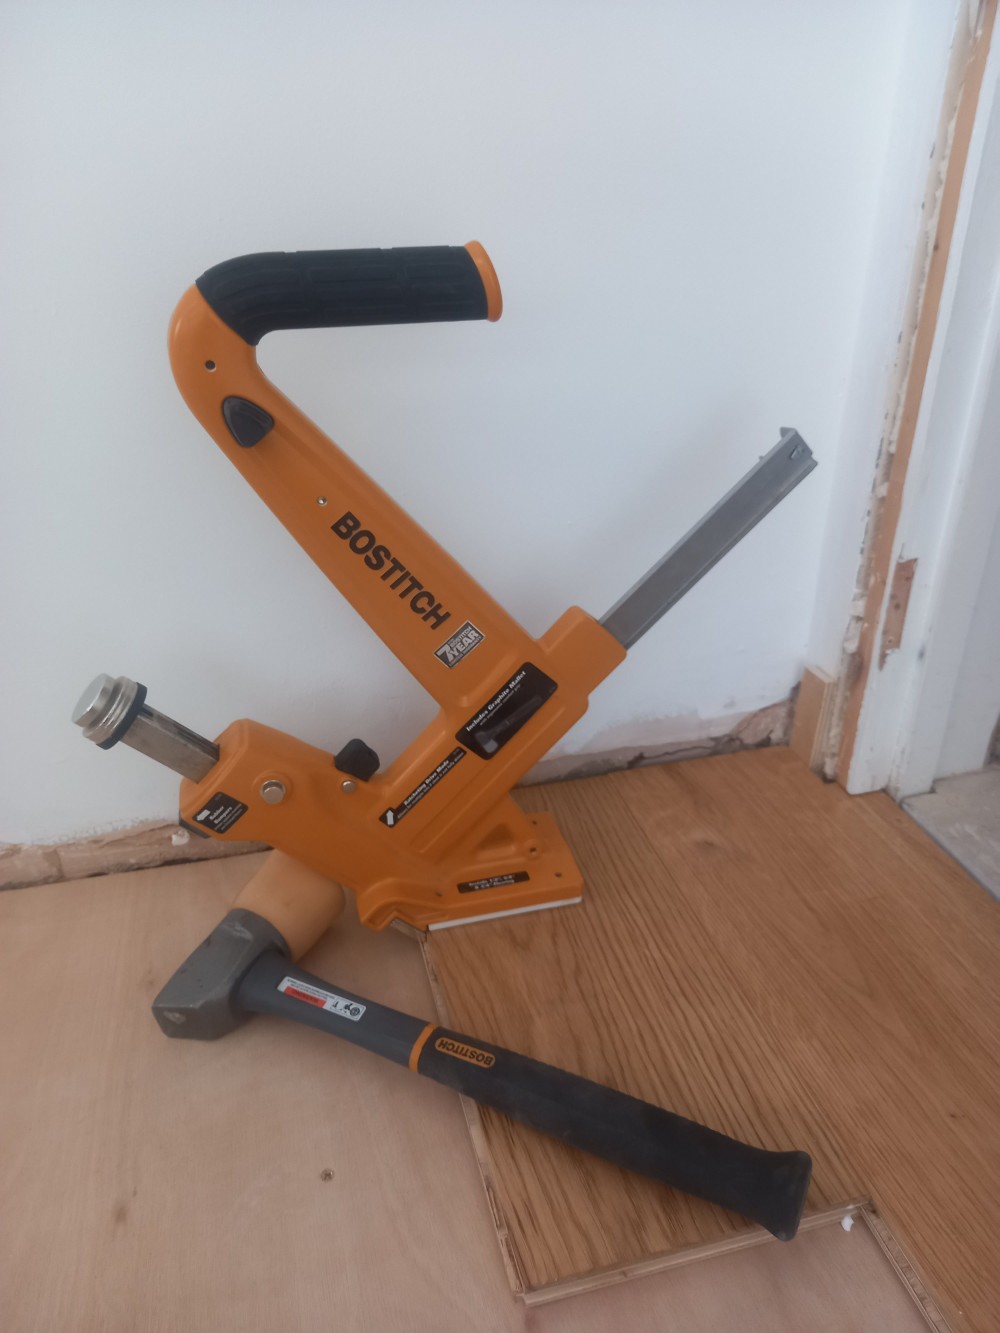
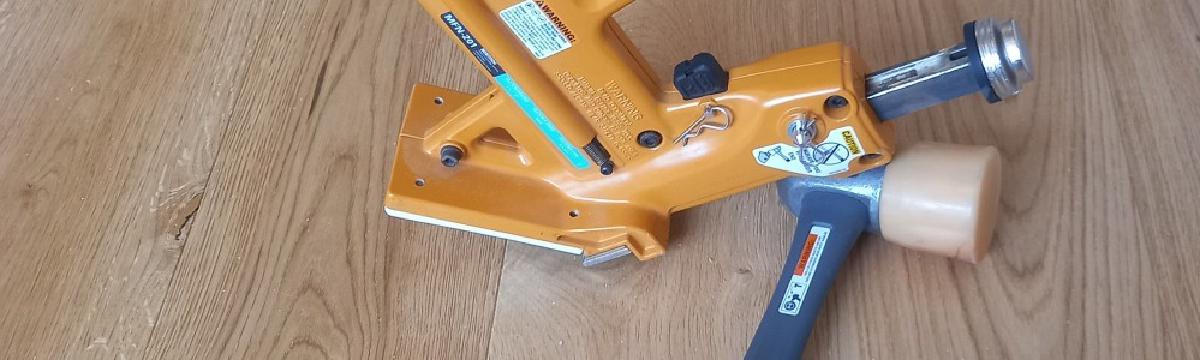
Once you have that nice straight line you can start laying the floor. Usually you have to lay the first two rows by nailing them by hand. Then you can use a flooring nailer. I have the excellent Bostitch MFN-201-E.
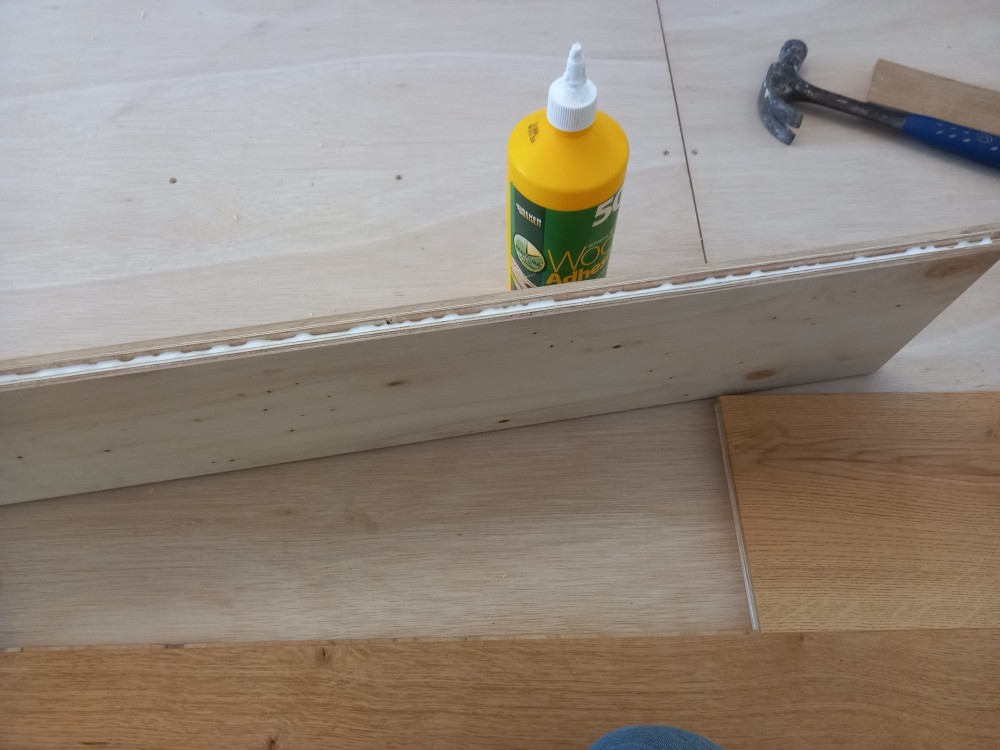
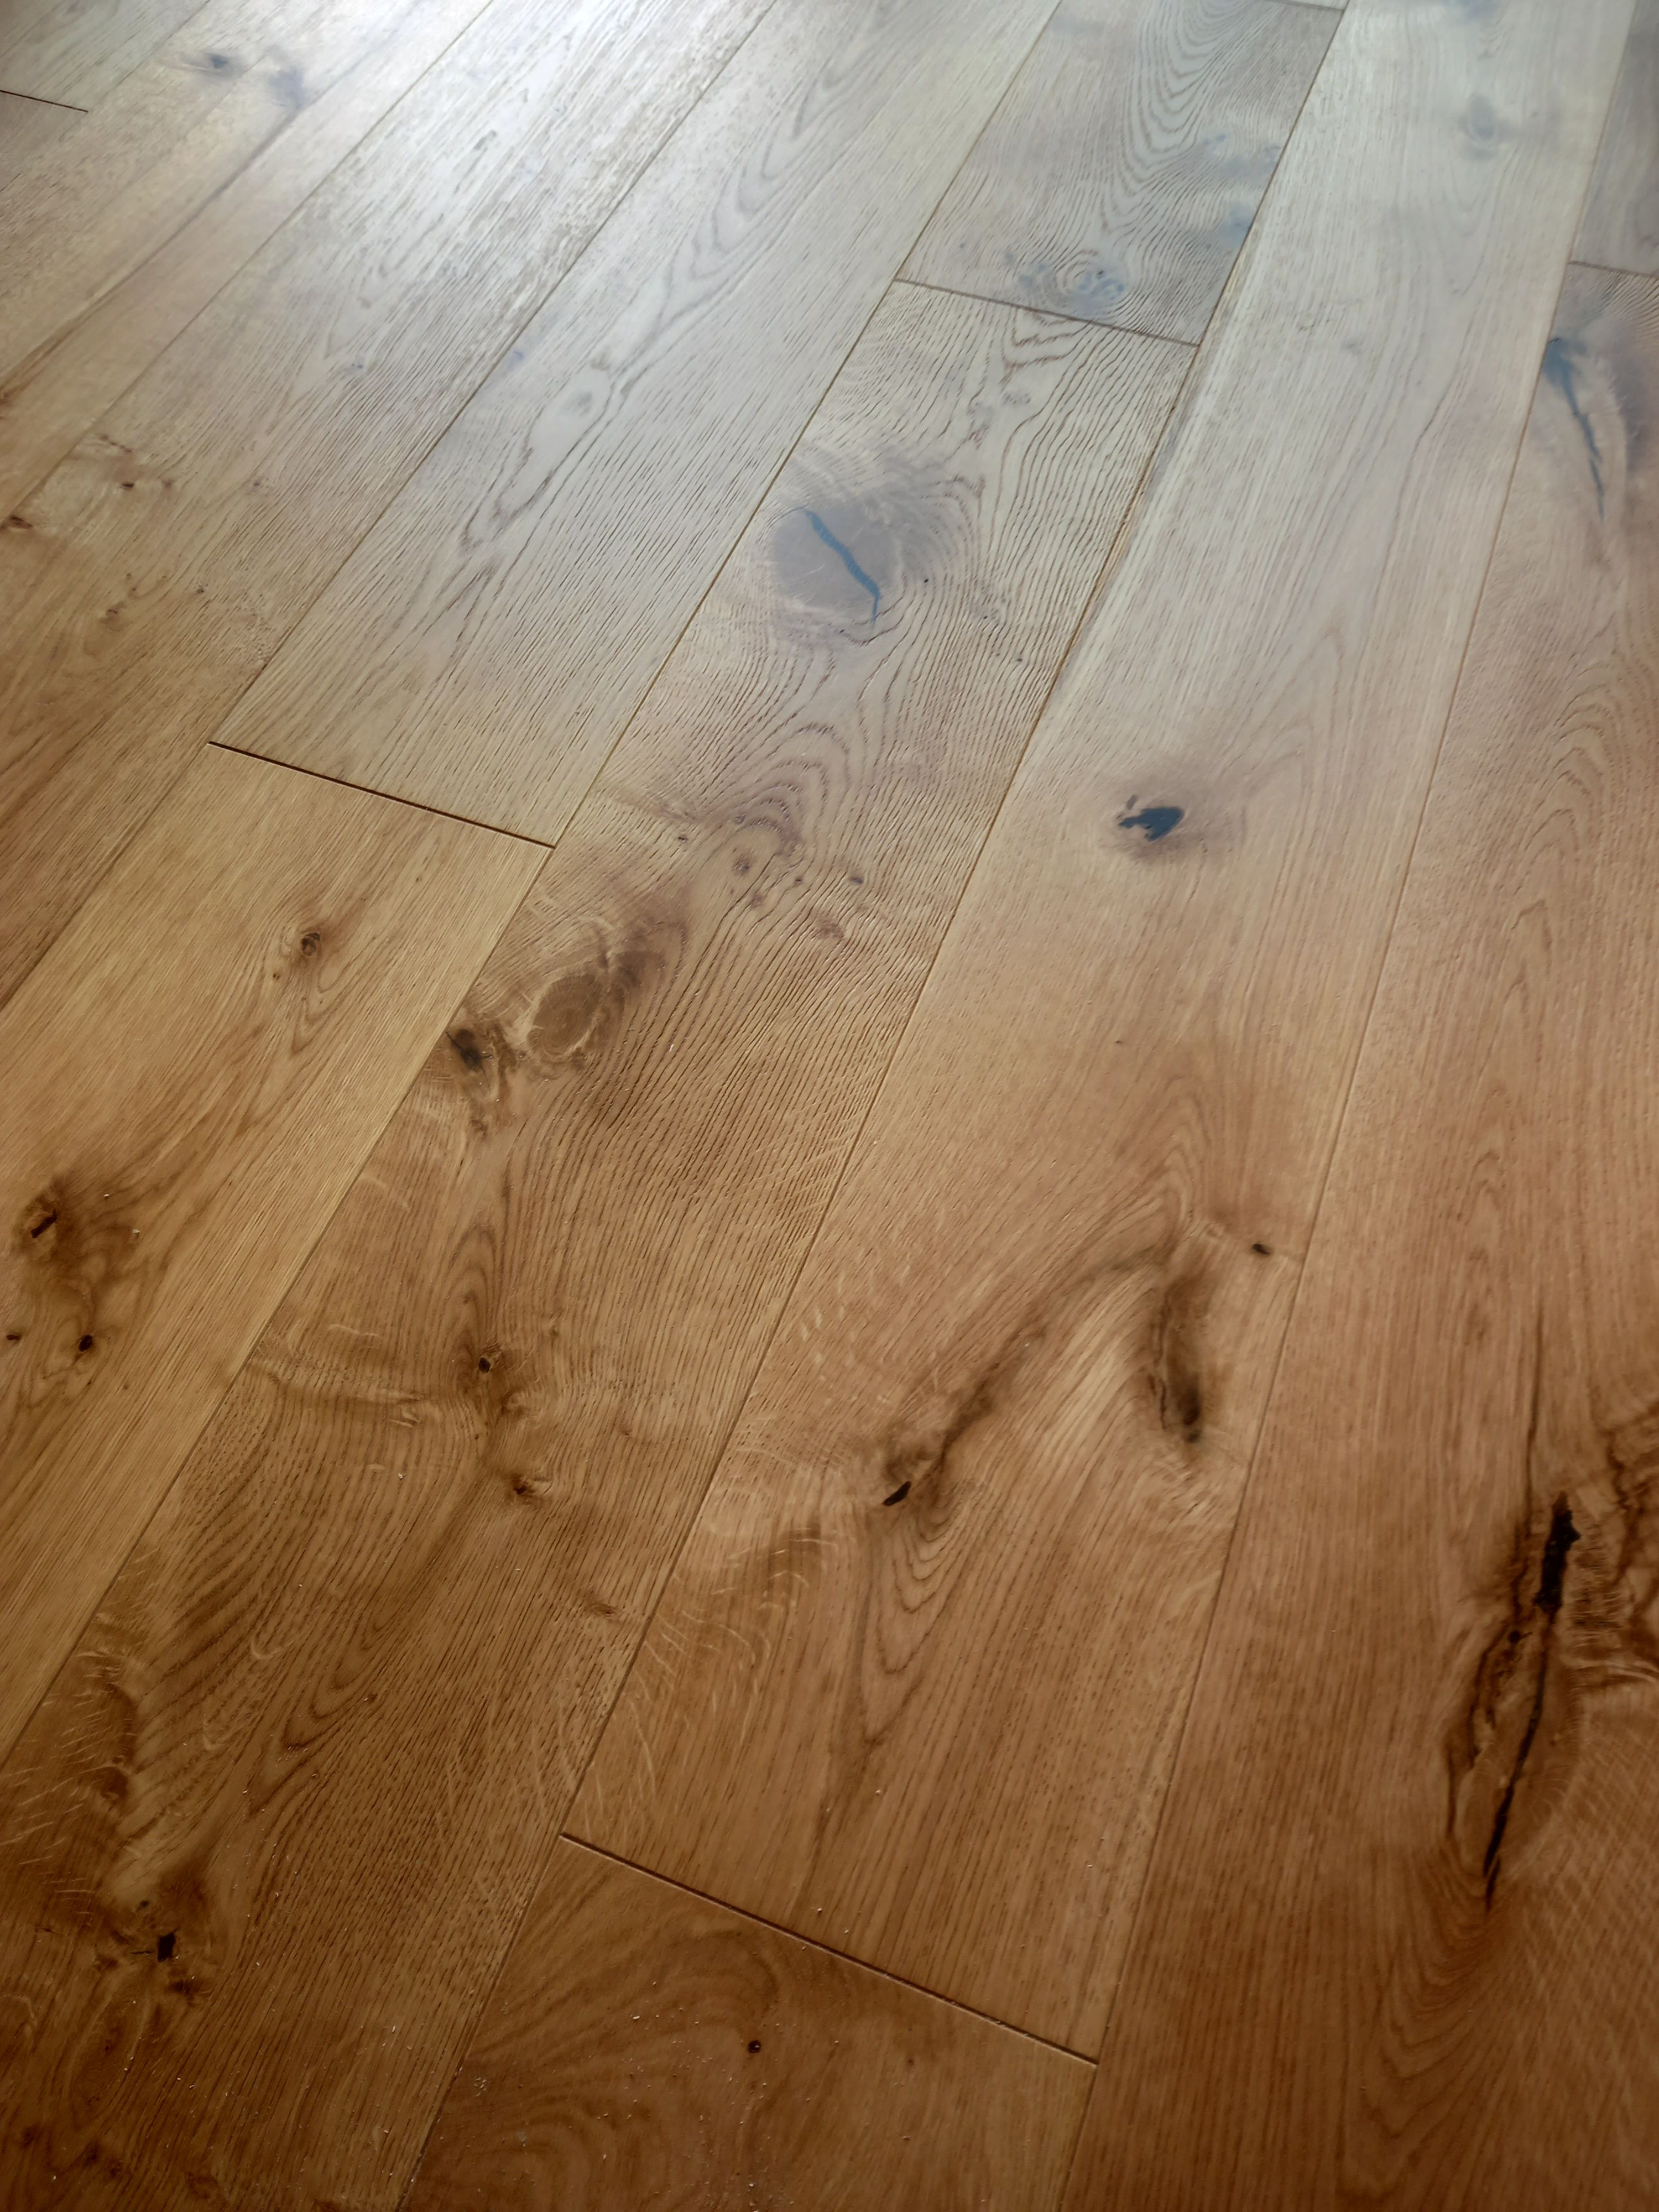
This is where I would put multiple packs of flooring along the floor and pick randomly from them to batch the packs. This eliminates anything obvious like light coloured or bookmatched planks laid next to each other. I will then glue the boards along the groove before nailing each one of them in place.
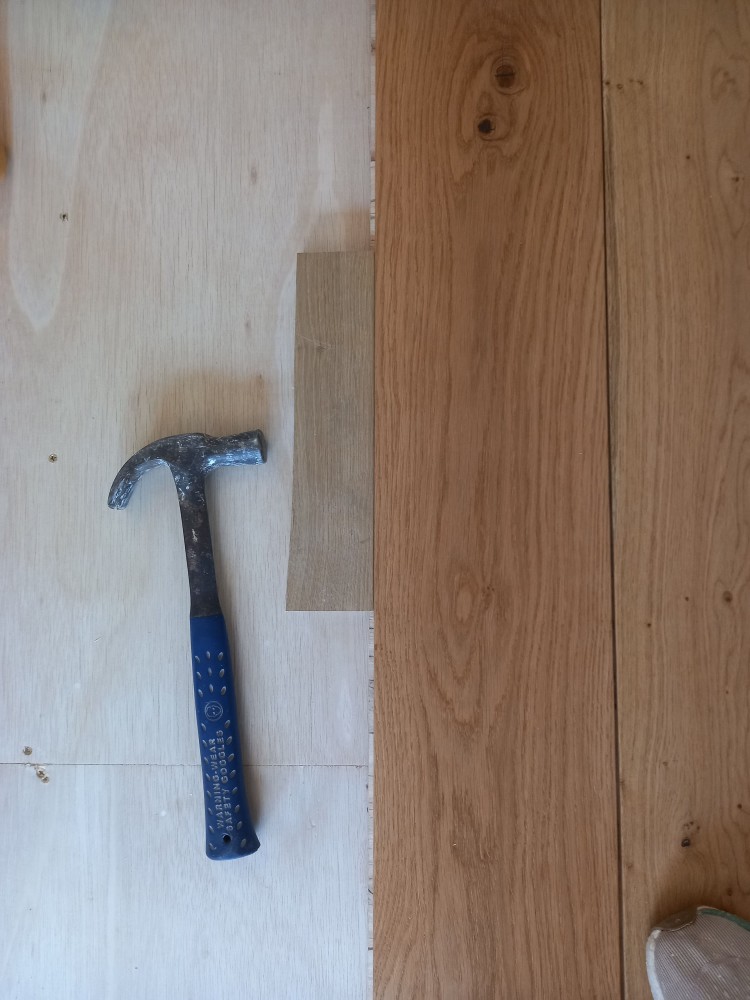
Sometimes before you nail a board it pays to get an off cut of flooring and use that to butt up the planks securely. This eliminates the boards creeping apart creating unsightly gaps. I recommend tapping each one into place before you nail it.
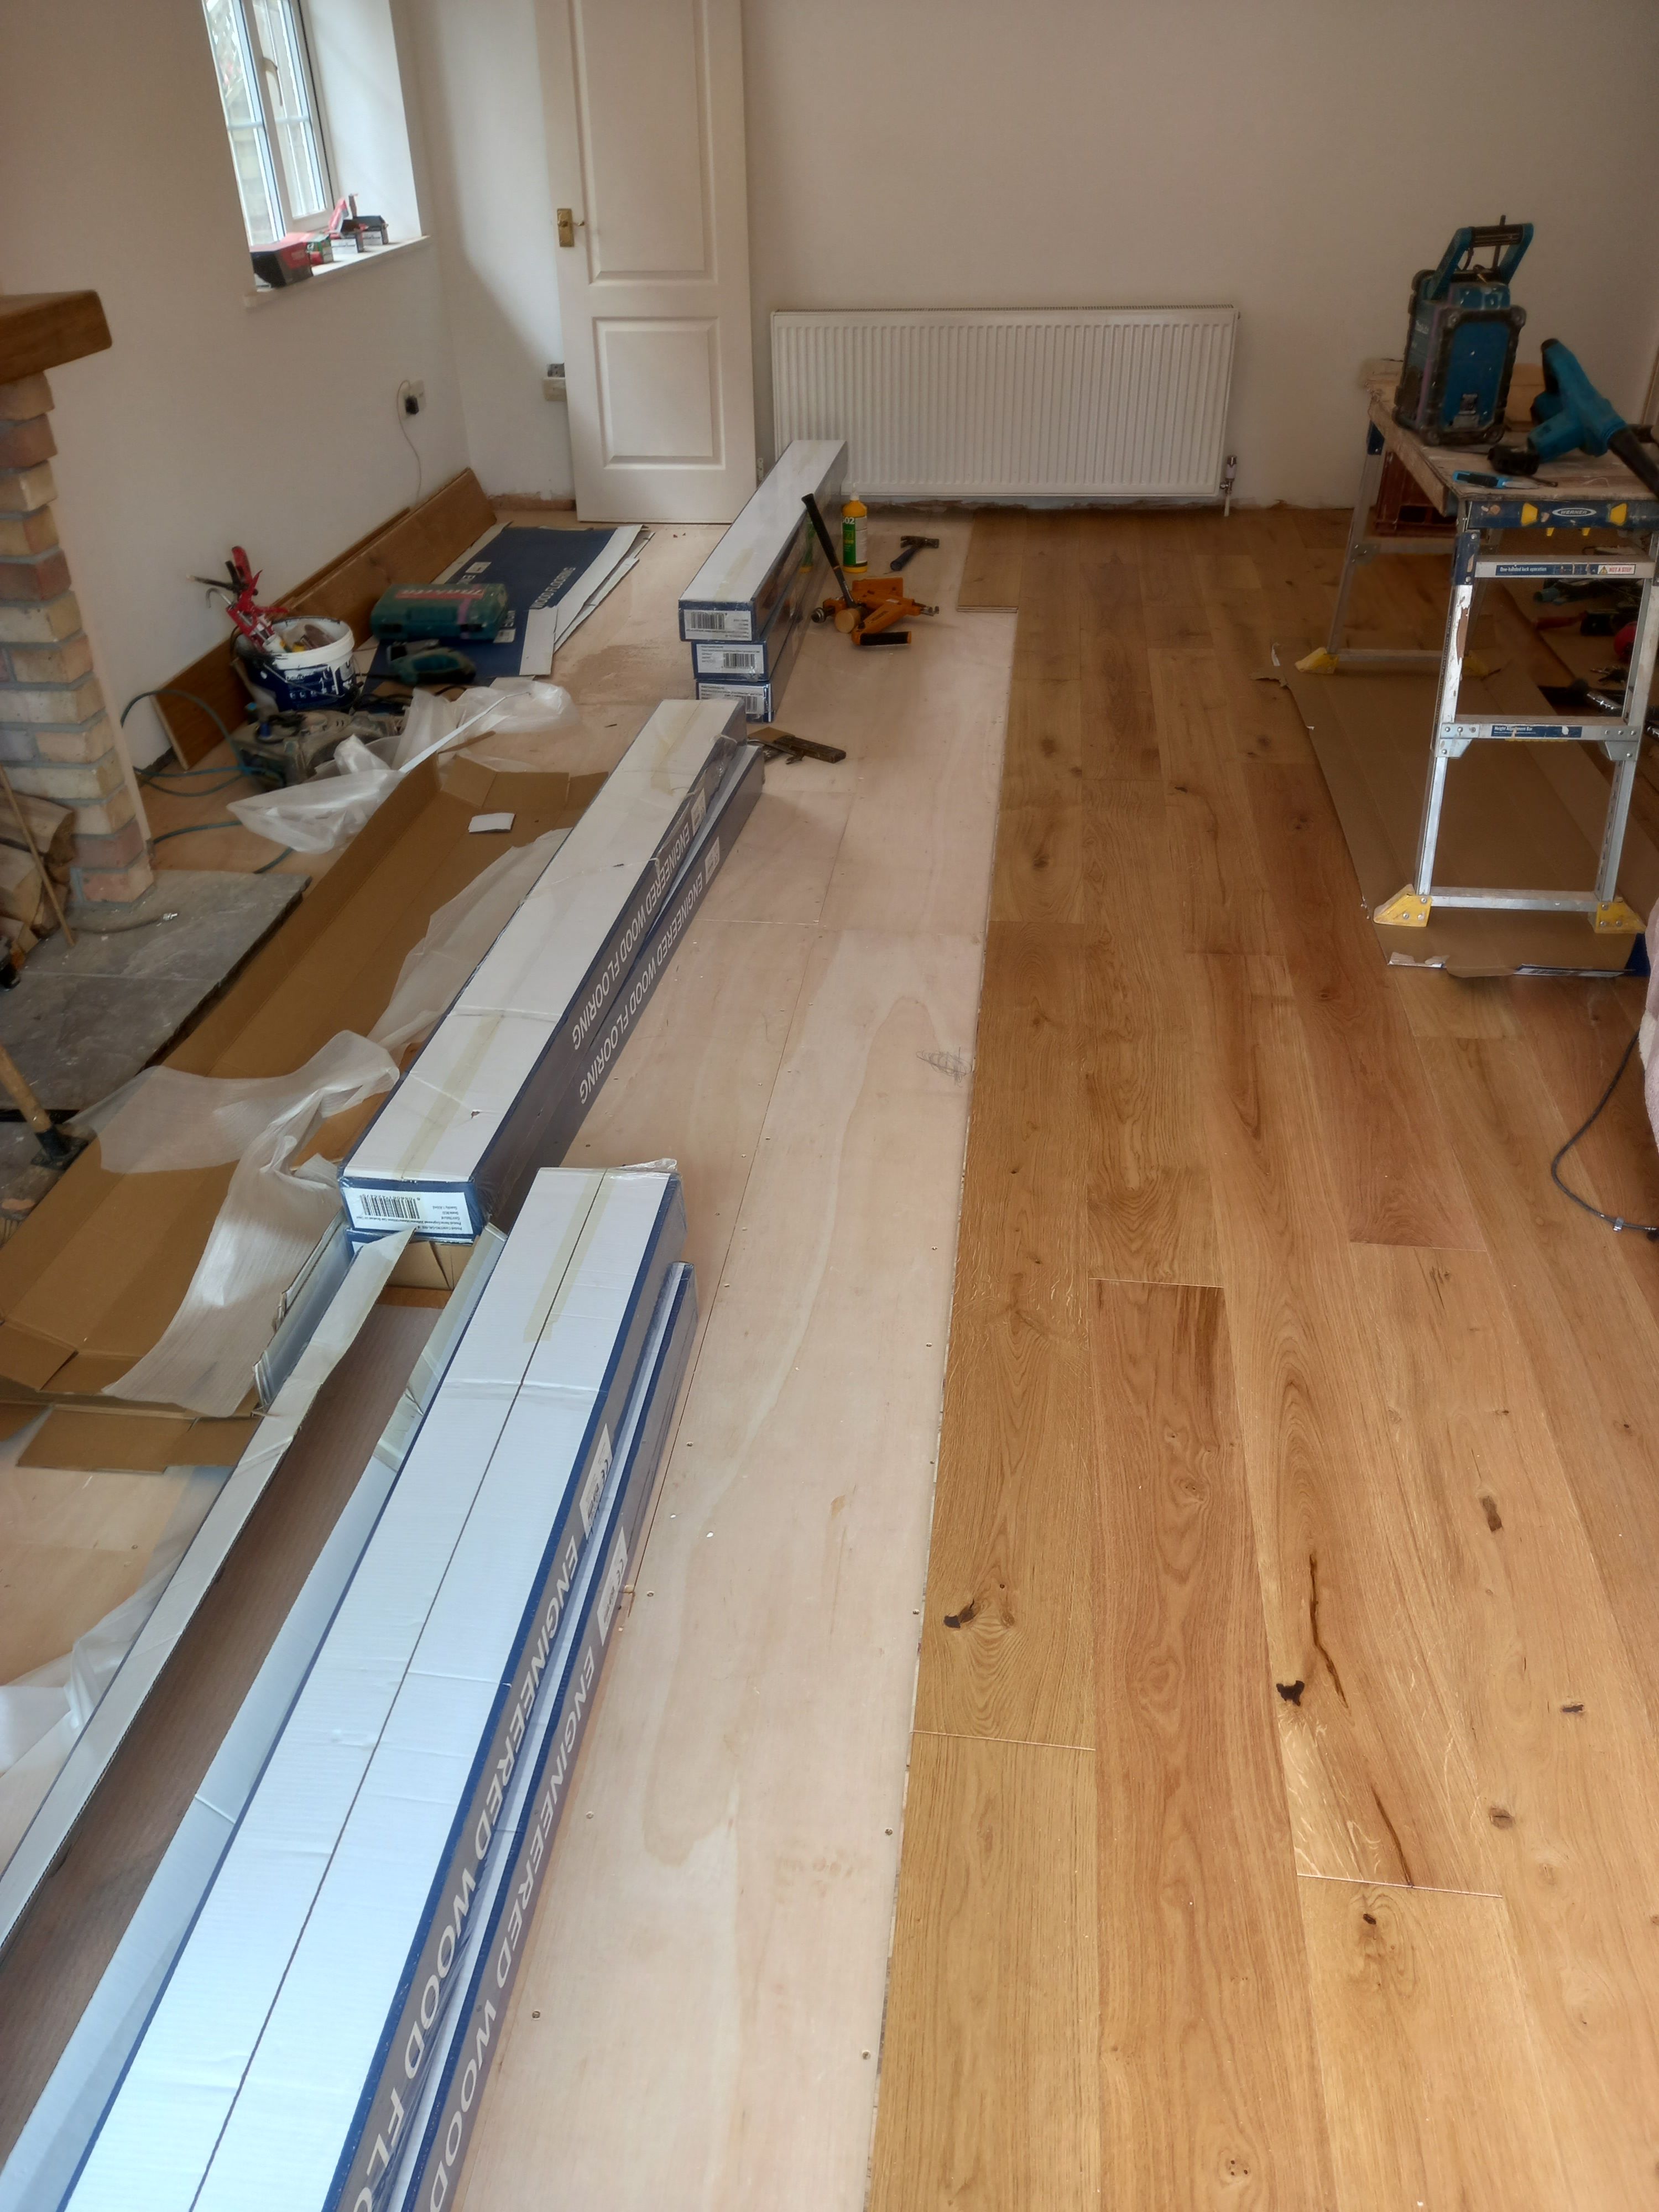

Once you get half way you want to clear the sub-floor and put all your materials onto the floor you have just laid. Remember cardboard is slippery on this surface so refrain from using it to walk on.
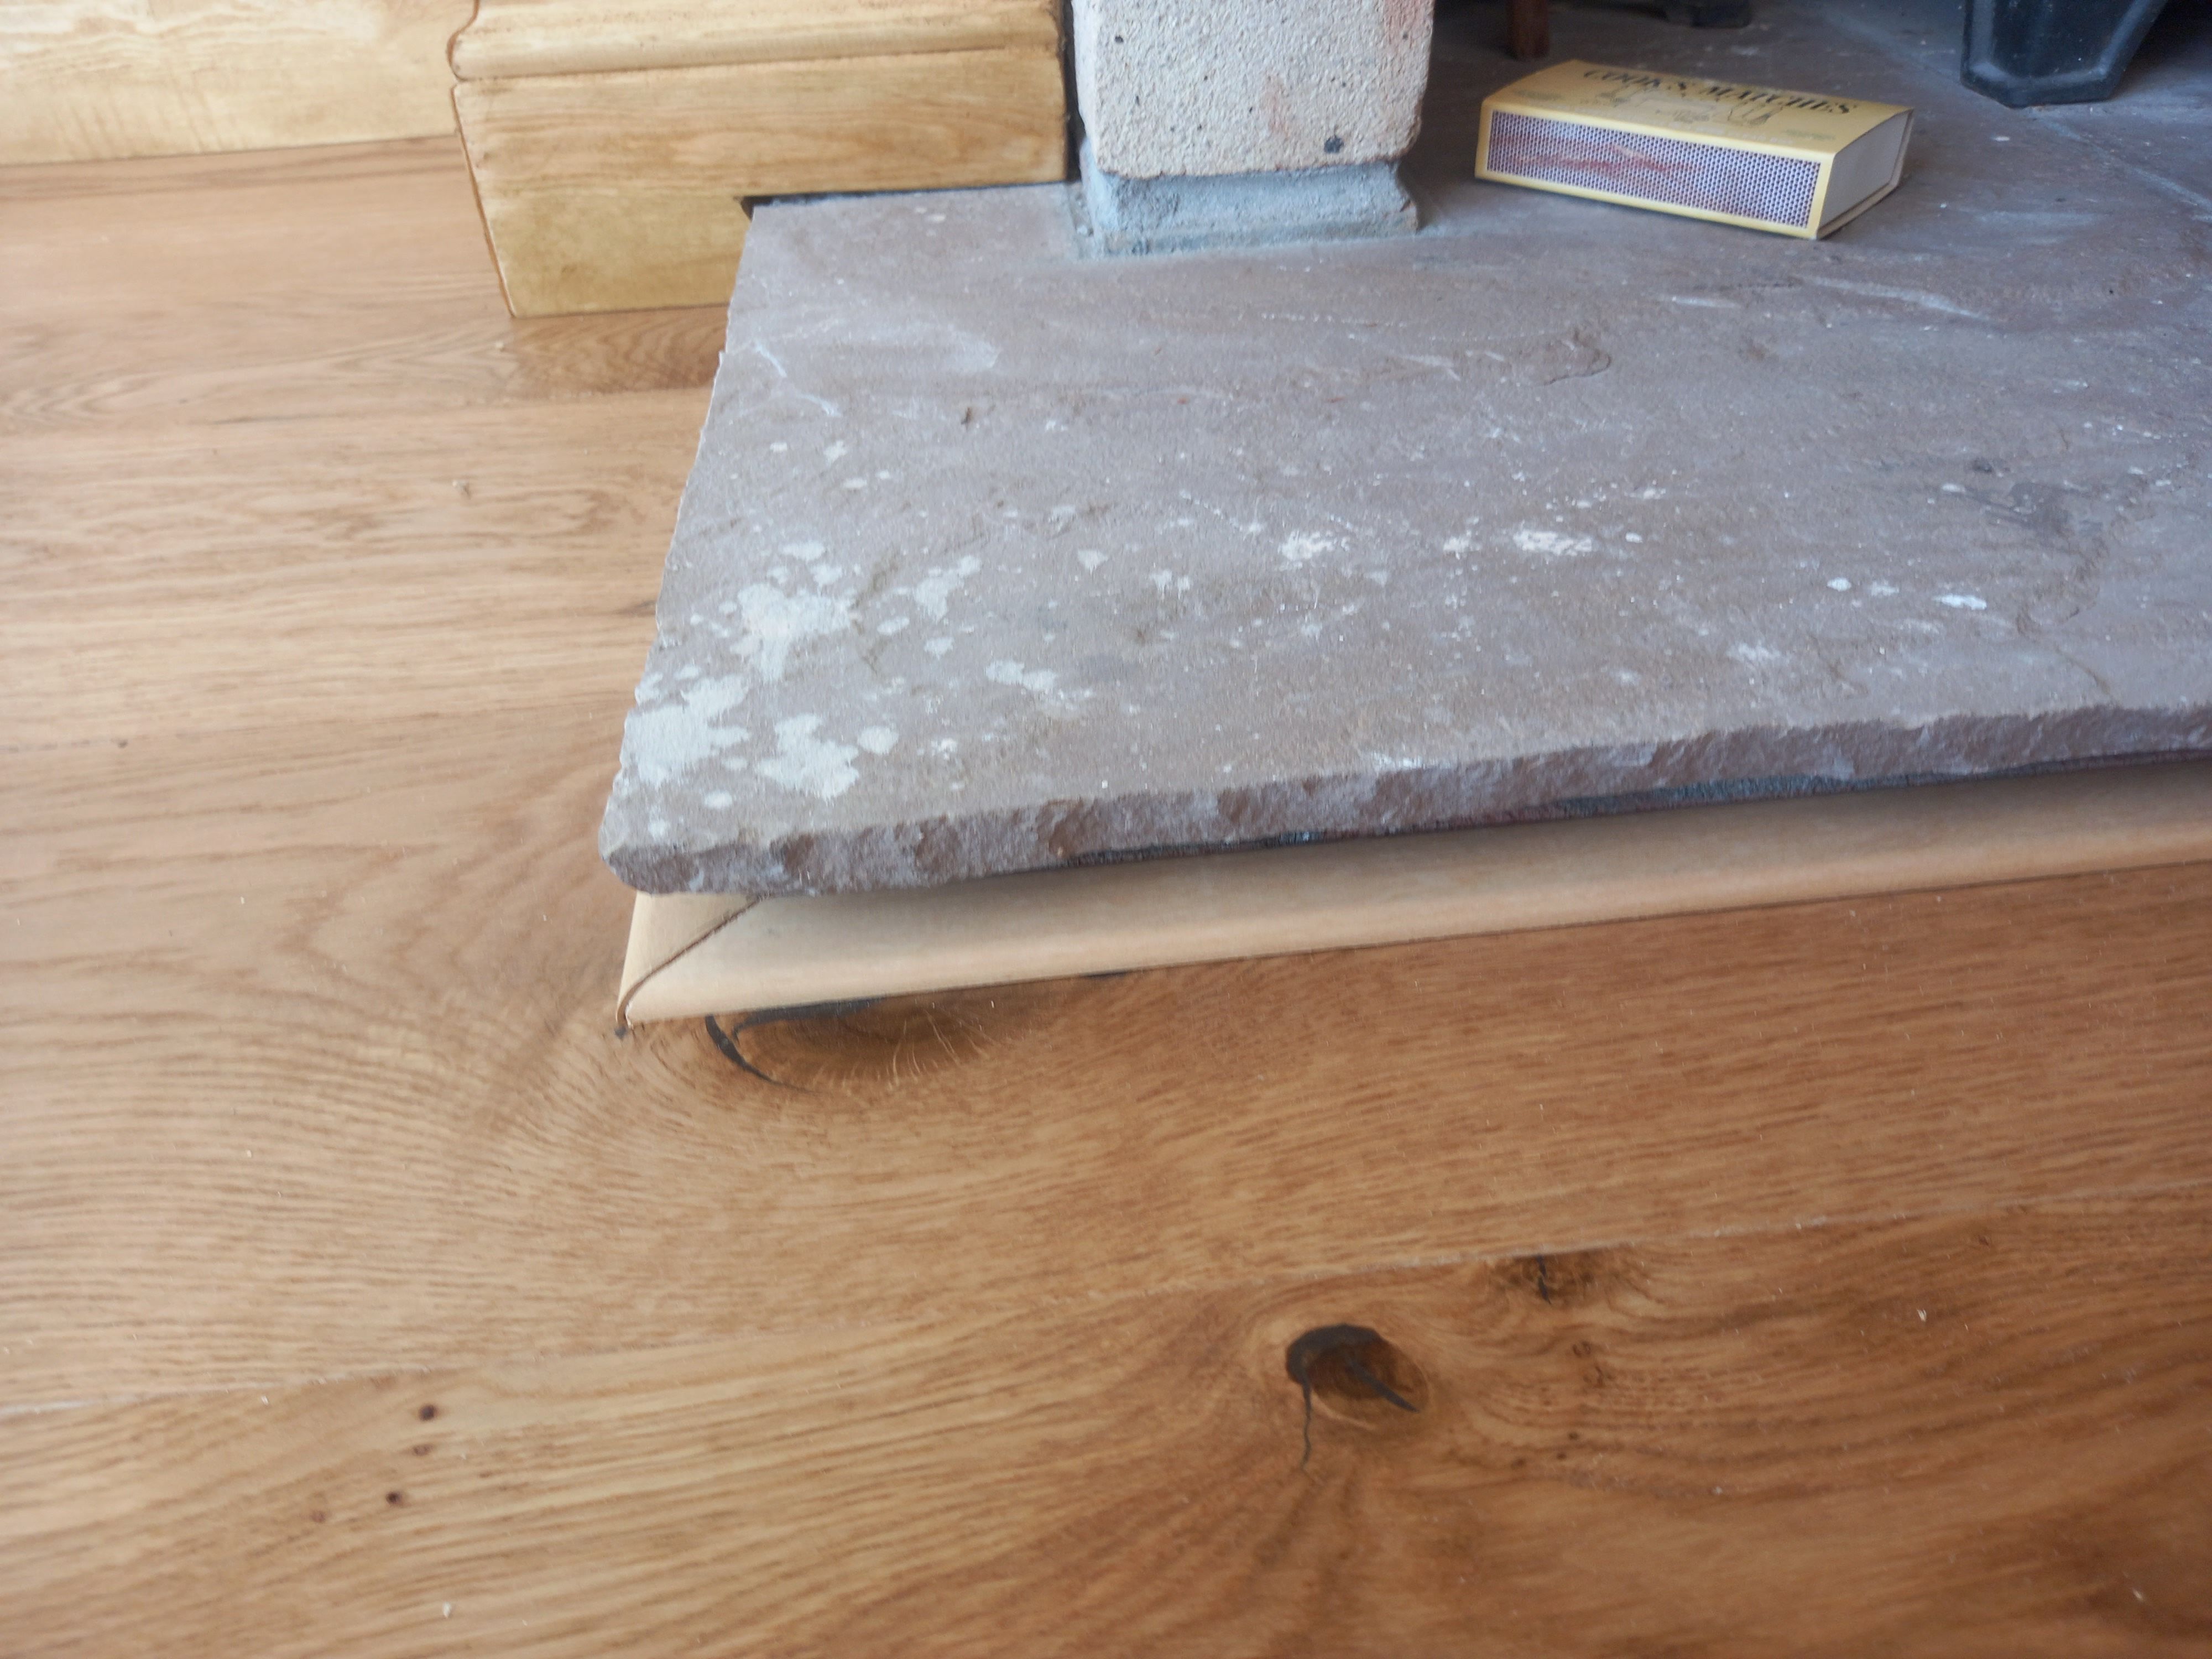
Once you complete the floor around any obstacles, you can attach the cover-strips. I tend to make my own, because the manufactured ones are really expensive. I glue these using a little clear silicone to allow for movement. You can use the manufacturer-recommended product if you like.
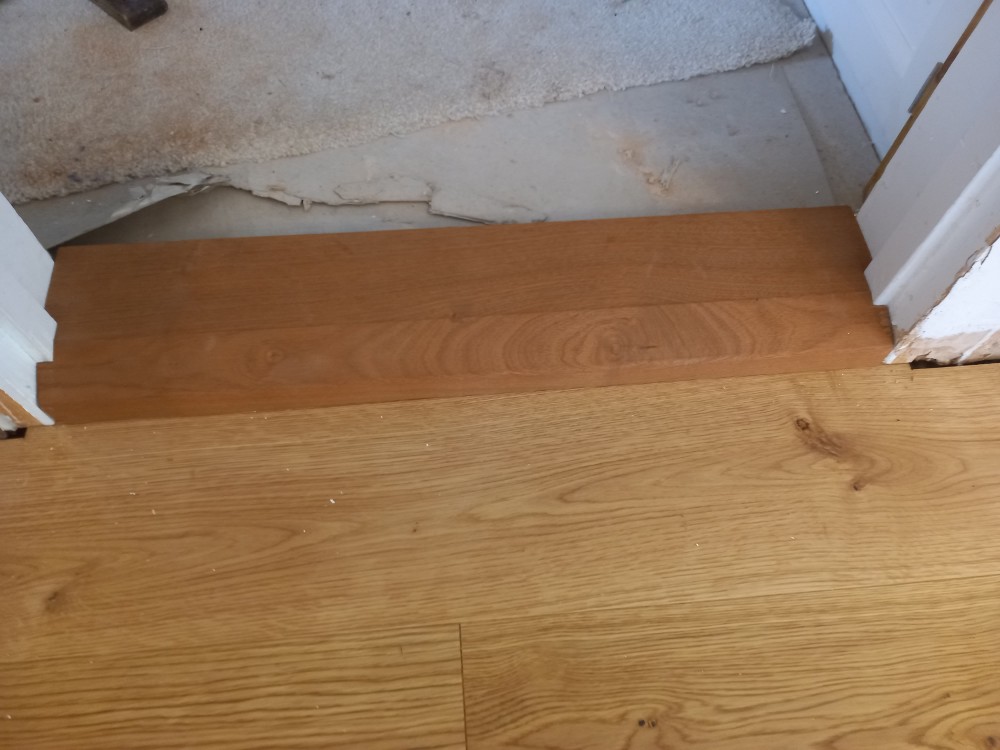
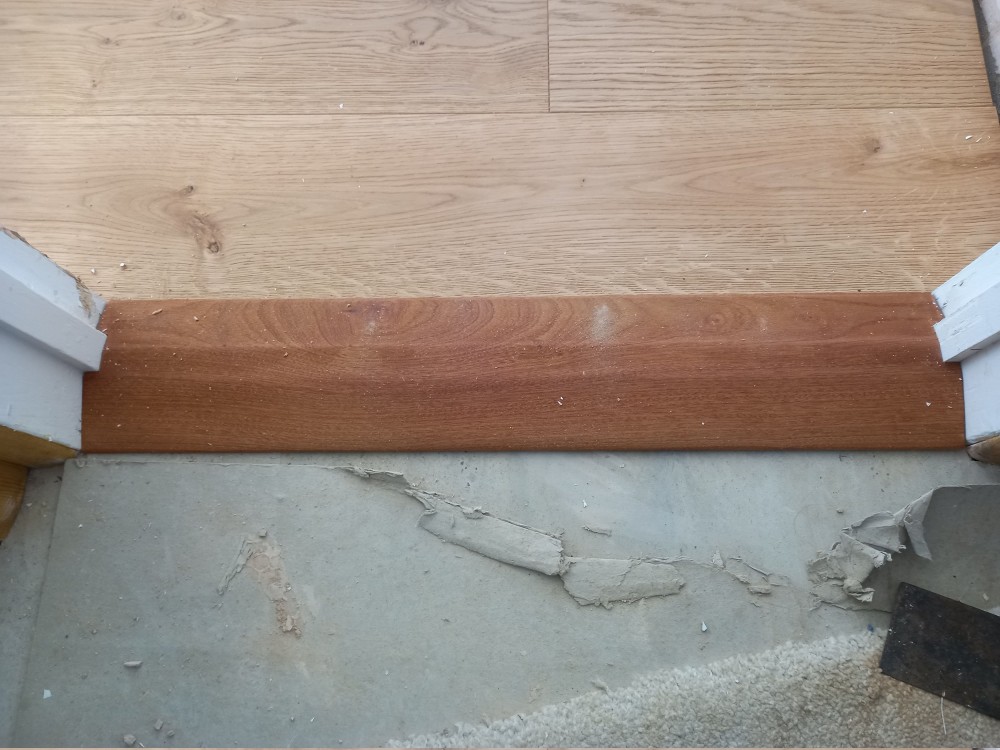
I Machined a threshold out of some Sapele Wood making sure to leave the manufacturers gap around the floor whilst I did it. Note that I also cut off the bottom of the door frame to slide the flooring under. You do this so you can’t see the gap when the door lining and skirting is applied.
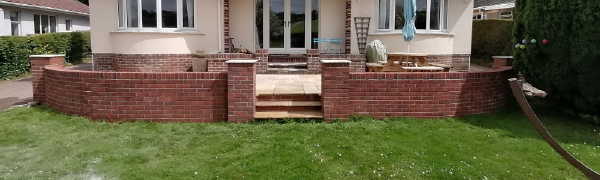
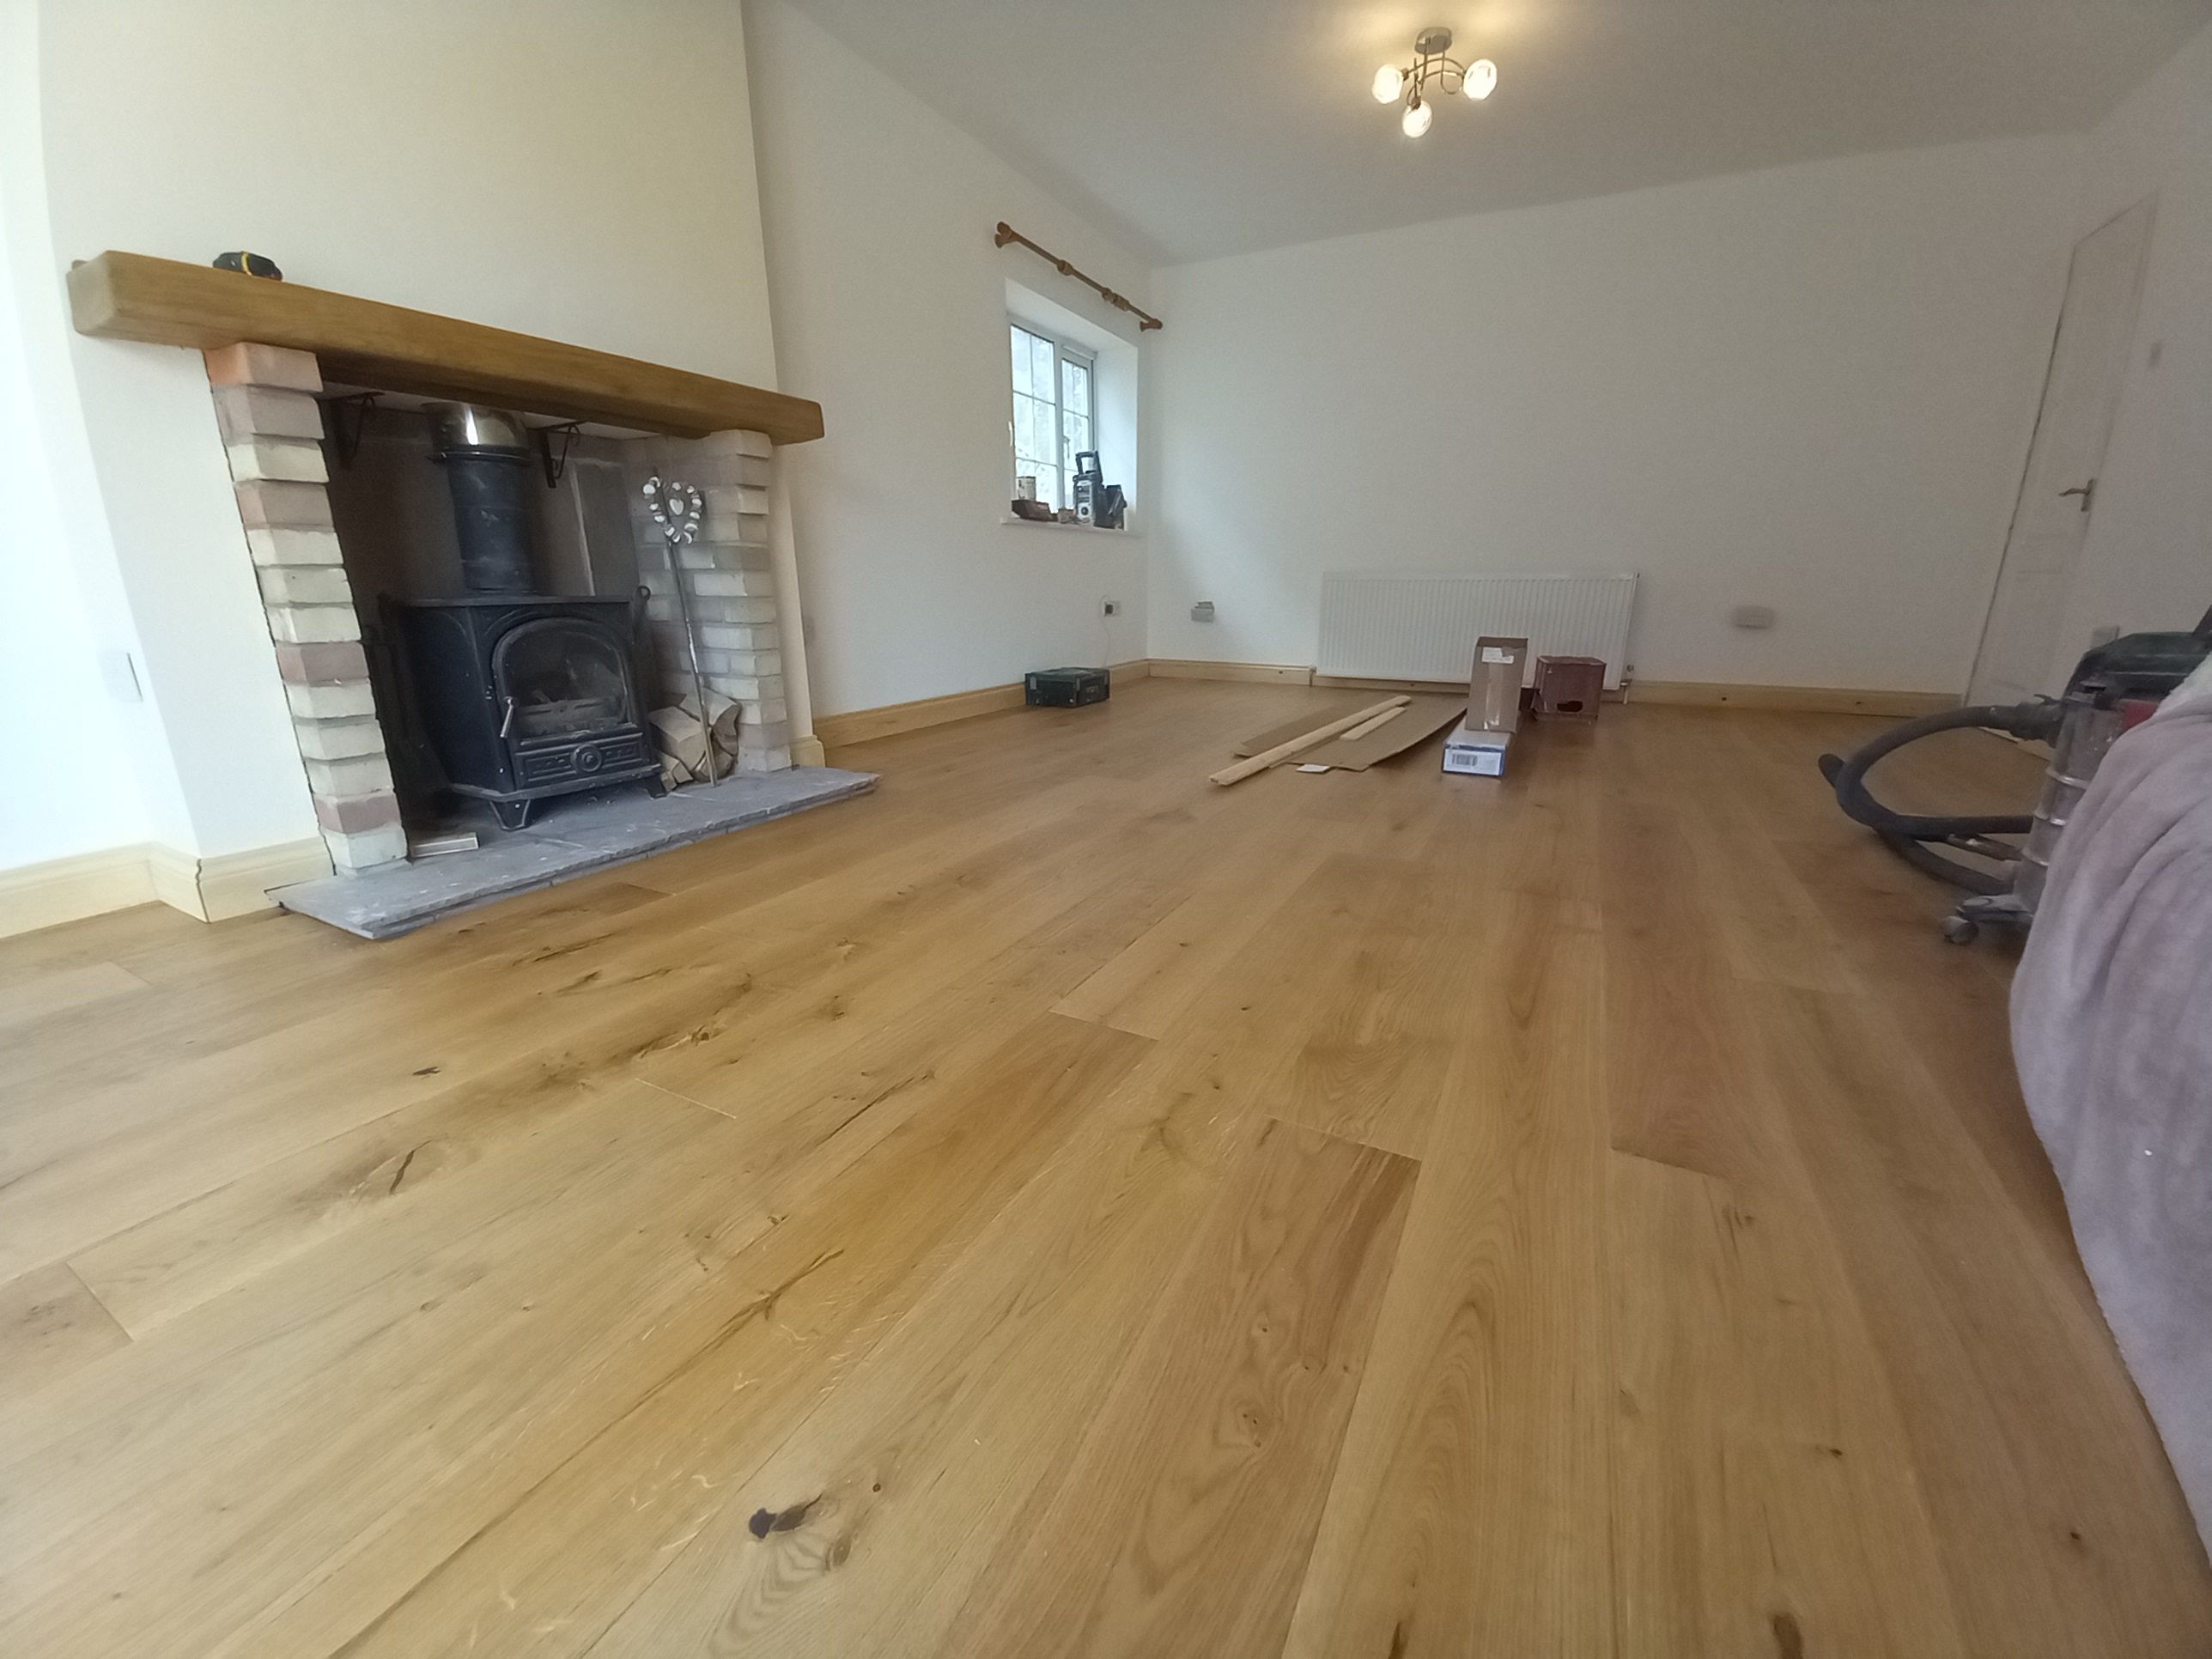
After I finished, all that was left to do was fit the skirting boards back onto the wall using construction adhesive and plasterboard props laid across the floor. I think the finished result is fantastic. It’s also in keeping with the brickwork and sleeper fireplace I made.
If you've enjoyed this article and fancy helping keep the servers humming and the tools running, you can find things on the Robin's Lab wishlist . No obligation — reading, sharing, enjoying the articles and disagreeing with me are all completely free. I won't even send you an invoice.