
Fancy Greenhouse #
I made this oak-built greenhouse because when you look after a large garden, you need somewhere to keep your baby plants.
Where I live, it’s extremely hard to find a timber supplier that specialises in hardwoods. Everywhere seems to sell CLS (Canadian Lumber Stock) and treated softwoods. There is nothing wrong with that, but when it comes to making a really pretty greenhouse, it’s the wrong timber.
So I decided to use the ubiquitous oak ‘railway’ sleepers. I put the word railway in single quotes because these were never designed for railway use. They are used to make garden walls, benches and other features.
Luckily, I have the tools to machine this difficult-to-use natural resource.
Making The Frame #
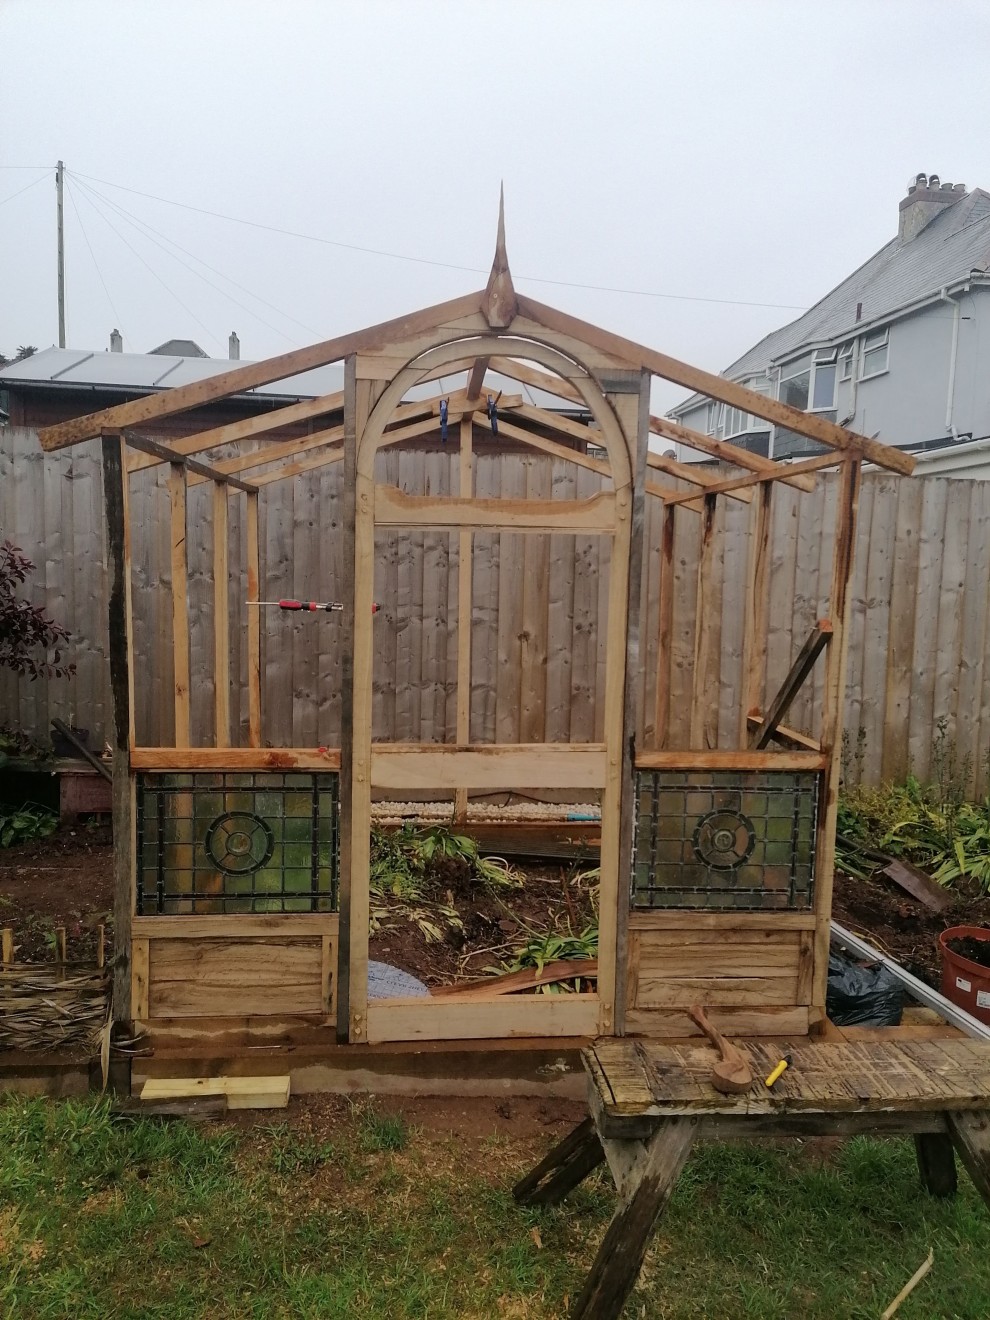
I started by ripping the ‘railway sleepers’ down to lengths of around 50mm square (2 x 2). These formed the frame and roof.
After that, I used the offcuts to make the thicker and curved sections of the door. The curve was simply made by drawing it with a trammel — a piece of wood screwed at one end — and then cutting it out with my bandsaw.
Stained Glass Windows #
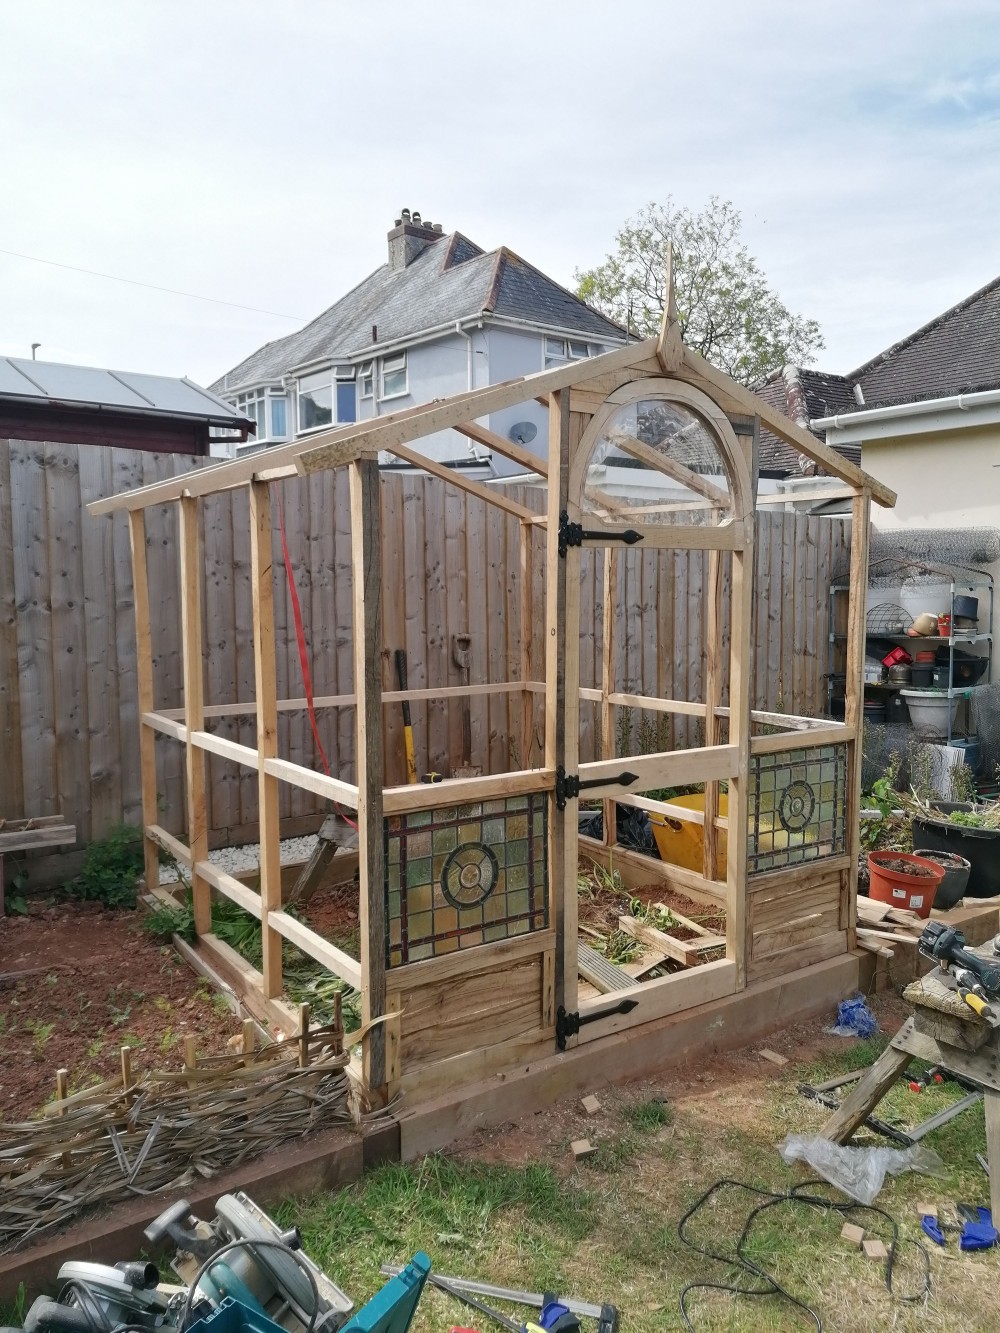
The stained-glass windows were rescued from old, rotten doors. I fitted them by rebating the wood and then fitting a 10mm (¼ inch) bead in front of them.
Below that, I cut very thin strips to create a panel and fitted the panels all around the structure in the same way as the windows.
The Door #
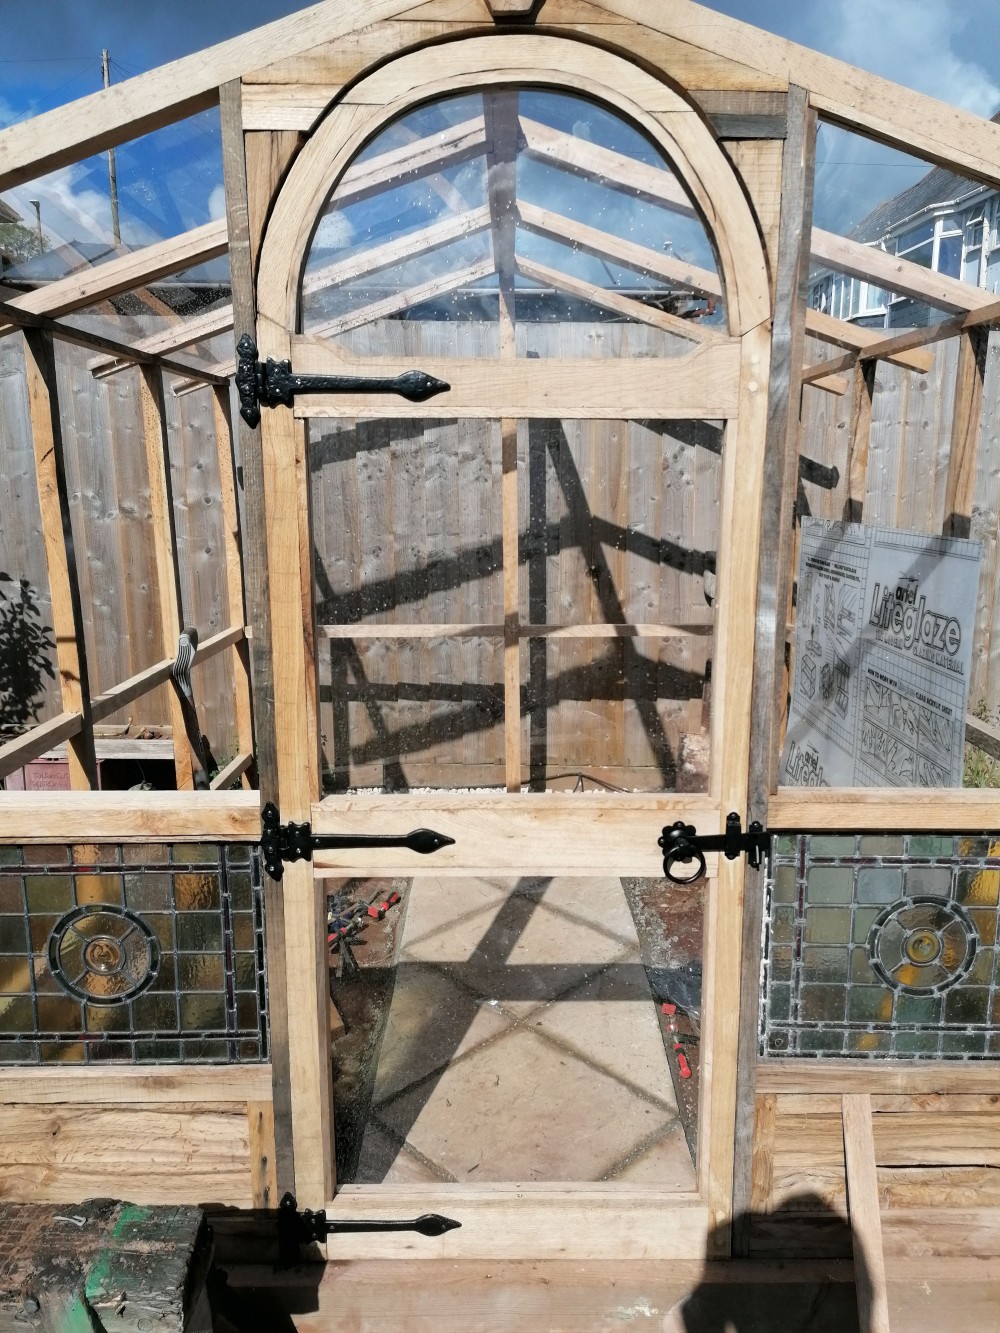
The door was attached with standard ornate ironmongery.
Floor #
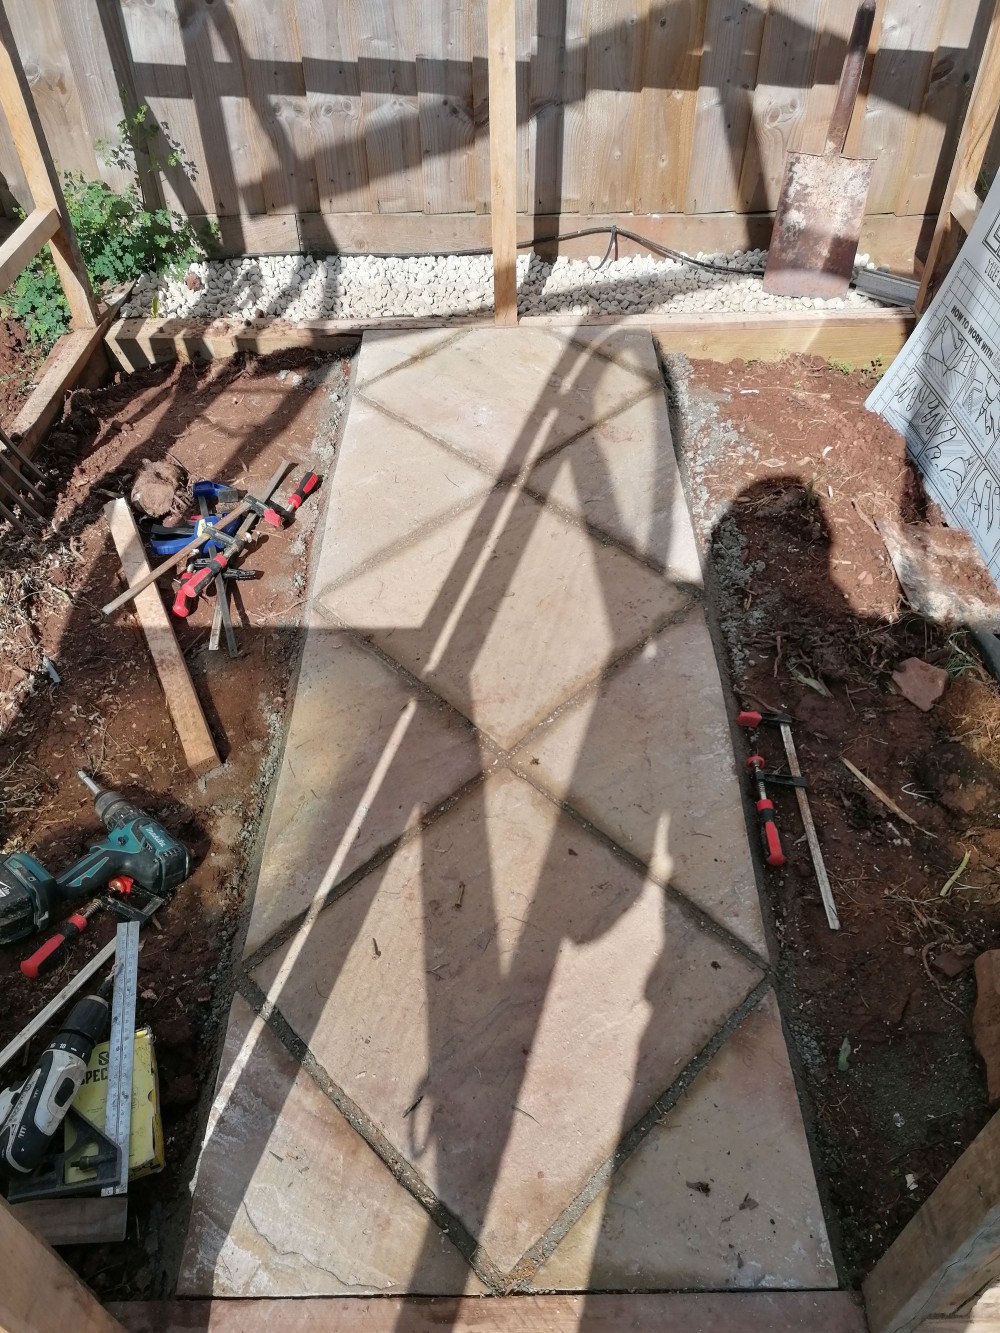
Inside, I built a little diamond-shaped patio to keep with the whimsical theme of the structure. leaving soil each side for plants to be added later.
Behind the greenhouse, I placed weed membrane and 50mm (2") of gravel to keep the weeds at bay.
Shelving #
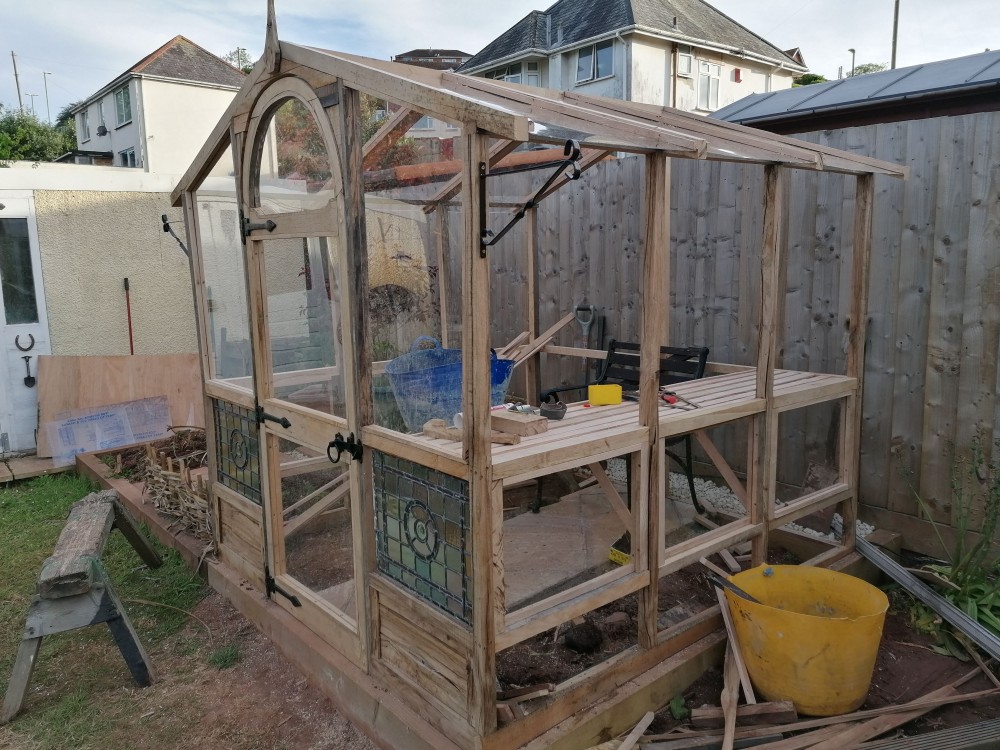
The shelves were made from more of the same 50mm timber, cut in half through the middle.
Windows #
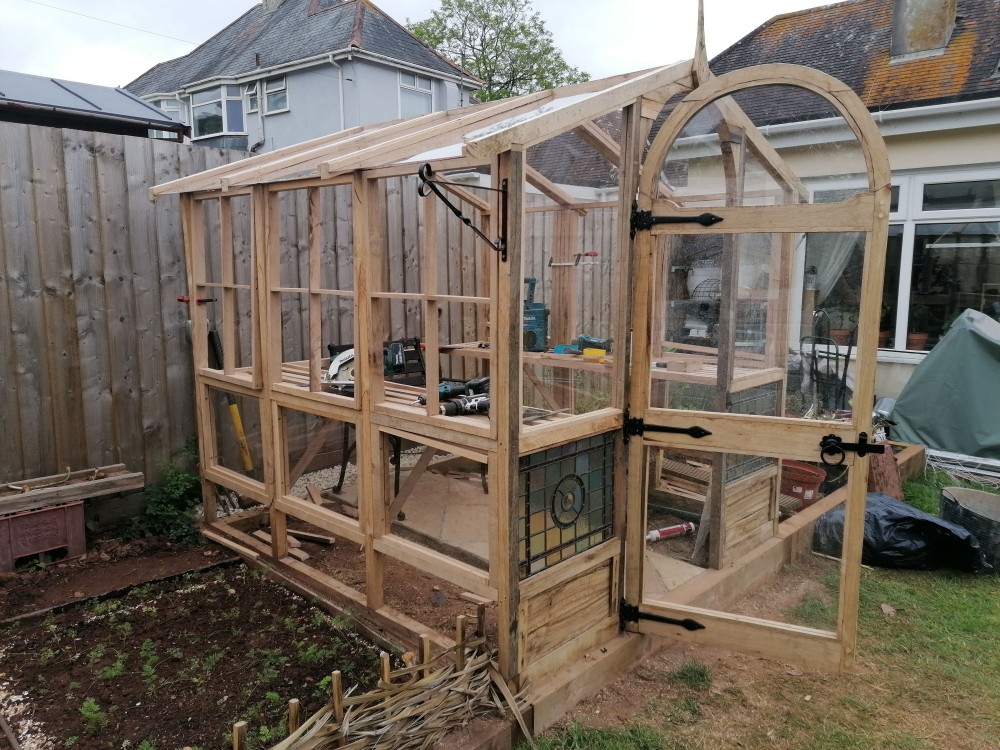
I built my own custom windows, hinged in the middle so they could be opened easily from the inside.
Perspex #
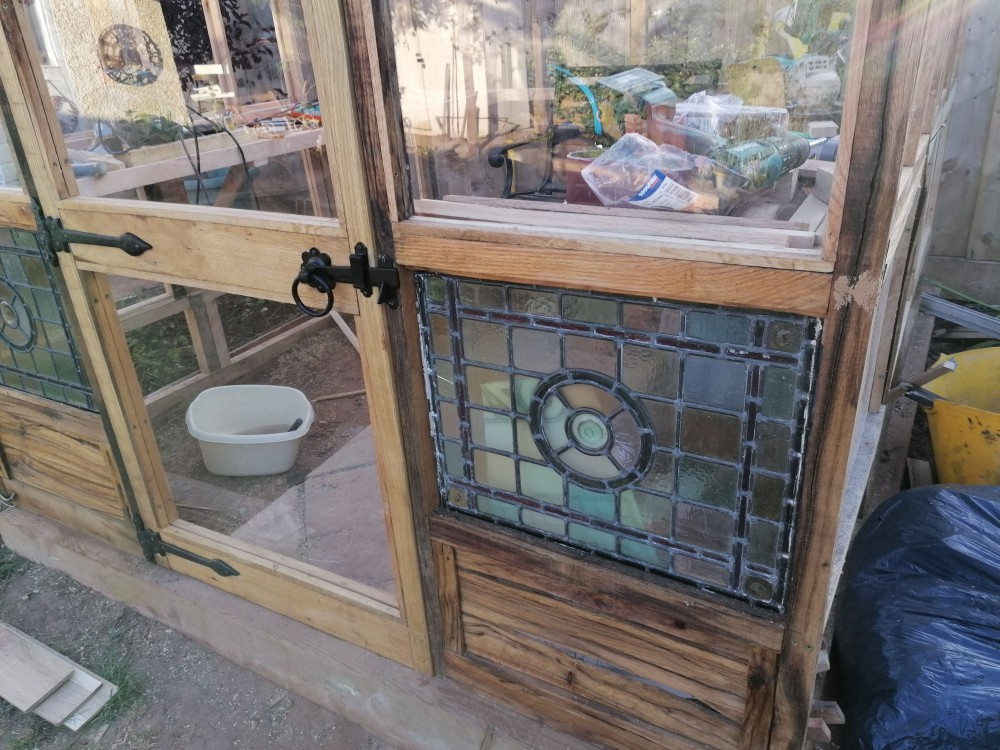
Instead of glass, I used clear Perspex for safety.
Carved Oak #
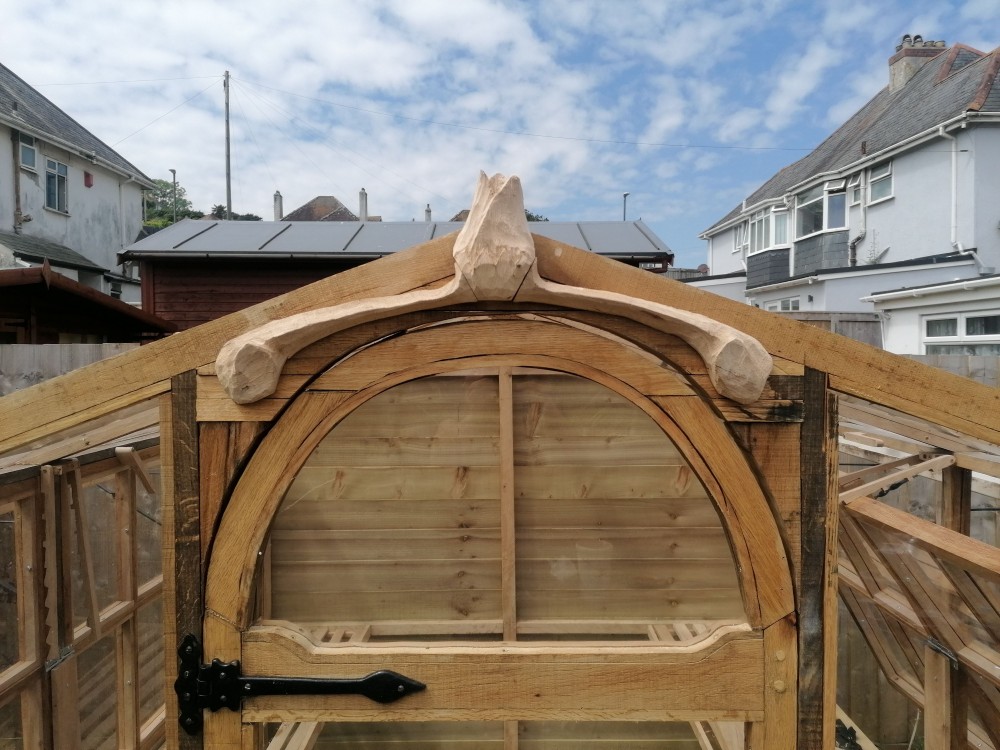
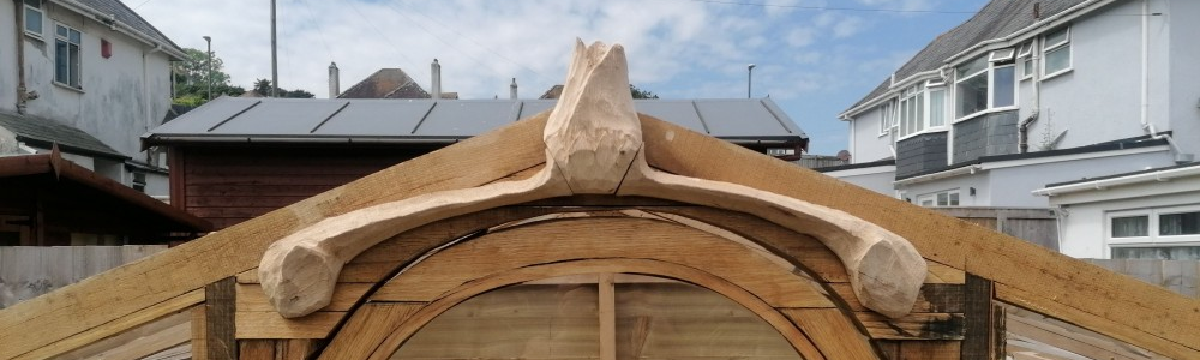
I finished the top off by removing the spike I had made and carving a custom tulip motif from some of the leftover timber.
Hanging Baskets #
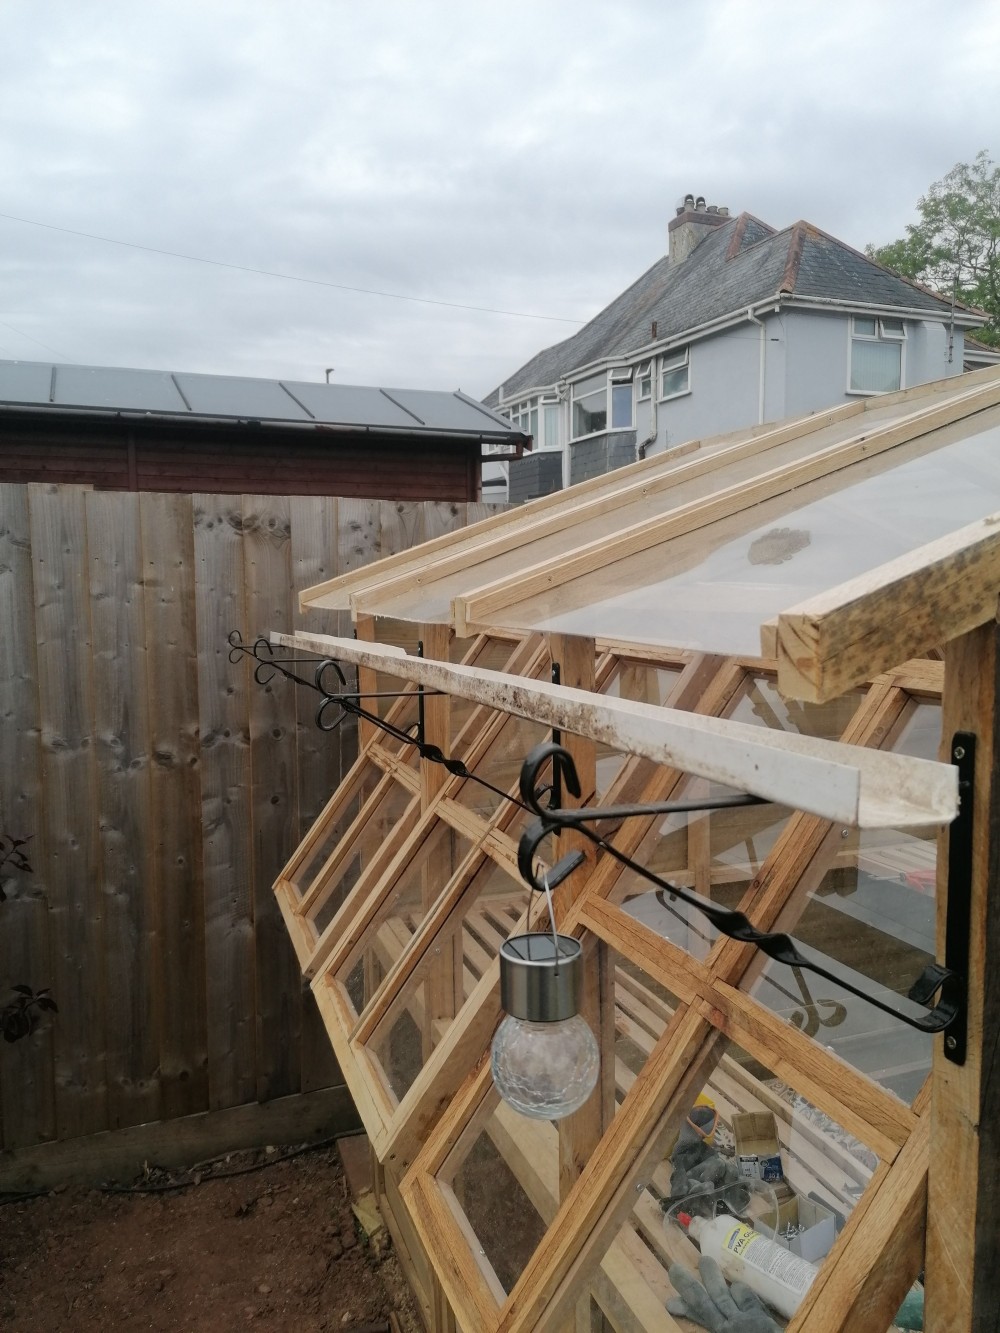
I added hanging basket brackets to support plastic guttering made from old downpipe and, of course, hanging baskets too.
Shiplap Wall #
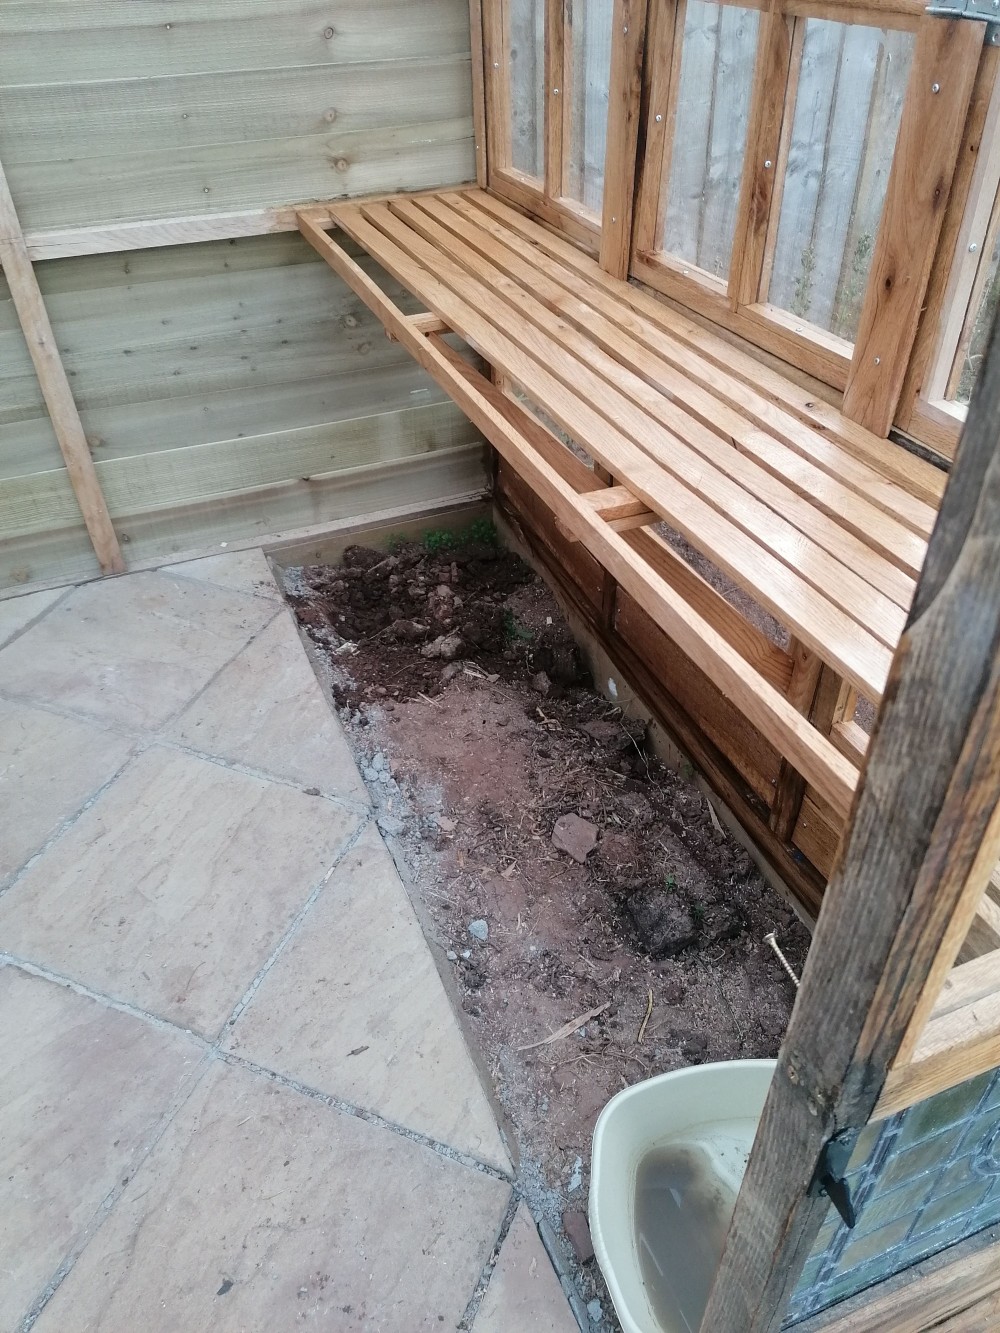
Here’s a photo of the inside. I covered the back wall with shiplap cladding because it was up against the fence and no light would get through anyway.
Bonus Project #
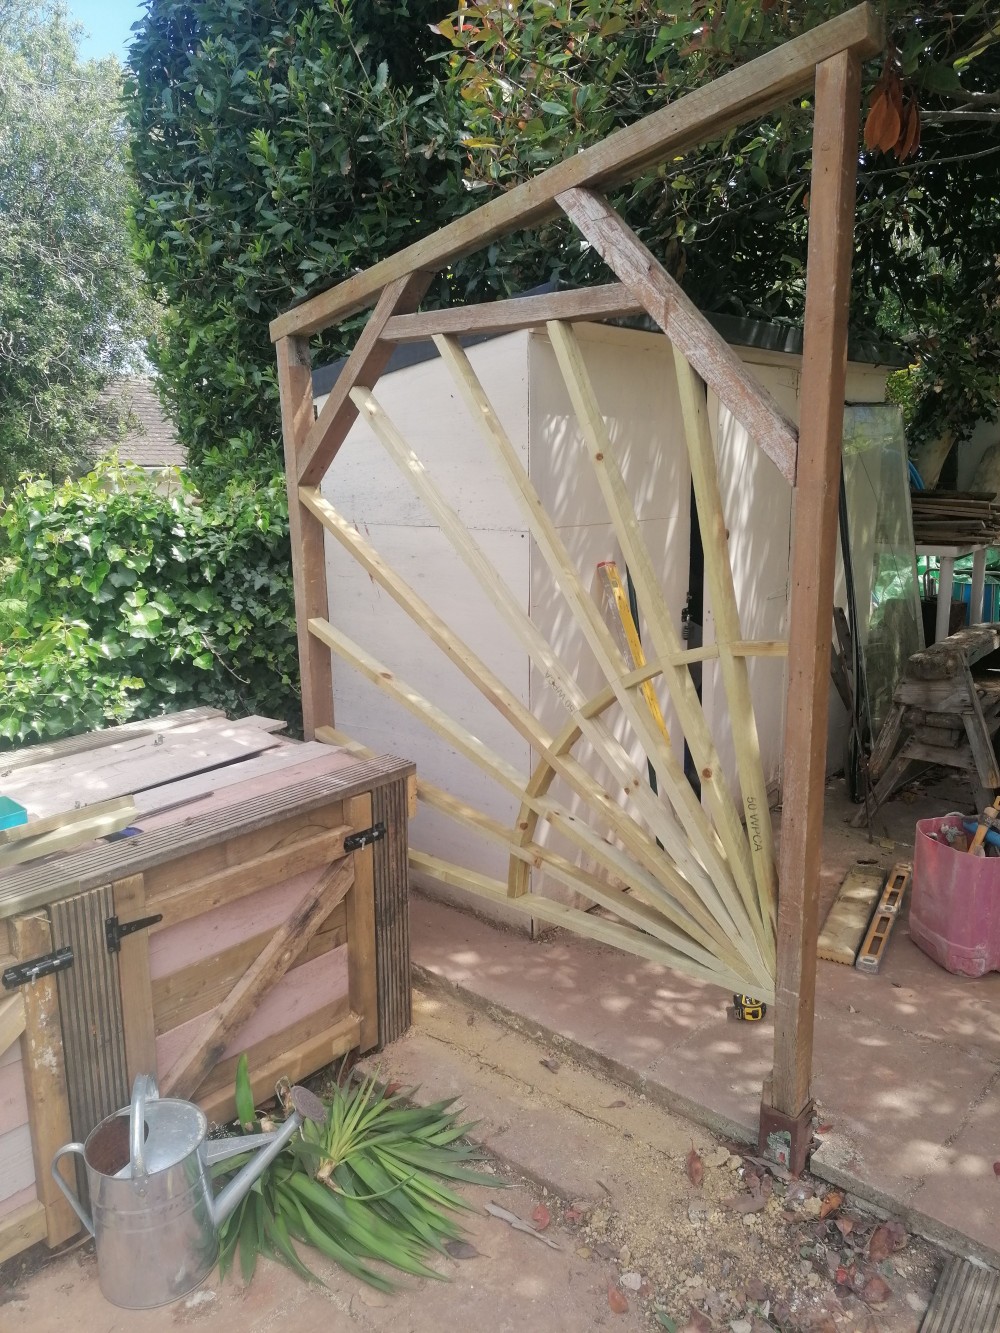
This is a bonus photo. At the same time as making the greenhouse, I made a trellis for plants to grow against, using my old shed frame.
The Finished Greenhouse #
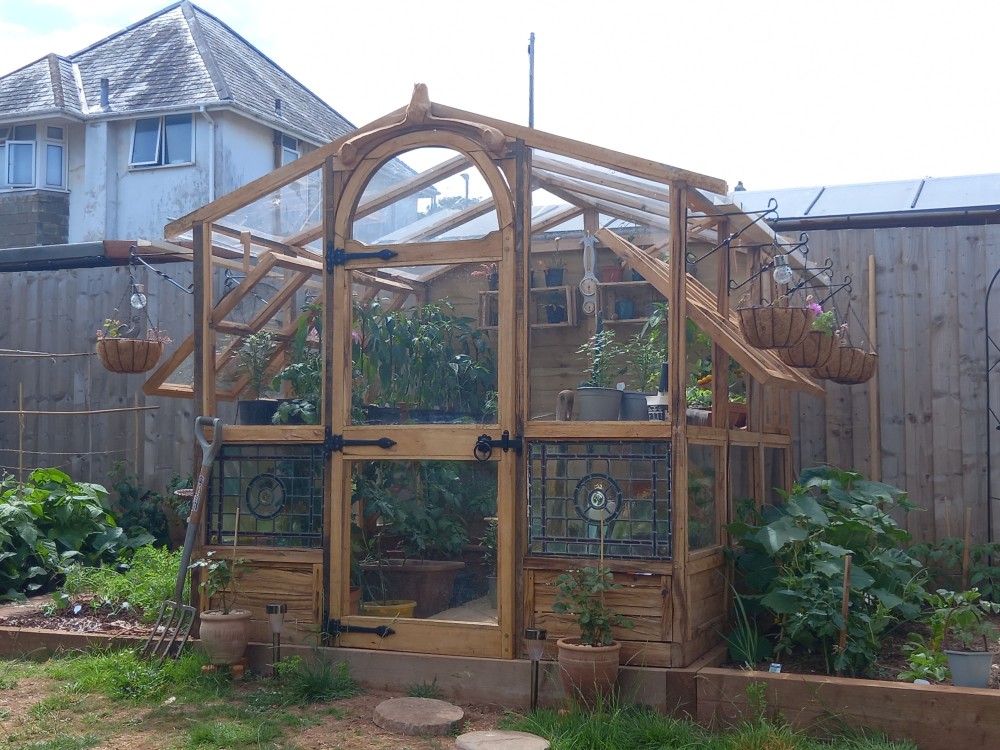
Once it was oiled and filled with plants, my partner immediately fell in love with it.
I hope you enjoyed this project. Feel free to read my other posts, and don’t forget to follow me on my socials.
If you've enjoyed this article and fancy helping keep the servers humming and the tools running, you can find things on the Robin's Lab wishlist . No obligation — reading, sharing, enjoying the articles and disagreeing with me are all completely free. I won't even send you an invoice.