
Why don’t I use Wi-Fi?#
When ‘playing’ with networks, you’ll soon discover that everything just works better when it’s got a cable attached to it, and Wi-Fi is fine until you’re doing something remotely professional. It may seem old-fashioned, but making your own Ethernet cables, wall sockets and keystone jacks is the backbone of a great network. Plus, it keeps your gear looking tidy when you learn to cut them to the right length.
The main advantage of ‘going wired’ is that your transfer speeds will increase dramatically. Ultra-modern Wi-Fi may advertise fantastic speeds, but you’ll have to be right next to your access point to get them, so Ethernet still beats Wi-Fi.
There are many types of cable to use, but CCA, or Copper-Clad Aluminium, is cheap and readily available. If I’m being honest, I can’t really afford to wire my homelab entirely with solid copper, so CCA is what I use. It does the job, and for my little network I’m happy with that compromise (for now).
If I were doing a permanent installation, particularly where PoE or long cable runs were involved, I’d use solid copper. But this is a small homelab where I’m running cables around the edge of my living-room carpet, not a corporate data centre. Sometimes you work with what you’ve got, within a reasonable budget, and the speeds are still much faster than my current Wi-Fi setup.
Making Cables#
Tools of the Trade#
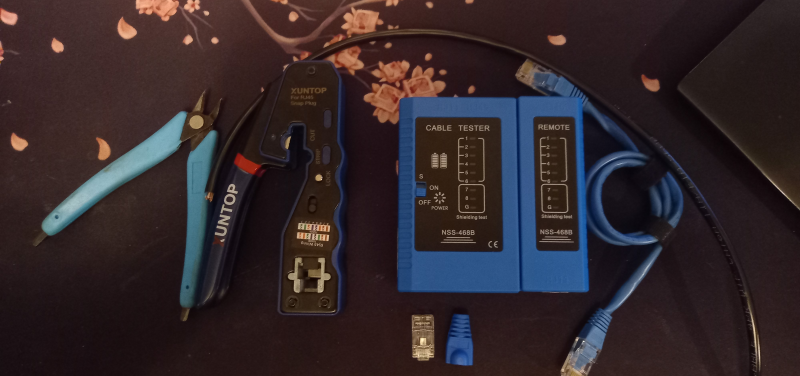
- Ethernet crimping and cutting tool
- RJ45 cable tester
- Known-good cable
- strain relief boots
- pass-through RJ45 connectors (in 2026 I don’t see any reason to have the non-passthrough type, these are just easier to use)
- Side cutters (optional)

All the Colours of the Rainbow#
Reverse Colour Order#
Before you wire plugs, you need to know which colour wire goes where. This is where I asked AI to help me come up with a mnemonic to help me remember the order of the cables. I have to say, though, that I hold the cables in reverse order. It’s just easier for me to use the tool that way. It might be because I’m left-handed.
So instead of the standard T568B order, I use it in reverse:
- Brown – Brown/White – Green – Blue/White – Blue – Green/White – Orange – Orange/White
If you look carefully at that sequence, the whites alternate between the colours:
- Colour – White – Colour – White – Colour – White – Colour – White
So after AI, in all its innocence, decided to come up with a mnemonic for remembering the colour order starting with “Brown Geeks…”, I stepped in and changed it to “Basement Geeks Build Git Ops”.
But I don’t think I’ll ever forget that LLM output.
Remember, if you do mix the wires up, you may get crosstalk, limiting the cable’s performance, because the twisted pairs work together to reduce interference.
Making Cables#
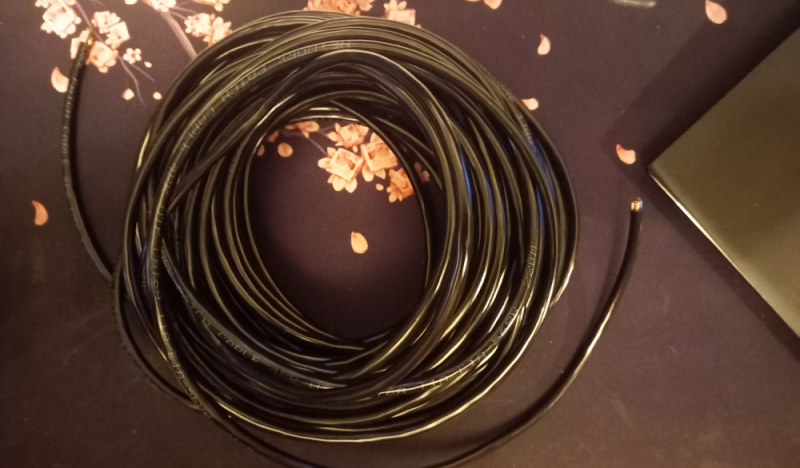
Before I start As i said before I can’t afford expensive cable, so this cable has non standard colouring. but it should be easy to make out what colour goes where.
- First, cut your cable to length, allowing for mistakes.
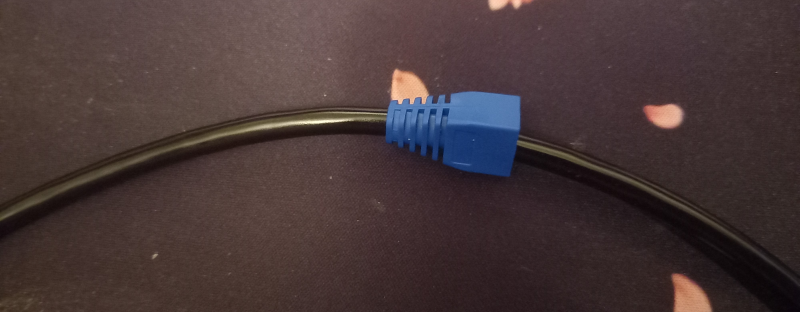
- Then slide on the ‘strain relief boot’. Forgetting the strain relief boot is a pain in the foot, you will do it at least once.
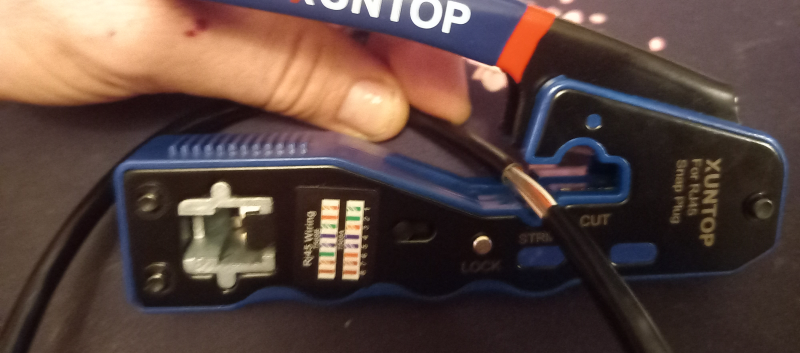
- Use the crimping tool to cut off around 2 inches (50 mm) of the plastic sheath by clamping the cable with the blade in the predefined slot, then twisting the tool.
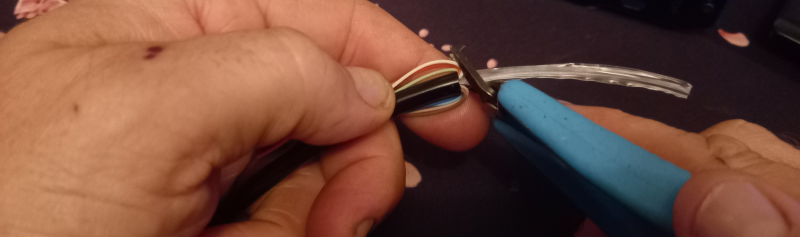
- Once the sheath is removed, use the side cutters to remove the plastic stalk that’s in the centre of the cable and untwist the pairs.
- Order the cables in the correct order, using your forefinger and thumb to clamp them flat.

- Use the tool or side cutters to cut the wires flush with each other, still leaving plenty of wire exposed past your fingers.
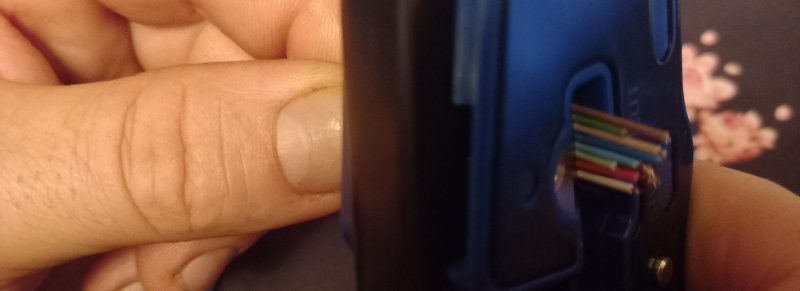
- Wiggle the wires so they sit straight and flat. This makes it easier to attach the RJ45 connector.
- Push the RJ45 plug onto the wires, ensuring that all the wires come through the end in the right order. (This can be swear-word-inducing.)
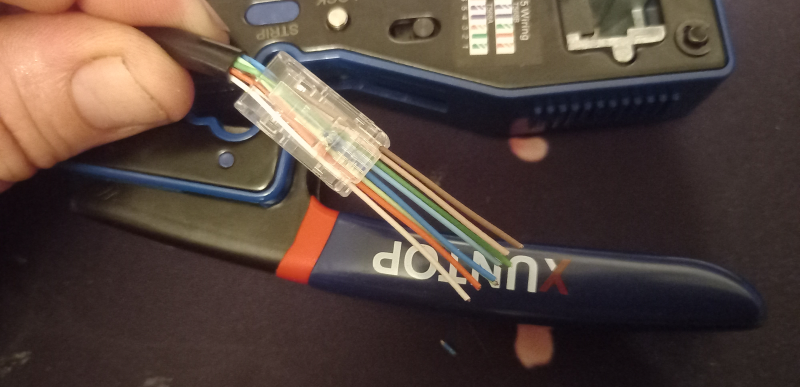
- Make sure the plug is the right way around. From the latch side, the brown will be on the left; from the conductor side, the orange will be on the left.
- Gently twist the wires so they fit nicely through the body of the crimping tool until the RJ45 plug clips into place.
- Once your plug is in place, squeeze the tool hard to cut through the wires and clamp the conductors to the cable.
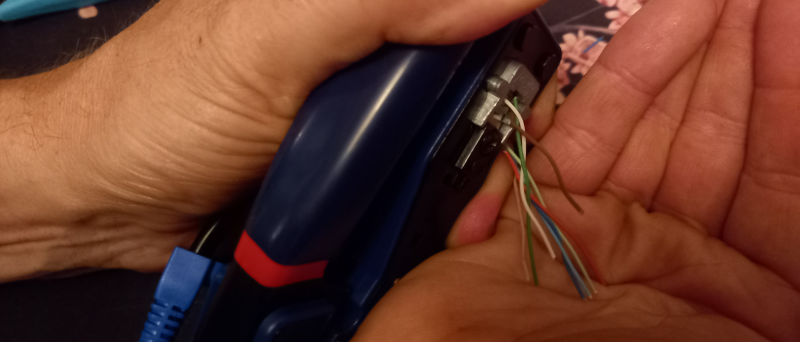
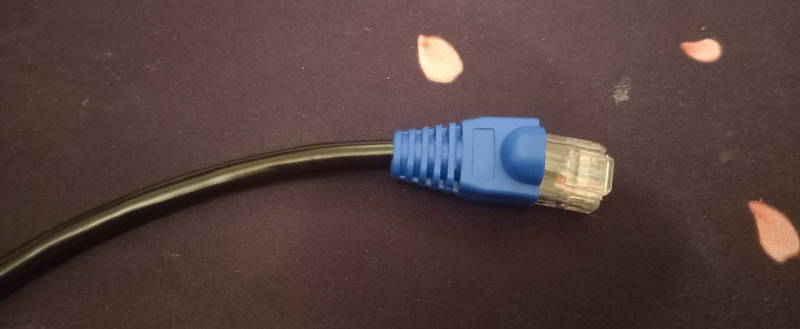
- Release the tool and remove your completed cable.
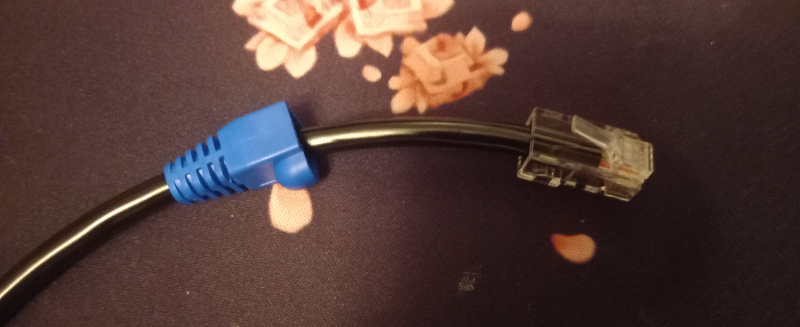
- slide on your strain relief boot. Did you forget it?
Testing Cables#
This is the part that frustrated me the most because I had a broken cable tester. So, the way I test cables is to carry a small patch cable with my tester. I test the tester before testing new cables, saving me from testing my patience.
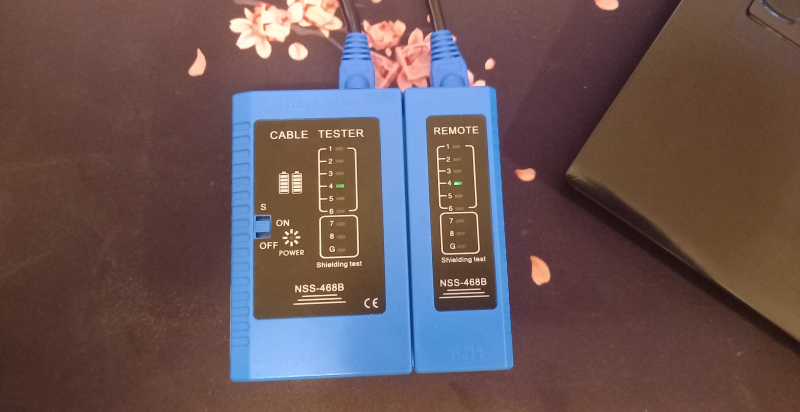
You simply need to plug both ends of your completed RJ45-terminated cable into each side of the cheap device and switch it on.
If you use the T568B standard, the lights should flash in order, one through eight. If there is a break in the cable (or a broken tester), the light simply won’t come on.
Foreword Planning#
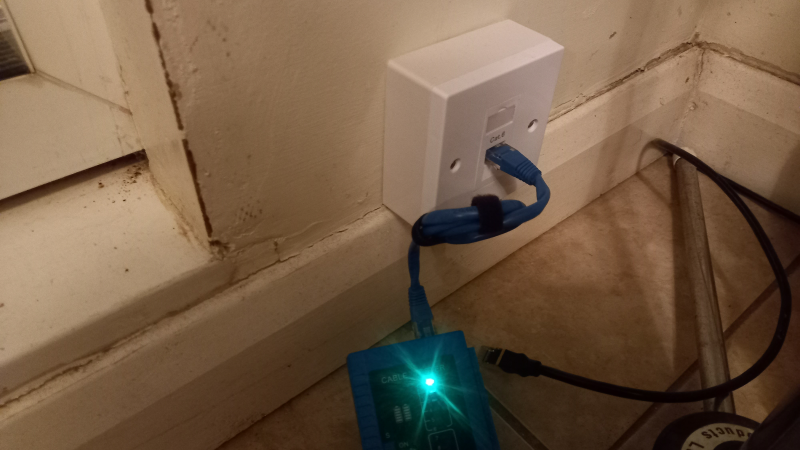
The other reason for carrying a couple of small cables is that you can test your socket-terminated cables with the same tester. Simply slide the machine apart and plug each end into a wall socket or keystone jack before switching it on.
Final Thoughts#
To me, making Ethernet cables is one of those practical skills that anyone with an interest in computers and networking can benefit from. The tools don’t cost a fortune, and once you’ve made a few cables, the process becomes surprisingly straightforward.
There is something satisfying about making a piece of your own infrastructure and then plugging it in and watching everything just work.
I’m also quite happy with the inexpensive CCA cable I’m using in my little homelab. I wouldn’t choose it for a permanent installation, long cable runs or anything involving PoE, where I’d use proper solid-copper cable. But for my short, light-duty runs, it has proved perfectly adequate.
I wanted to test that rather than simply assume it, so i found my network device name by typing;
ip linkI first checked the negotiated Ethernet speed with ethtool (your device name will probably be diffrent):
ethtool enp113s0The important part of the output was:
Speed: 1000Mb/s
Duplex: Full
Auto-negotiation: on
Link detected: yes
That tells me the Ethernet link has negotiated at 1 Gb/s full duplex.
I then tested the actual network throughput using iperf3. On another remote machine, Machine B, I started the iperf3 server:
iperf3 -sThen I ran the test from my machine, Machine A:
iperf3 -c MACHINE_B_IPThe connection between the two machines passes through the router’s built-in Ethernet switch, so the test actually crosses two Ethernet cables:
Machine A --- CCA Cable --- Router --- CCA Cable --- Machine BThe result was:
Interval        Transfer      Bitrate        Retr
0.00-8.92 sec   1003 MBytes   943 Mbits/sec   0
So the complete path achieved 943 Mbit/s of TCP throughput, with zero retransmissions.
That’s about as good as I could reasonably expect from a Gigabit Ethernet connection. A 1 Gb/s Ethernet link doesn’t normally deliver a full 1000 Mbit/s of TCP payload because of networking overhead (other things happening on the network). This test was also carried out on a machine that is doing other jobs on my network — my website is hosted on it, for instance — so I’m particularly happy with the result.
Of course, this test doesn’t prove that every CCA cable will perform this well. Either cable could affect the result, and this test doesn’t isolate the two cables from each other. It also doesn’t test things such as PoE, long cable runs or operation under conditions where CCA’s limitations become more significant.
For my particular network, though, the results are pretty clear: these inexpensive cables are currently giving me a reliable Gigabit connection and aren’t showing any sign of limiting the network.